Day 18
Matching Christmas PJs for him and her is a great way to celebrate the Christmas Season. As a child on Christmas eve, our family would always open up new Christmas PJs. This would ensure that all the pictures taken on Christmas morning will be festive and picture-perfect. No run-down worn-out PJs. I have continued this tradition into my marriage and am excited to make matching Christmas PJs for him and her. Let’s start building his PJs!!!
Gather your materials
- Material
- Pattern
- Elastic
- Scissors
- Thread
- Sewing Machine / Serger
- Iron
Making the Christmas PJs for him Pants
Cutting the Pants pattern
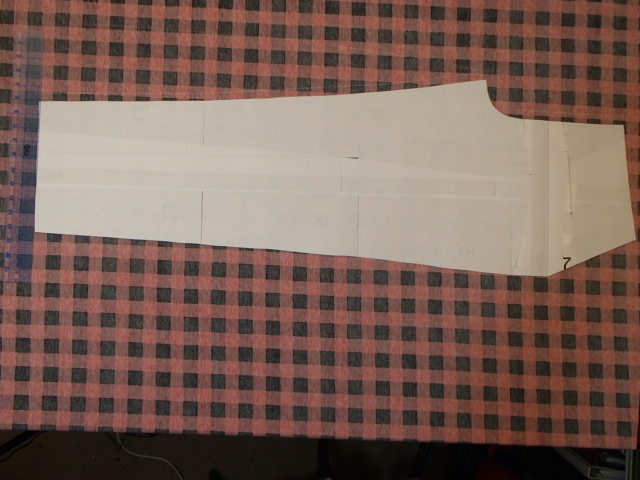
Because the pattern in the fabric chosen is so distinct, I want to make sure that the pattern matches when the pants are sewn together. Therefore take extra care when tracing out your pattern to line everything up.
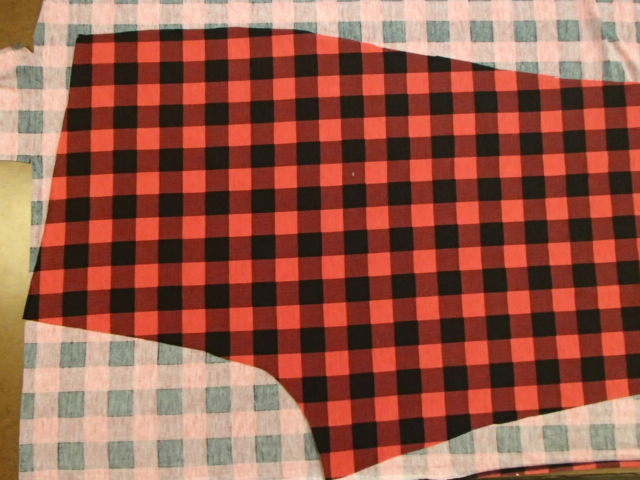
Cut out the pants and pile the two fronts and two back together so that there is no mistake when sewing them together.
Sewing the Pants together
Sewing the pocket
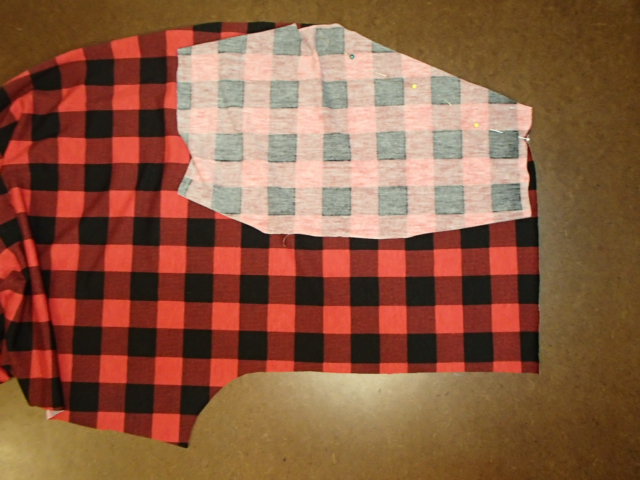
Line up the facing of the pocket with the front pants pattern. Pin parallel with the edges about an inch away. Serge the seam together.
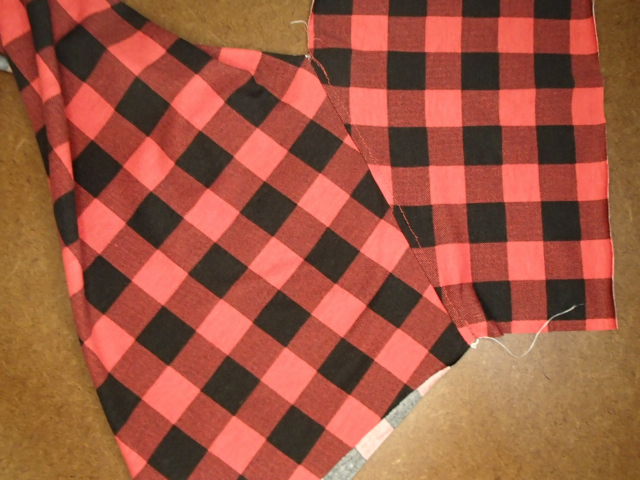
Press the serging to one side. Next, understitch the pocket-facing serging to help control and provide a crisp edge. Make sure to stitch on the pocket-facing piece, not the pants pattern piece.
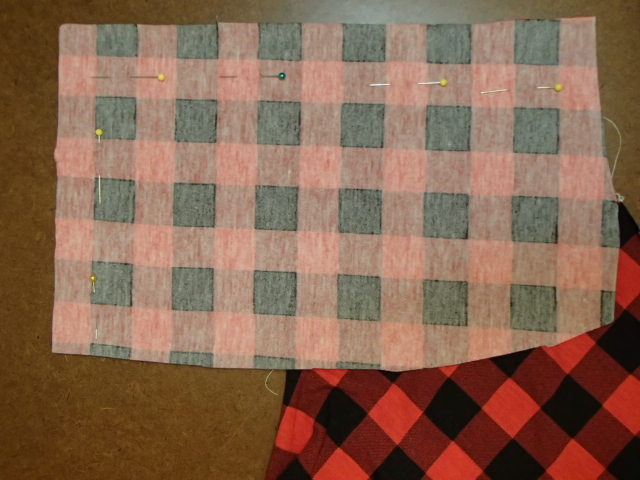
Next, grab the pocket pattern. Line up the edges with the pocket facing and pin. Serge the center side seam and the hem together. We will be serging the side seam and top when we serge those seams. This will help keep the bulk down in those seams.
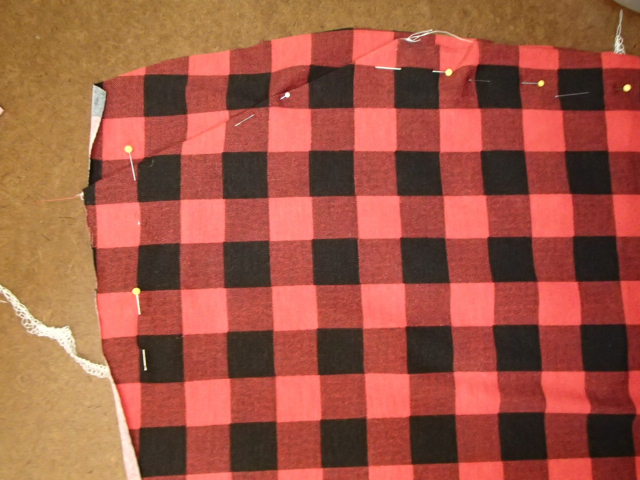
Line up your side seams and the top seam of the pocket and front pants pattern. Because there are many layers, I recommend doing a basting stitch along these two sides. This will make it easier when serging the side seams of the front and back pants pieces together. Repeat these steps on the other pocket.
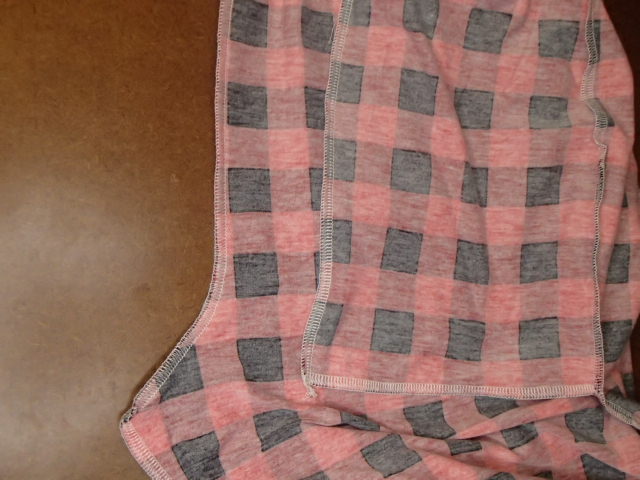
Sew the two front crotch seam together taking care to double-check your pattern matching before you sew!!!
Sewing the back of the pants and adding the pocket
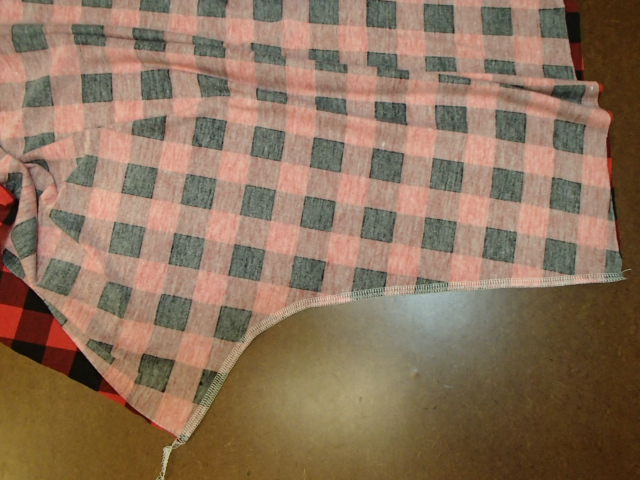
Line up the center back crotch seam edges. Pin and serge together.
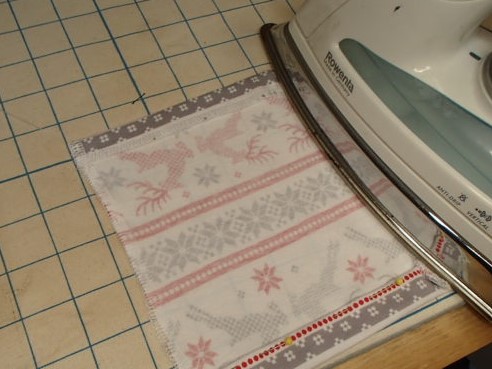
Serge around the edge of the pocket. Using the iron, press the top facing as well as all sides.
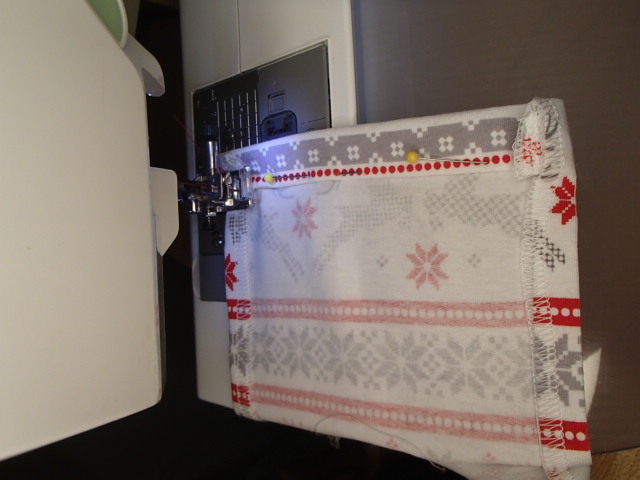
Topstitch the facing before adding the pocket onto the pants.
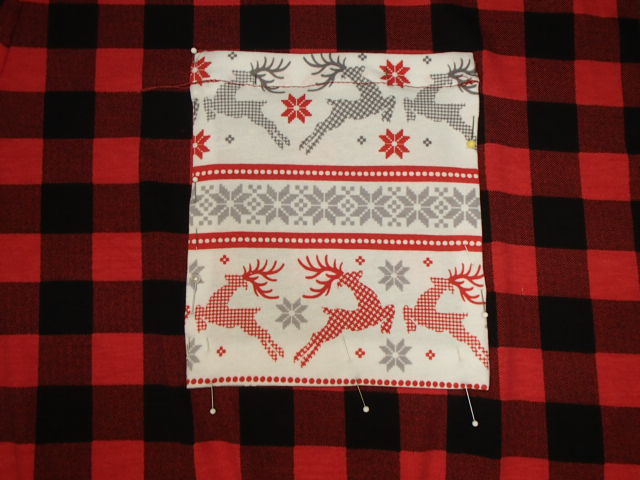
Lay the pockets onto the back pants pieces. Double-check that the pockets mirror each other. Topstitch the back patch pockets onto the back pants pattern.
Sewing front to back
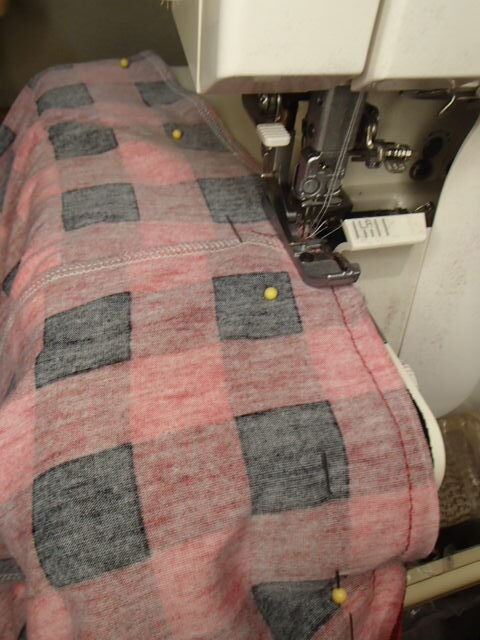
Now it is time to make the patterns into actual pants!!! Start by lining up the edges of the side seams and pin. While you pin, make sure that the pattern is lining up, so you only have to sew the seam once!! Leave one side of the pants open three inches from the top. I am doing this because I will add on the waistband later and fit the pants once setting the elastic length and then finish by fully closing the seam.
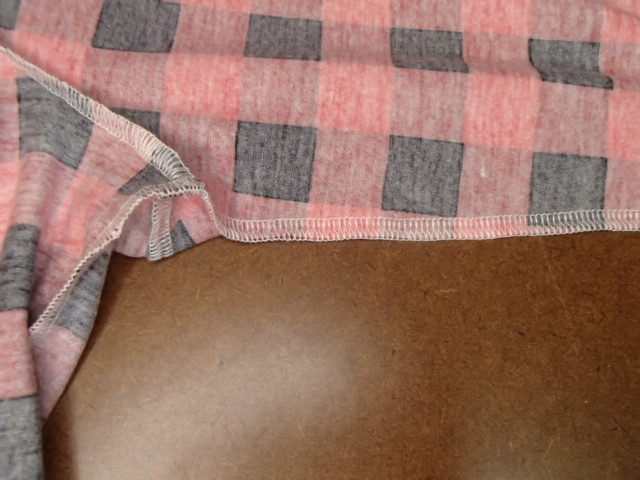
Finally, it is time to finish the leg seams by sewing the inseams. I always started at the center crotch seam and work my way down each leg while pinning. This way, I can ensure that everything is lining up the way I want.
Adding the waistband
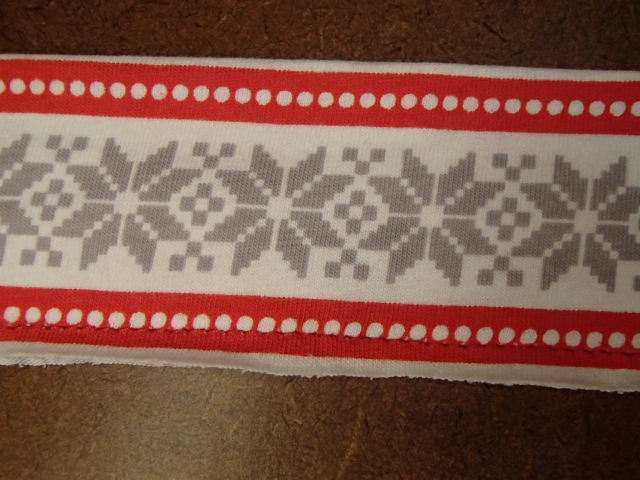
Time to add the waistband on! Run a basting stitch through the bottom of the waistband. I did this because the fabric I chose to use was rolling like crazy, and I wanted to make sure it was tame and not fighting me while I was serging it onto the pants.
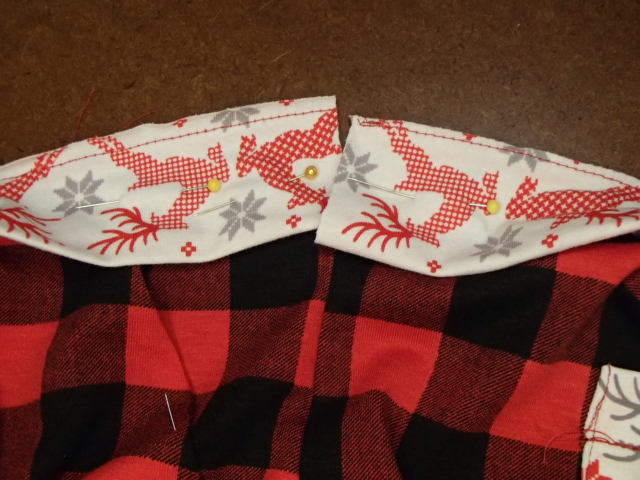
Line up the seam of the side waistband with the side of the leg side seam. Pin with sides together about an inch away. Serge the waistband onto the pants.
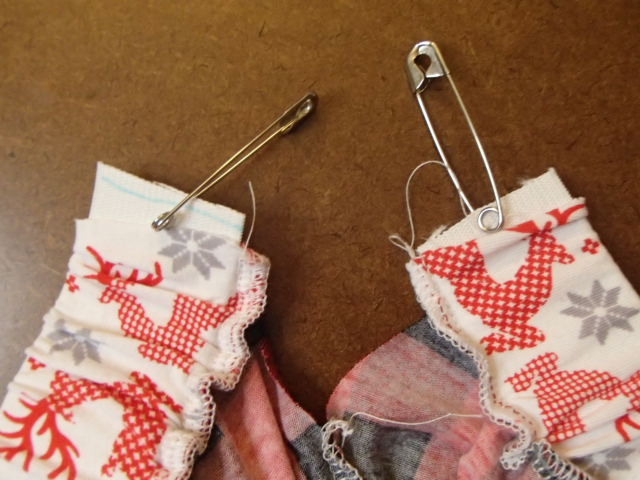
Cut your elastic 2 inches smaller than the waist measurement. I always add a safety pin on both sides of the elastic before feeding the elastic through. This way, if by accident, I pull too much elastic in, I can still work both ends out with ease.
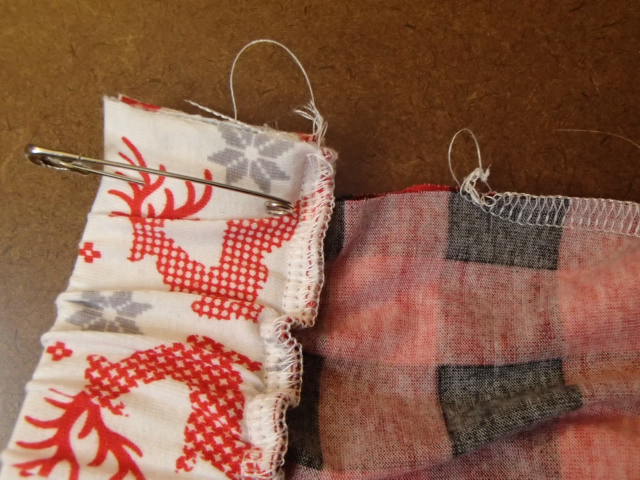
Pin the two sides of the elastic together and try on the pants. Determine if the elastic needs to change.
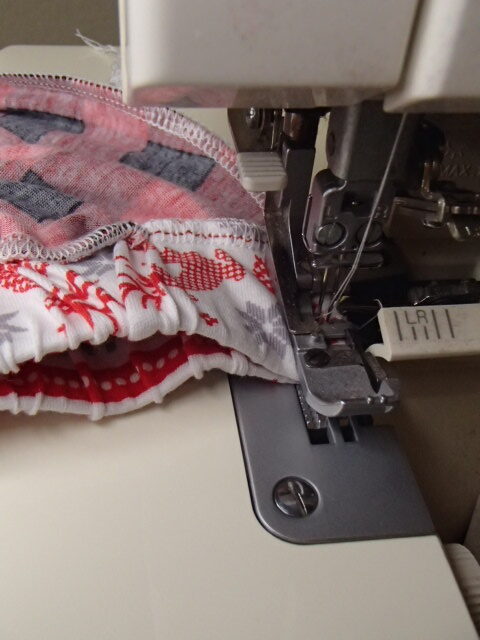
Once you are happy with the sizing straight stitch through the waistband and elastic to help provide strength, then serge the final three inches of the side seam closed!!!
Hemming the Pants
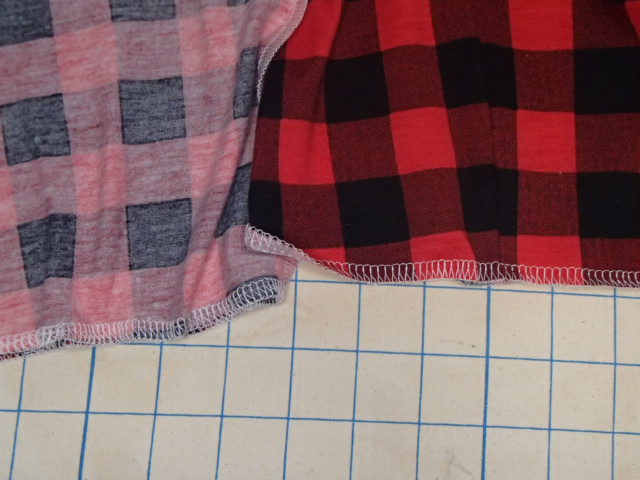
While you are test fitting the elastic, also check the length of the hem. If needed, mark a new line and cut away any extra fabric. Make sure that you leave some fabric to be turned up in the hem. Start by serging the raw edge.
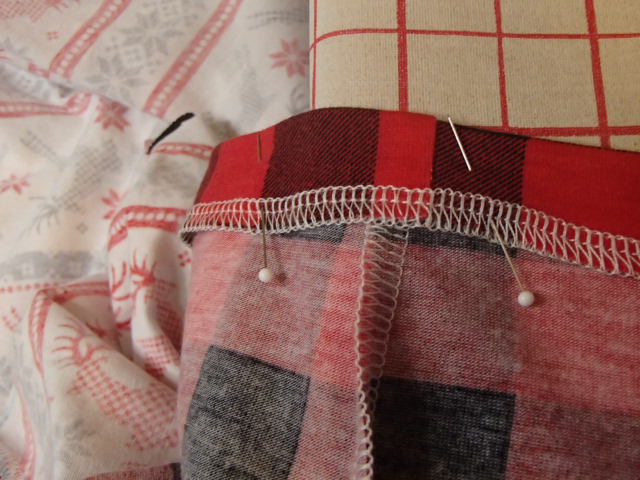
Turn up the extra amount of fabric to create the hem. Using a small zig-zag stitch, hem the pants. Then give the hem a press!
Yay, the pants are complete!!!
Making the Christmas PJs for him Shirt
Cutting the Shirt Pattern
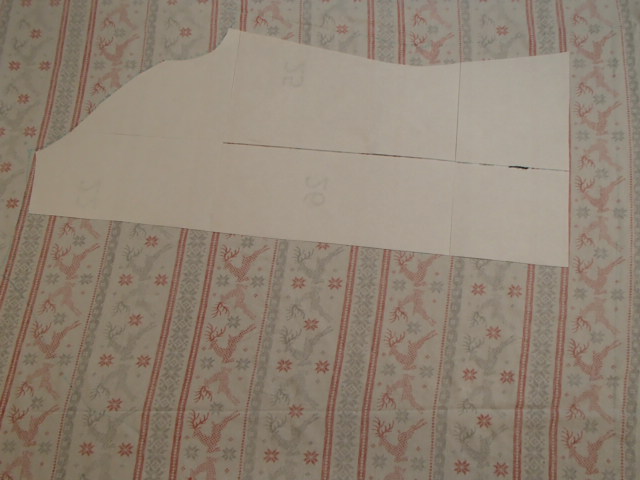
The fabric I chose has a large pattern, and I want to make sure that it lines up on the side seams. Take extra care while tracing and cutting out the pattern to make sure that the pattern will easily line up.
Sewing the Shirt
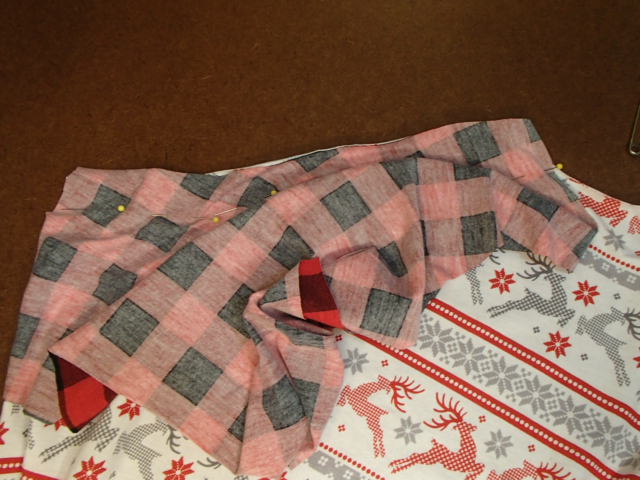
Start by lining up the front of the sleeve with the front of the shirt pattern piece. Pin them together about an inch away from the edge. Serge the two pieces together. Repeat with the other three sleeve seams
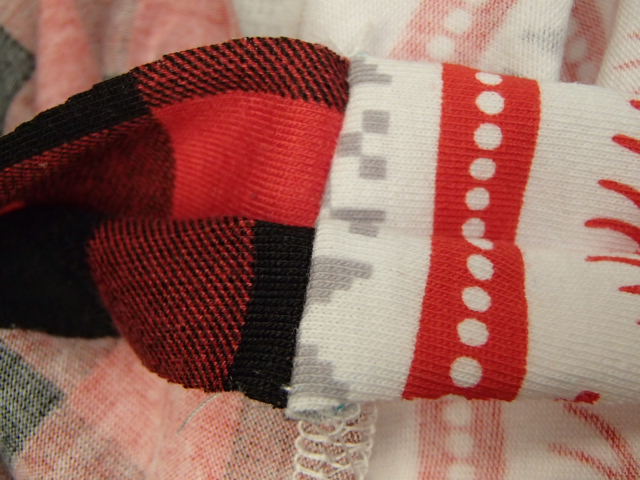
Time to sew the side seams. I start with lining up the underarm seam that attaches to the shirt. Making sure all four seams line up beautifully will help provide a professional final look. Pin the seam together from sleeve hem to shirt hem. Take care to make sure that the pattern nicely lines up, so you only have to do the seam once!!
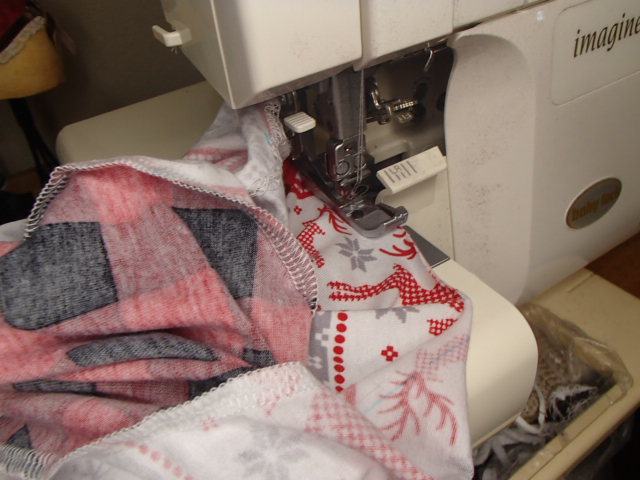
Next, we will finish the neckline. Serge the raw edge. Then we will use the serging as a guide to do a turn, turn hem.
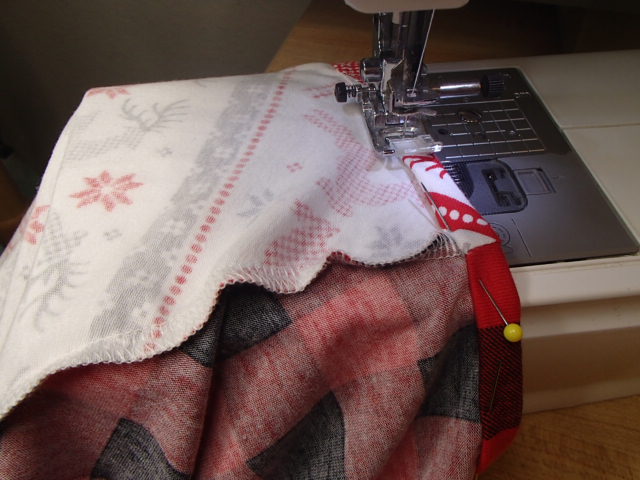
Start by pinning the turn, turn in around the neckline. Then using a zig-zag stitch, hem the neckline.
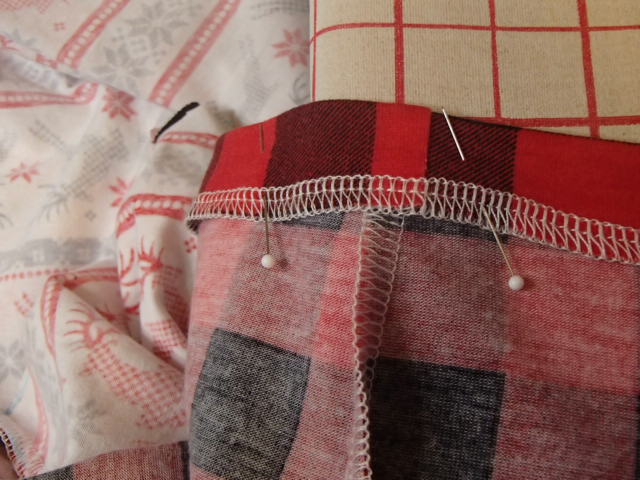
Time to hem the sleeve in the same way we hemmed the Pants. Serge the raw edge and turn up the fabric and inch.
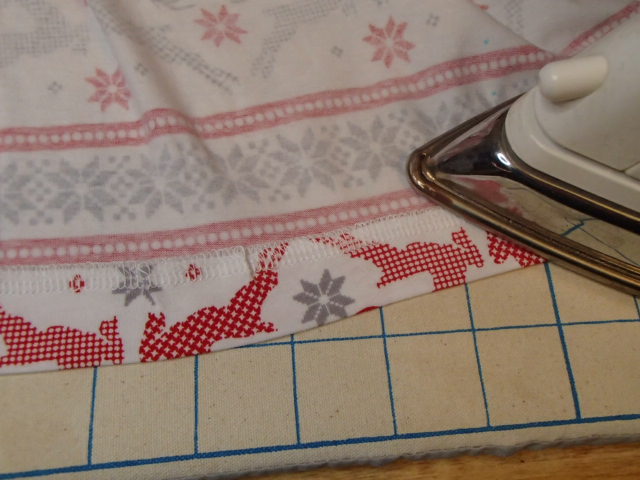
The last hem you will do is the hem of the shirt. Again we will serge the raw edge. Next, we will turn up the fabric up an inch and do a zig-zag stitch around the hem. This will complete the shirt for the PJs. Yay!!!
Final Pictures of the Christmas PJs for him
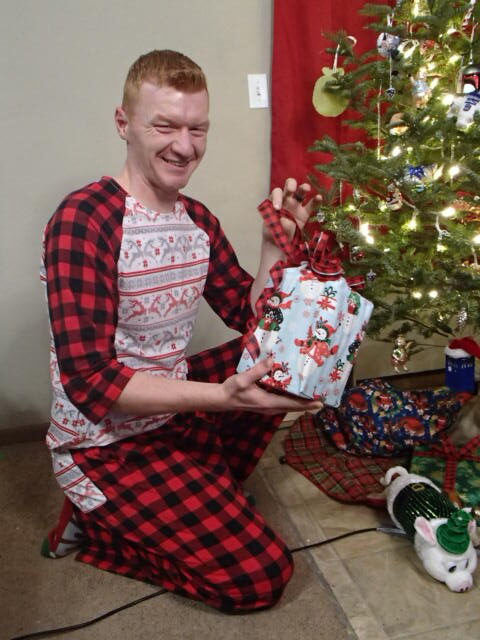
Did you miss her Matching Christmas PJs!!!! Make sure to check out some of the other couple projects like the matching Light-up Santa Suits and the Ugly Christmas Sweaters for Him and Her!!!
