Day 25
Having matching Christmas Outfit for him and her for the season is great fun!!! Taking pictures and going to parties feeling festive is a great way to get into the spirit. I decided to create a dress and matching vest for these matching outfits. Let’s get building His matching Christmas outfit!
Gather your materials
- Fashion Fabric ( 3/4 yard)
- Muslin (3/4 yard)
- Lining Fabric (1yard)
- Black Velvet ( scraps off of girls Dress)
- Buttons and Back Buckle
- Scissors
- point turner
- button spreader
- Thread
- ruler
- Sewing Machine and Serger
- Iron
Making the Vest
Marking out the Pattern for His Matching Christmas Outfit
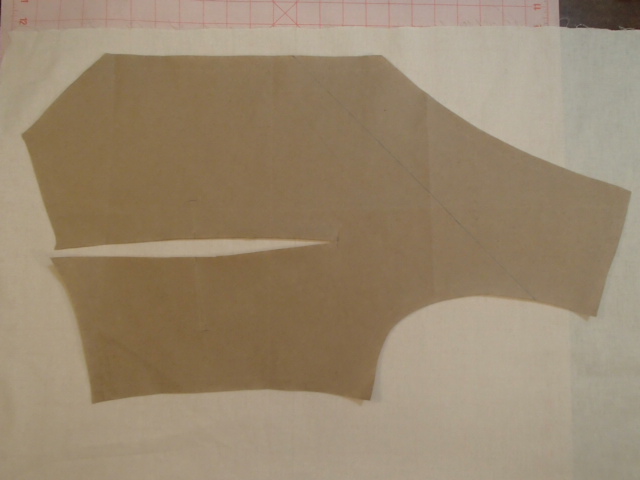
I knew that I wanted the vests plaid to be a t a 45 degree angle. So I started by marking out my pattern on a piece of muslin that I will flat line to the fabric. This will keep my fashion fabric from stretching on the bias once it is made.
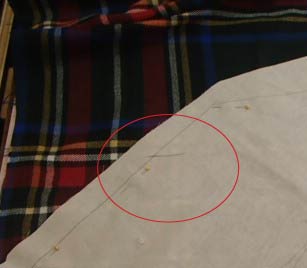
To help with pattern matching down the center front I marked out on the pattern where I wanted the stripe to land. This way I could more easily line up my pattern.
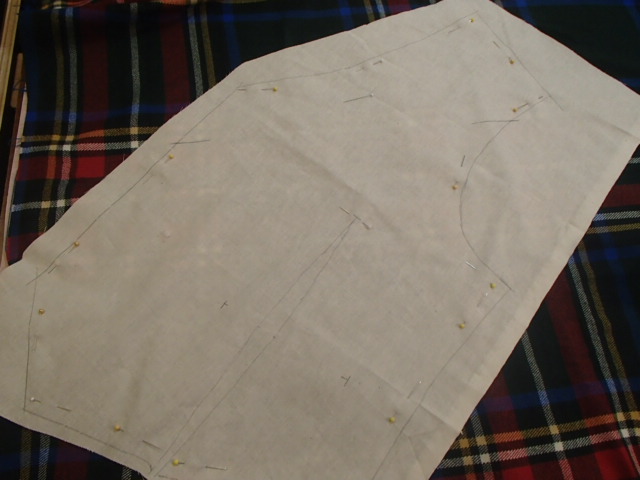
Next I laid my muslin pattern on top of the fabric lining up the markings of where the pattern would match. I pinned all around the pattern and then cut both the muslin and the fashion fabric out together.
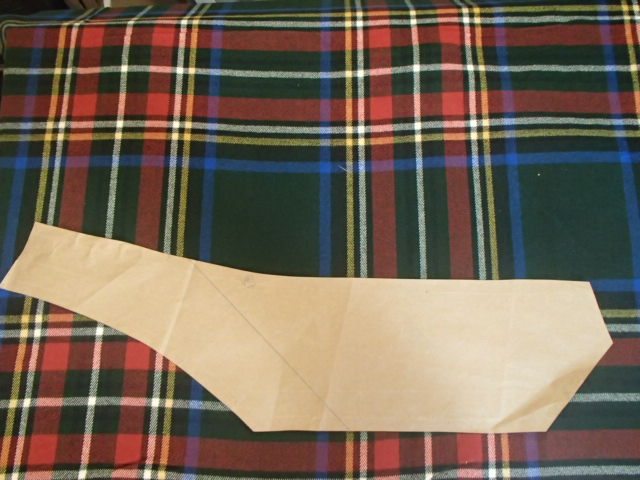
Next I laid out the facing matching up the same point again with the pattern matching. However I did keep the facing on grain so it will not match up perfectly.
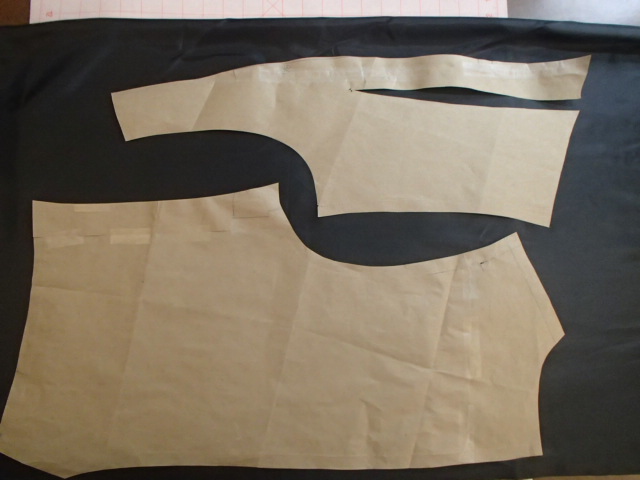
Finally I cut out the four backs, front lining, and belt out of the lining fabric.
Making the Front Welt Pocket
Prepping the pieces
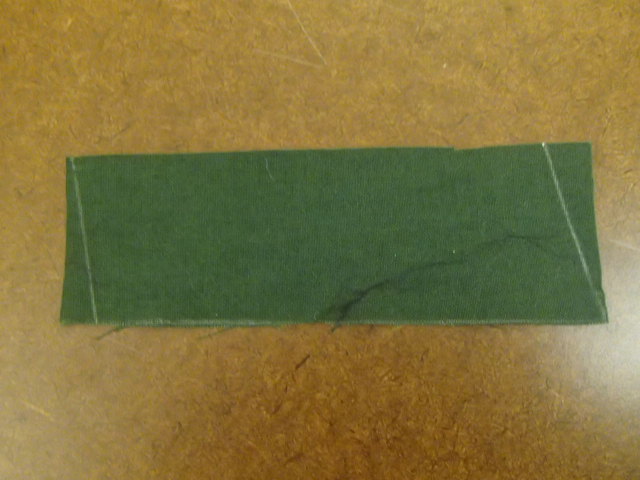
Begin by cutting a piece of interfacing 3 1/2 by 1 3/8. Next on either end trim off on the diagonal a 1/4 in to 0. Draw in a 3/8 seam allowance on one long side. this will be the bottom of the piece.
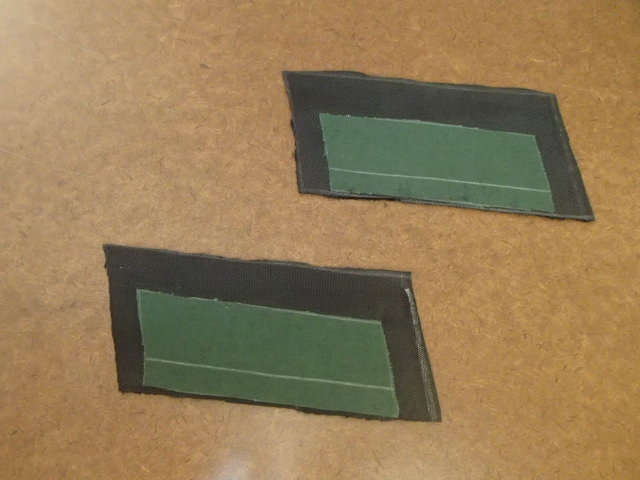
Iron the interfacing onto your fashion fabric. Add 3/8 of an inch to the side and 5/8 of an inch to the top for your seam allowances. The very bottom will match up with the seam allowance.
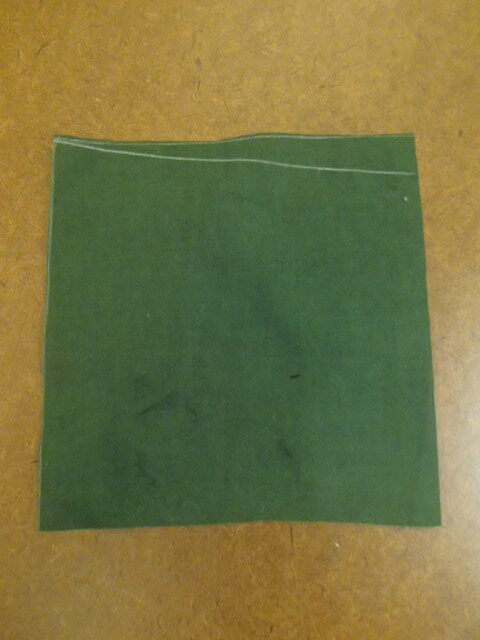
Cut 4 Square of 5 by 5 inches. Along the top of these square we are going to diagonally cut half an inch to zero.
Sewing the Flap
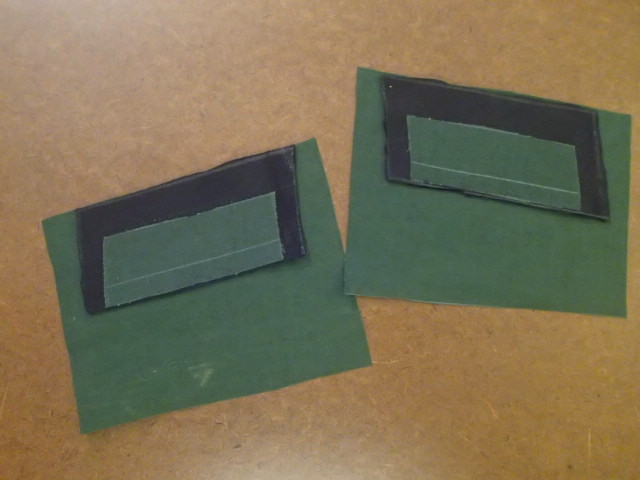
Line up the top edge with the center of your pocking piece and sew across the top using a 3/8 inch seam allowance.
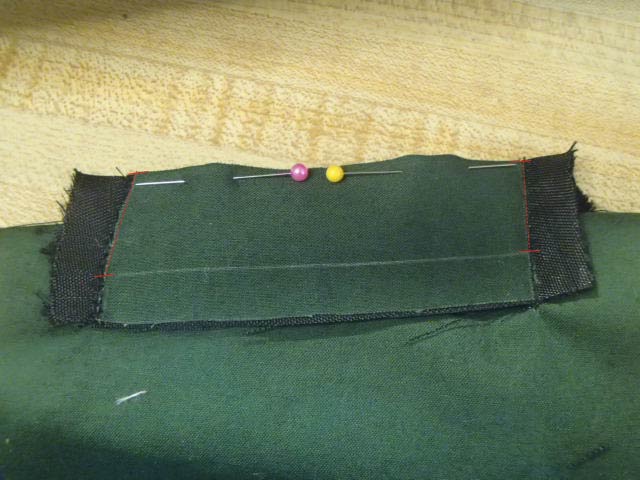
Fold the fashion fabric on the line above the interfacing and stich down both side. Make sure to stop and backstitch at the 3/8 inch seam allowance mark.
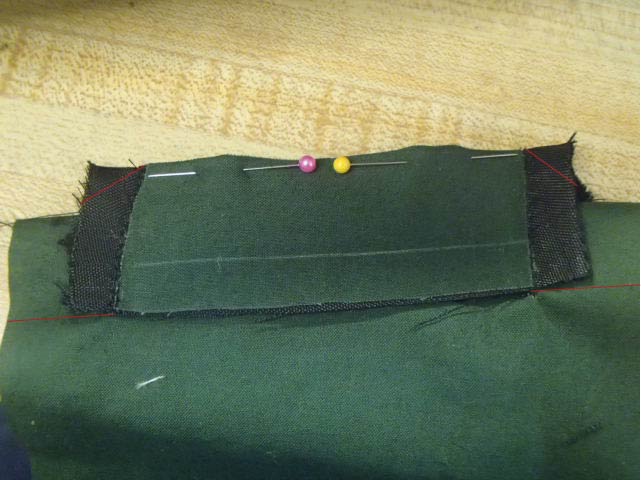
Trim the corners, cut into the stitching line, and press open your seam.
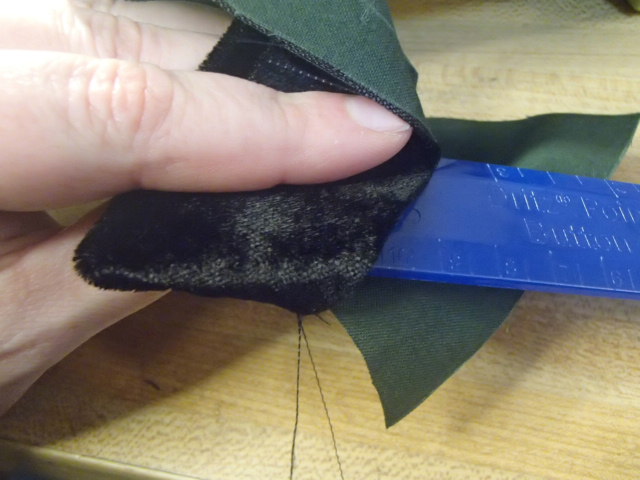
Now turn you pocket right side out!!! I used a point turner to get my corners nice and crisp.
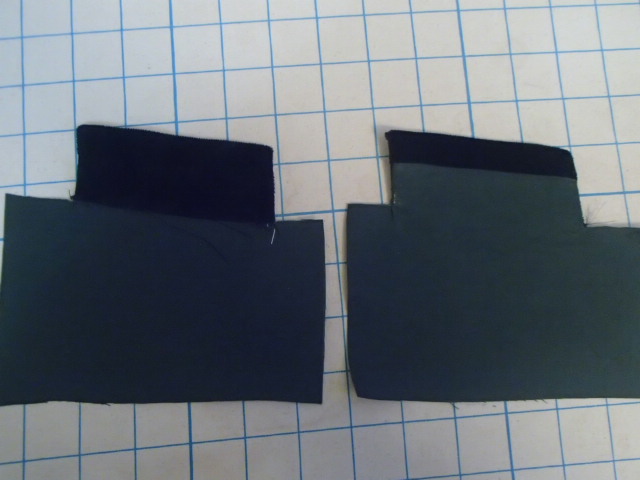
Now it is time to attach the pocket to the front of the vest!!!
Sewing the Welt Pocket onto the Vest front
Before you can attach the pockets you will need to flat line the muslin to the fashion fabric and sew in the dart. Make sure the dart it pressed well before you begin. Pressing is one of the most important part to making your finished products look crisp and professional.
Prepping the pocket
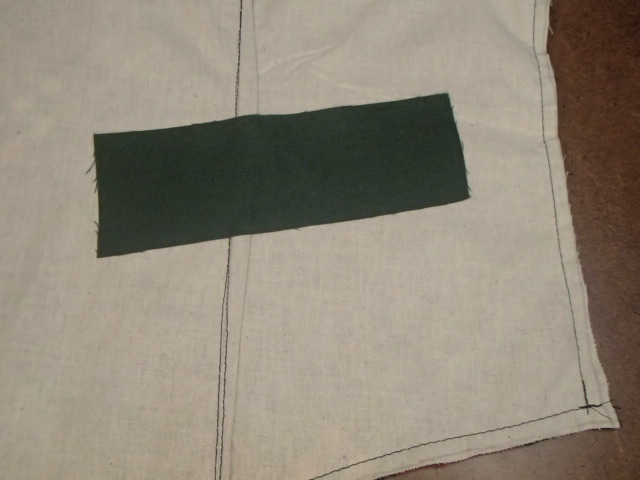
First we are going to based on a piece of cotton for reinforcement. I lightly chalk my pocket placement on the right side of my garment. Pin the pocketing in place and then from the right side of the garment based in place.
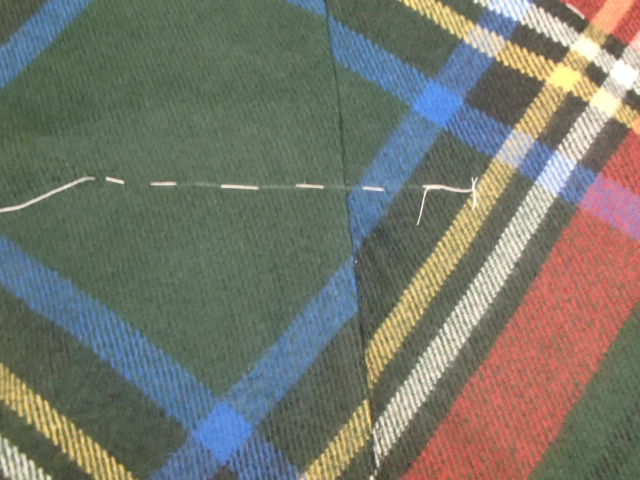
Hand base the interfacing to the vest front from the right side. Hand stitch your marked line where your pocket will go. I like to start with a perpendicular line at the edge to signify the edge most part of the pocket.
Stitching the Pocket
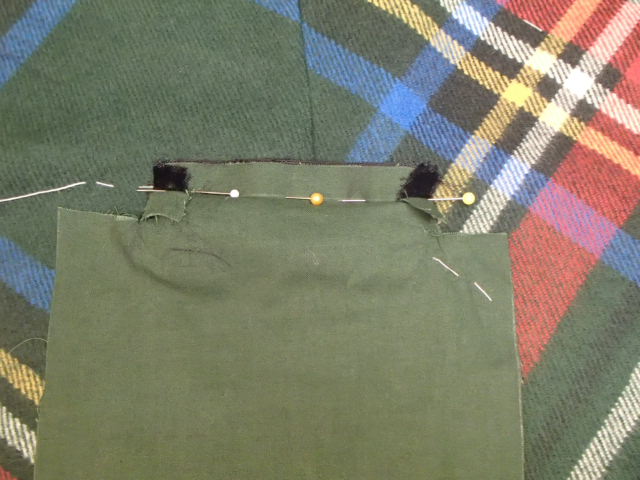
On the right side of the fabric line up the stitch line you drew on you interfacing with the basted line. Machine sew on your stitch line not going past the edge of your pocket.
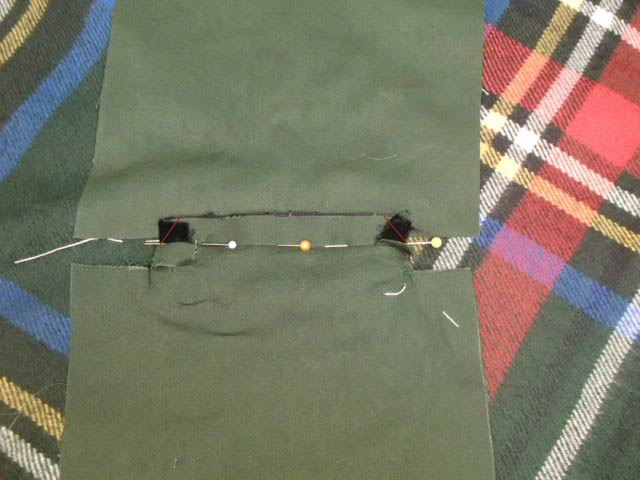
Trim away the corners at a 45 degree angle. Add a piece of pocketing upside down under the flap that you created. Stitch at the edge of the pocketing not going past the edge of your pocket.
Cut open the pocket
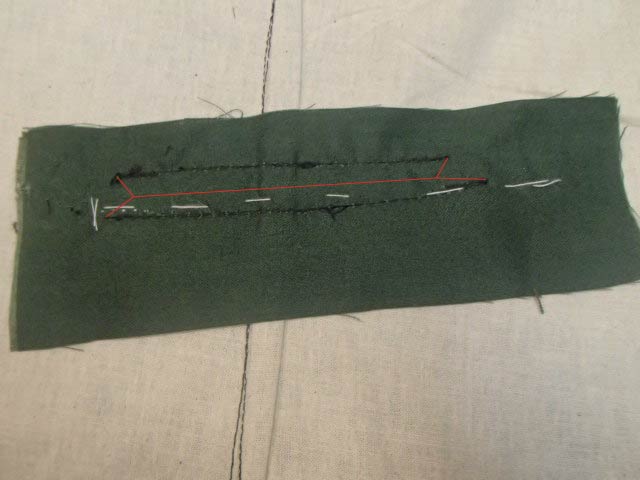
From the wrong side of the fabric we are going to cut open our pocket. You want to cut a center line with four prongs going out to each of the ends of your stitchline. If you cut to little you wont get a crisp look and if you cut too much you will end up with a hole, so be careful.
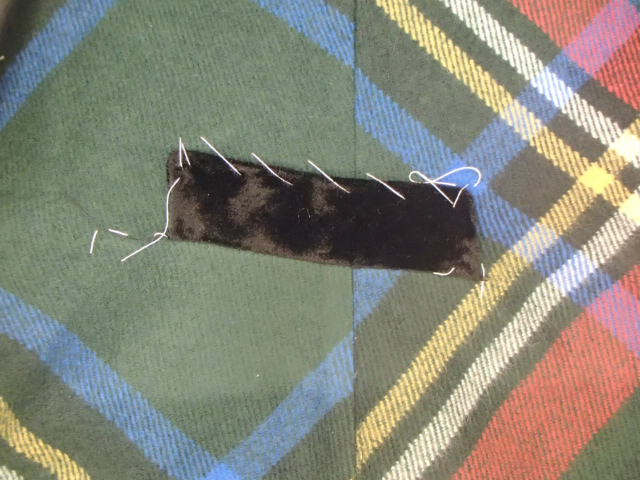
Press open your seams and turn the pocket to the inside. I like to add a little basting to the top of my pocket so that it stays right where I want it while I finish the pocket.
Finish the pocket
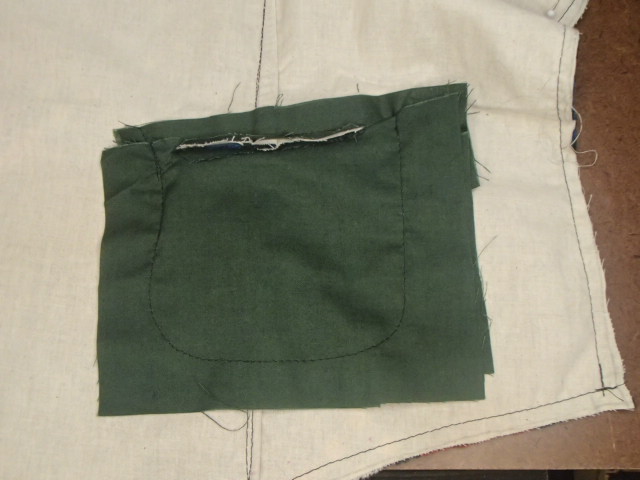
Finally we are going to sew up the two pieces to create the pocket. Repeat these steps on the other side.
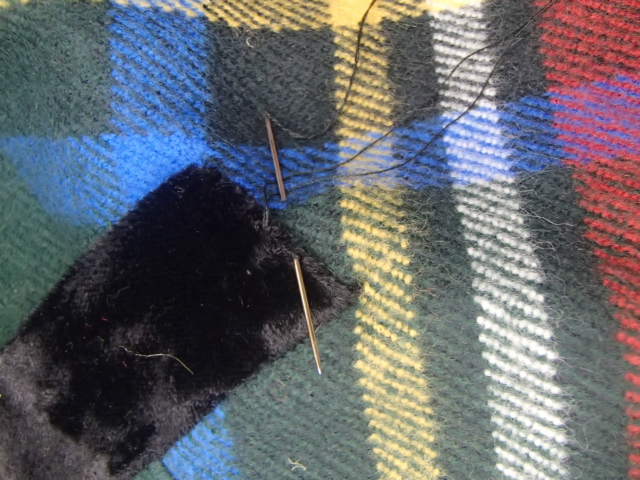
Slip stitch the sides of the pocket to the vest to keep the flap in place.
Finishing the Vest Fronts
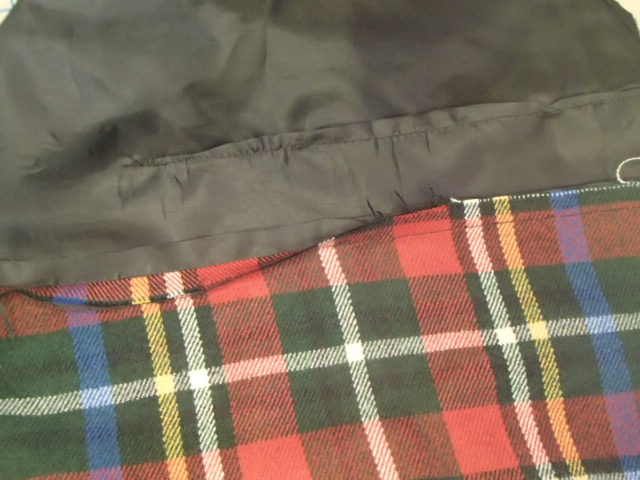
Start by sewing the lining to the facing. Press open the seam and then press towards the lining.
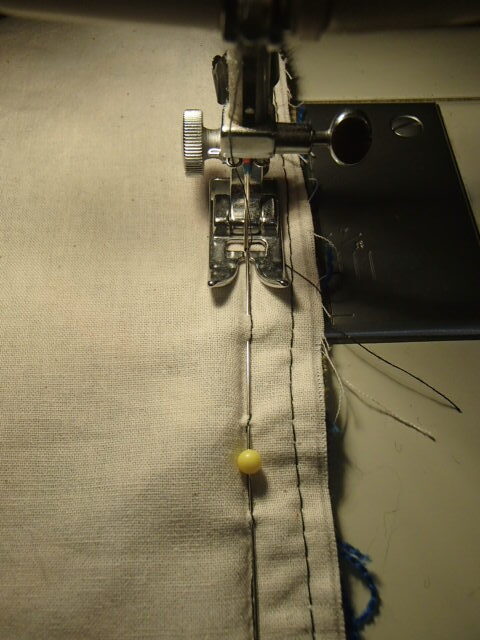
Line up the vest front with the vest lining and sew around the armeyes, front, and hem leaving the side seam and should seam open.
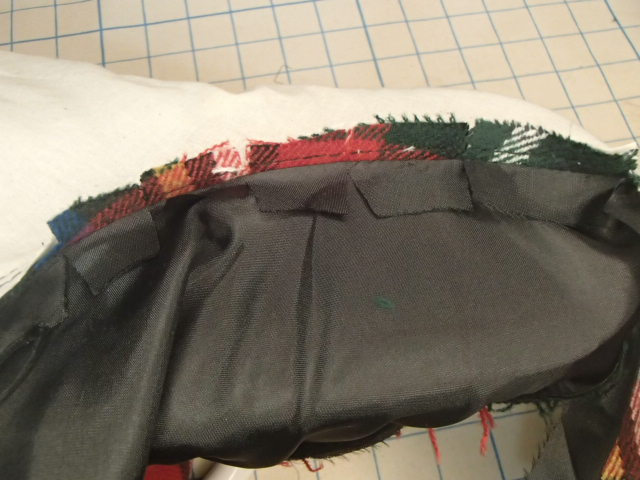
Press open as much of the seams as you can. this will help get you a crisp look. Make sure to clip the curves seams and trim your points.
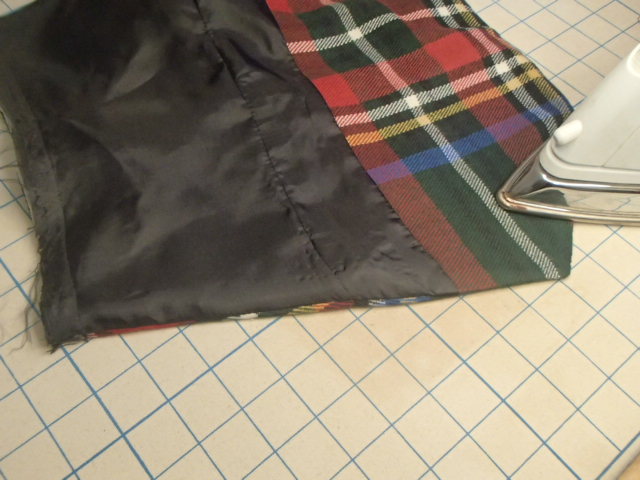
Turn the vest right side out and press all the seams again
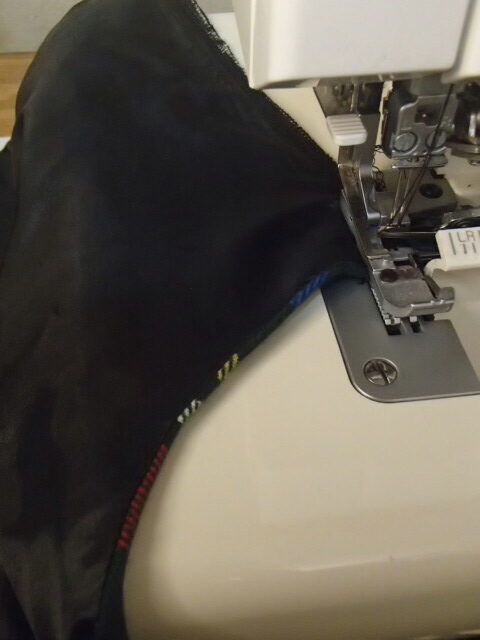
Serge the shoulder seams and side seams.
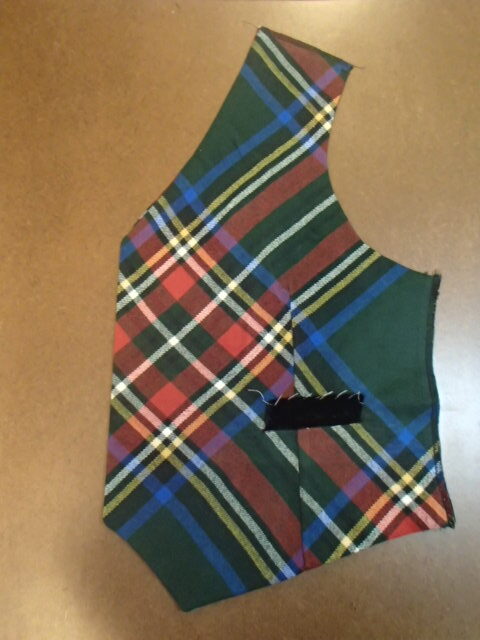
Yay not you have a vest front!!!
Making the Vest Backs and Belts
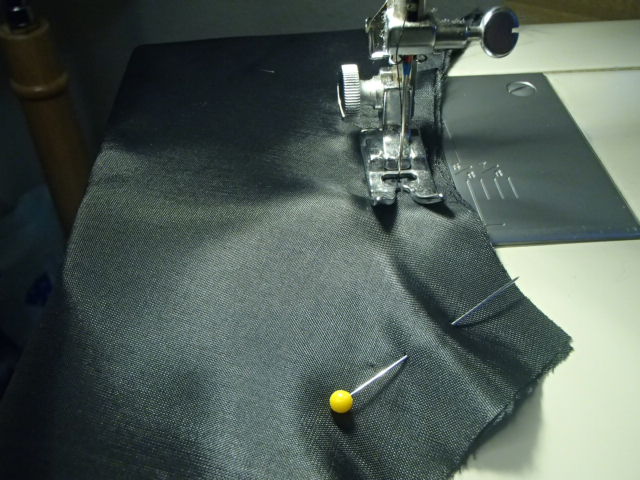
I start by quickly sewing my belts up and turning them right side out. Next, I sew the armscye and hem of the vest. This leaves the shoulder seams, side seams, and center back seam open.
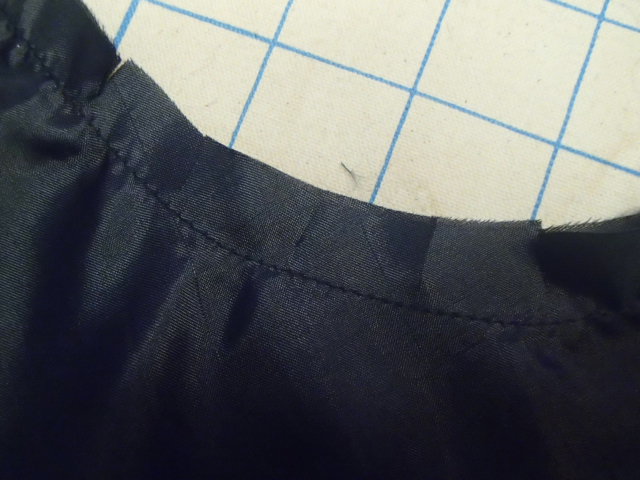
Clip, press,
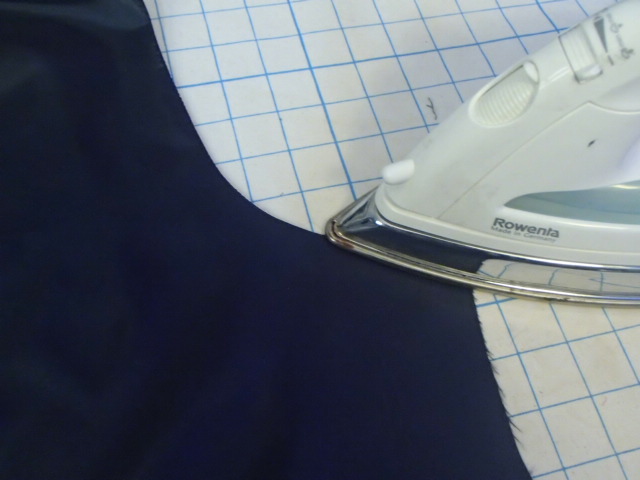
turn and press
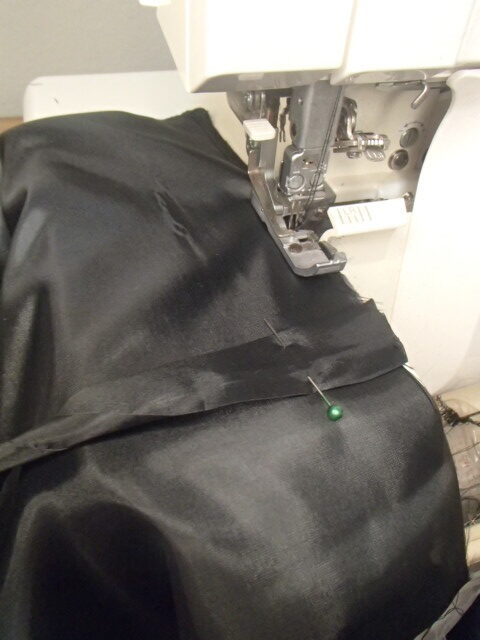
Attach your belts to the side seam at the point marked.
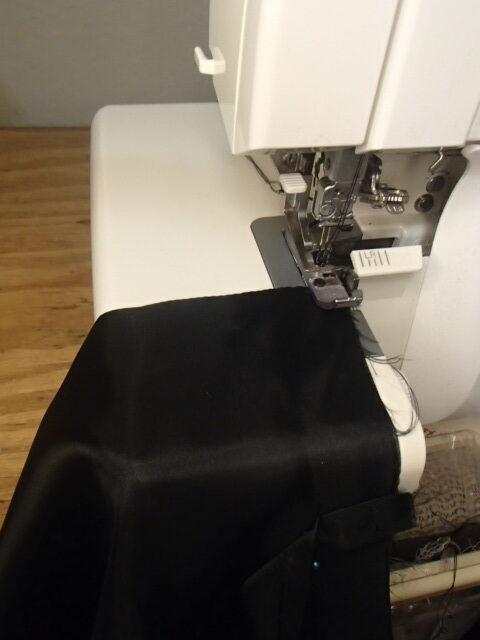
Serge the center back, shoulder seams, and side seams.
Finishing the Vest for His matching Christmas outfit
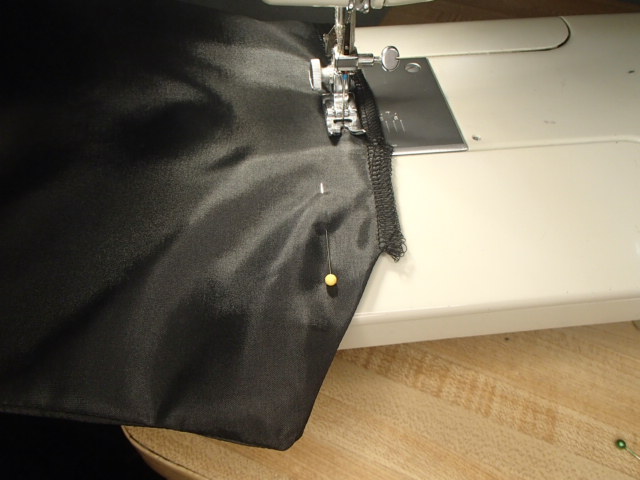
Line up the shoulder seams, side seams and back seam then stitch together. Next press the seam press open
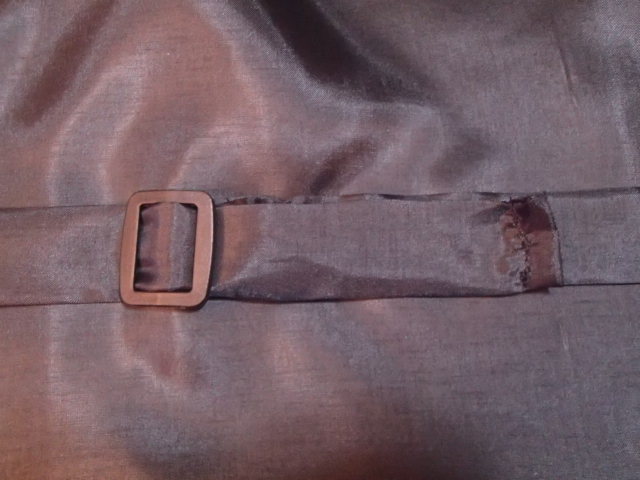
Attach the belt hardware to one side and finish off the other end nicely.
Button Holes
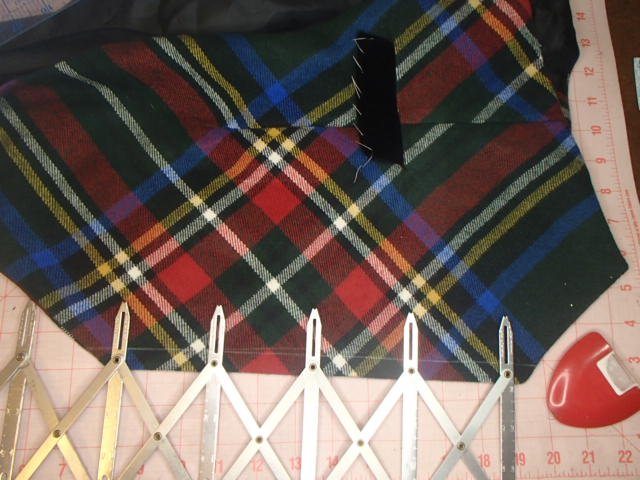
Time to add the button holes. I use my button spreader tool to help me decided the placement for my buttons. I like the look of five buttons. Open the button spreader and mark the desired placement of the button holes.
I always recommend doing a practice button hole with the same set up as what you will be working with. So I created a piece that is two pieces of fashion fabric and one piece of muslin to practice my button holes. Once happy with the look of the practice button hole it time to do them for real on his matching Christmas outfit.
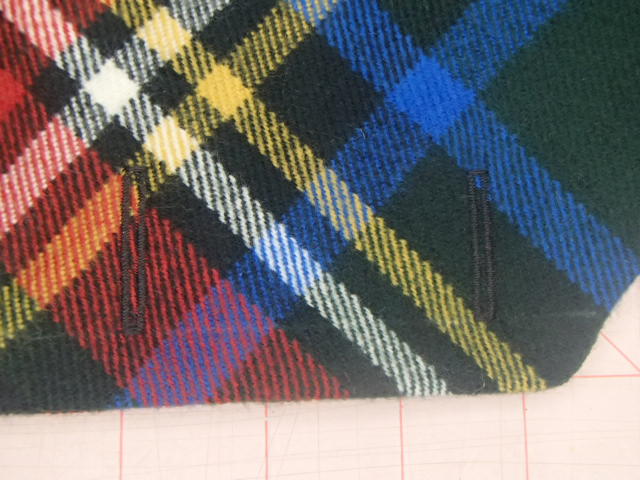
Open up the button holes. Mark where the buttons need to be sewn and sew them on.
Finishing touches
I like to do one last once over to make sure that all my threads are clipped. Give the vest one more good press
Finished Pictures of His matching Christmas outfit

Make sure to check out Her matching Christmas Outfit too!!! Also, Check out some of the other fun His and Her Matching Projects like His PJs and Her PJs or His ugly Sweater and Her Ugly Sweater.
