With the upcoming winter season, I’m already thinking about how to stay warm. One way is by adding a Upcycled Arm Warmers and Cowl set into your wardrobe! Take an old shirt that you don’t wear anymore for this project–it’ll give new life with each step of crafting it into something useful again instead of just sitting in our closet looking bleak (or on top of the garment rack). Let’s get creating!!!!
Gather your Materials
Cowl
- Flannel long sleeved shirt
- Polar fleece 1/4 yard
- Buttons
- Thread
- Sewing Machine
- Scissors
- Iron
- Point turner
Arm Warmers
- Sleeves off a flannel shirt
- Polar fleece (left over from making the cowl )
- Buttons
- Thread
- Scissor
- Iron
- Sewing Machine
- Needles
Lets create the Cowl First
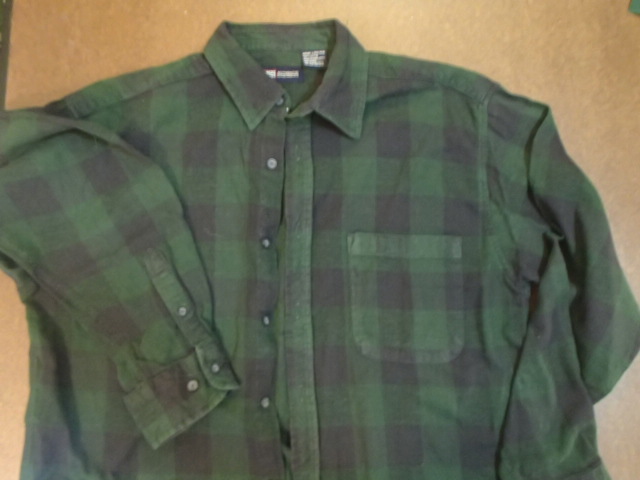
Start by making sure that your shirt is clean and pressed.
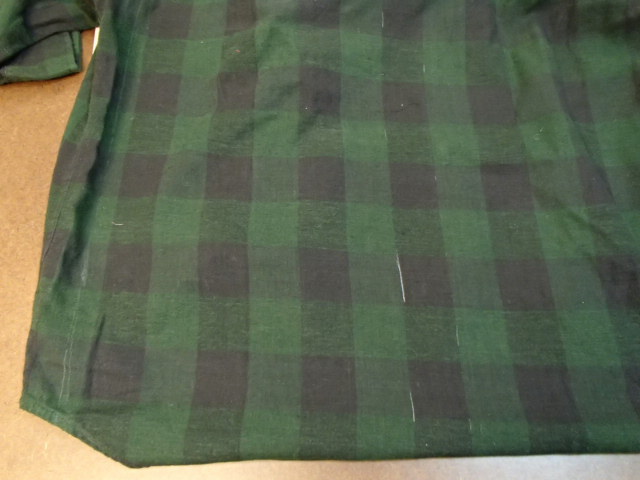
Measure the back of the shirt from armscye to armscye and then divide that in half. This will provide you with the width of your new cowl scarf. Mark the center from top to bottom. I was lucky and y halfway point ended up being right on a line of flannel. When I was cutting I could easily follow this line. then from the centerline out mark your width. I did not want to deal with seam ripping anything so I cut away the yoke and did not try to use it.

Cut out your two pieces from the shirt and sew them together.
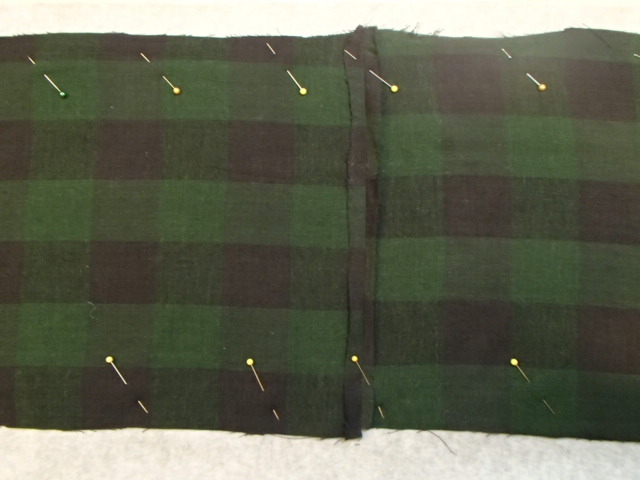
Pin the flannel onto the polar fleece and using the flannel as a guide cut out the polar fleece.
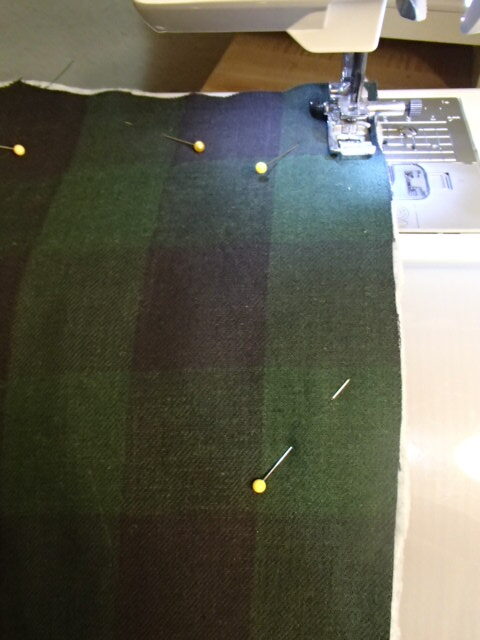
Using the sewing machine guidelines sew 5/8 of an inch in from the edge. Sew almost all the way around the rectangle leaving about a 10-inch opening for the cowl to be turned right side out. Make sure to also backstitch at each corner to help with durability.
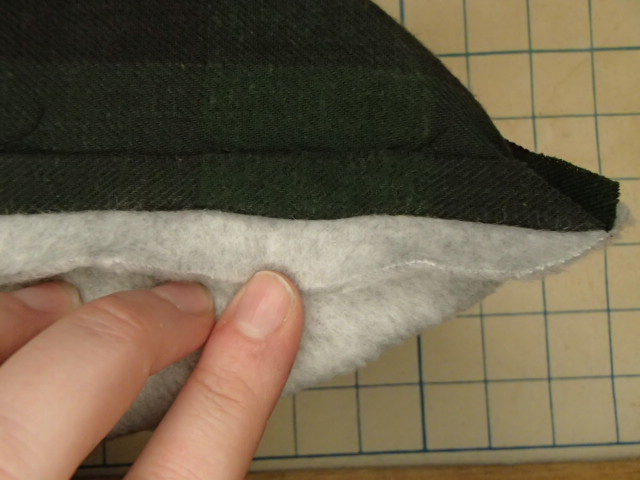
Press the seams to open all around the Up-cycled Cowl Scarf. I used a sleeve board to help me press open all my seams.
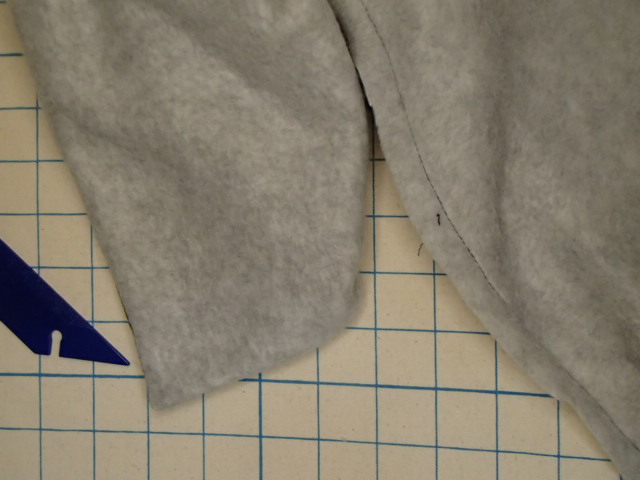
Flip the scarf right sides out. I used a point-turner to get my corners nice and crisp.
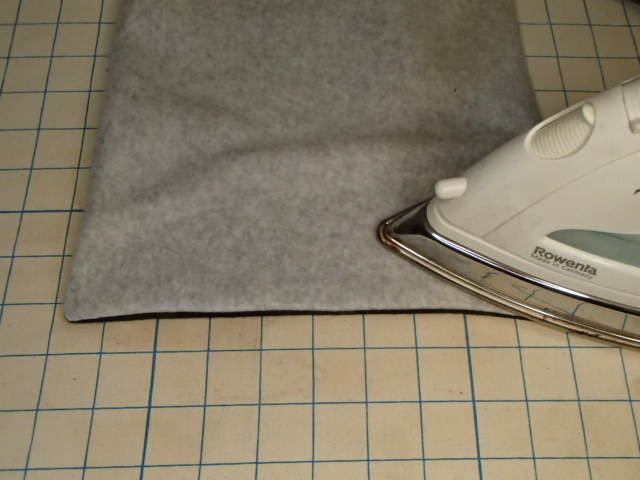
Then give the whole Up-cycled Cowl Scarf another good press.
Finishing the Up-cycled Cowl Scarf
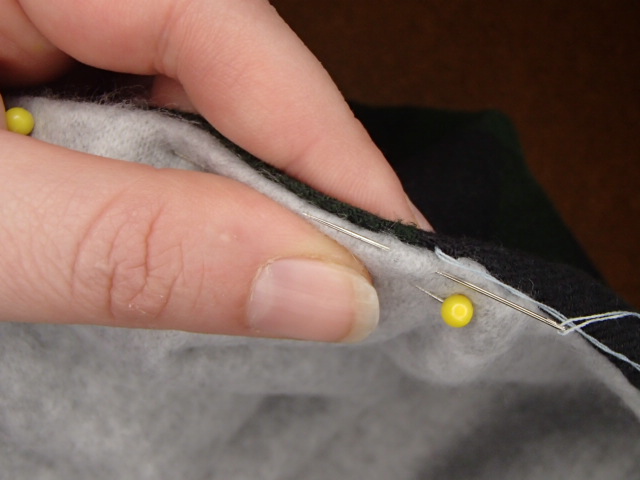
Using a slip stitch hand sew up the opening near the center of the scarf.
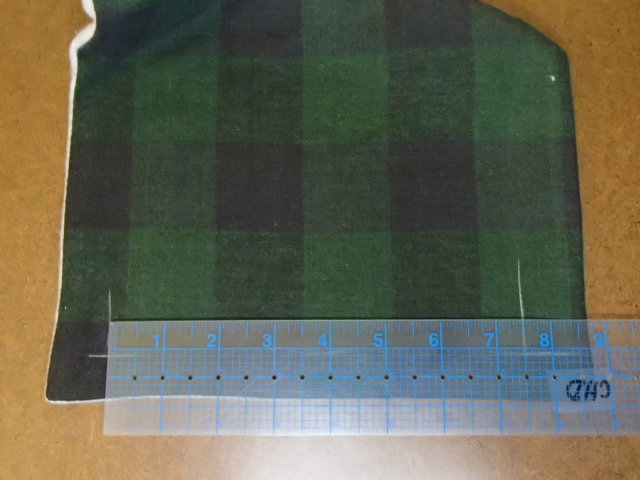
Time to decide the buttonhole and button placement. I knew I wanted the buttons to be placed closer than the buttonholes. This will make the cowl naturally gather in at the edge. I decided that I liked three buttons for closure. Starting with the buttonhole placement I marked the placement of my two outer buttons. Then I divided the remaining space in half and marked where the third and final buttonhole would go.
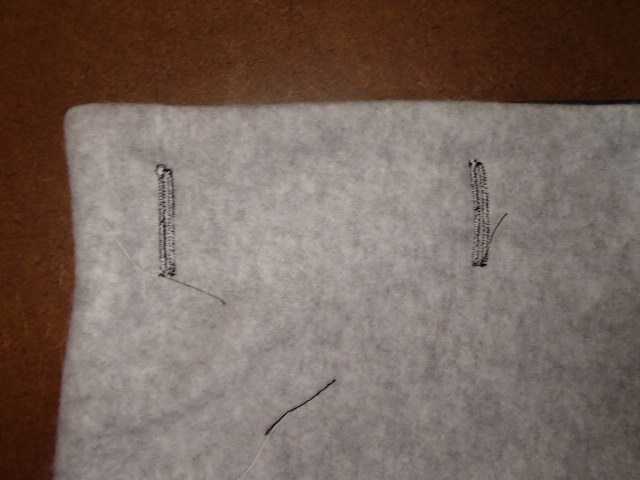
On some spare pieces if fabric tested out the buttonholes to see how the fabric will react. Once you are happy with the way the test buttonholes look it is time to add buttonholes on the cowl.

Next, I moved on to where the buttons would be placed. I lined up the buttonholes with the about placement of where I desired the buttons. Then take a ruler and mark out the button placement evenly.
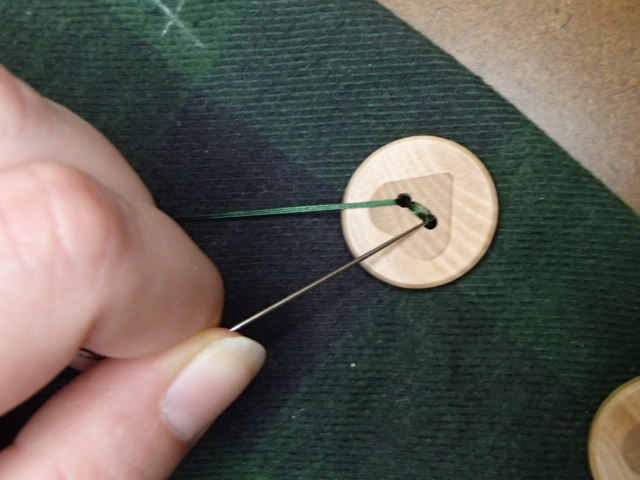
Finally, I sewed on the buttons and opened up the buttonholes, and tried on the cowl.
Final Pictures of the Up-cycled Cowl Scarf
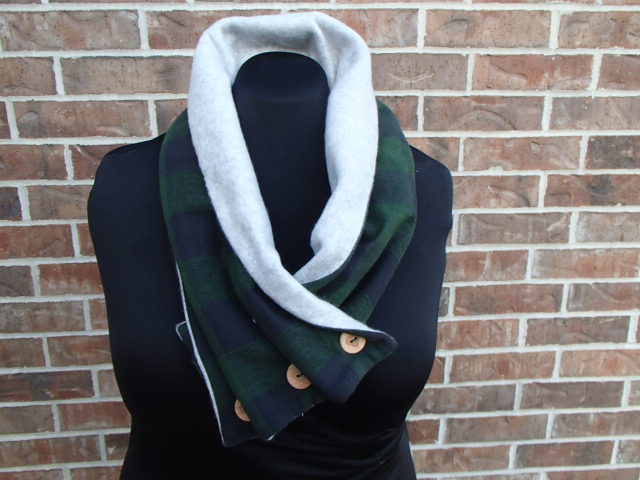
Next it is time to create the Matching Arm warmers
Cutting out the pattern
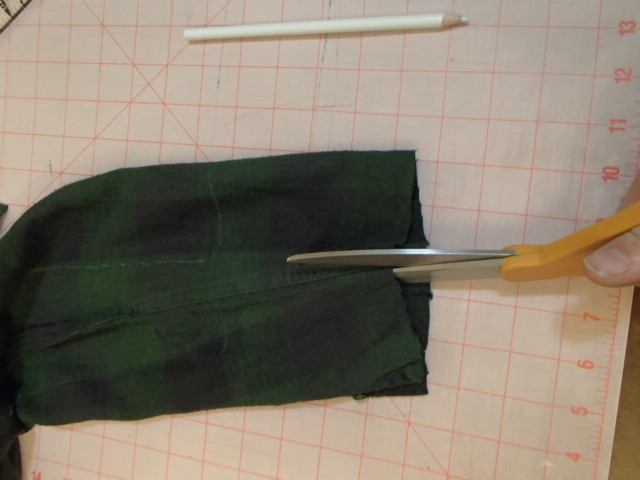
Start by cutting off the cuff of the sleeve. Then cut up the sleeve seam to lay the sleeve fabric as flat as possible. Then give the flat sleeve another good press.

Layout the pattern on the sleeve and mark it around the pattern. I was able to get my top and bottom to lay next to each other. Therefore when I cut them out I did not cut them part until I had laid the pieces on the polar fleece.
Sewing the Arm Warmers
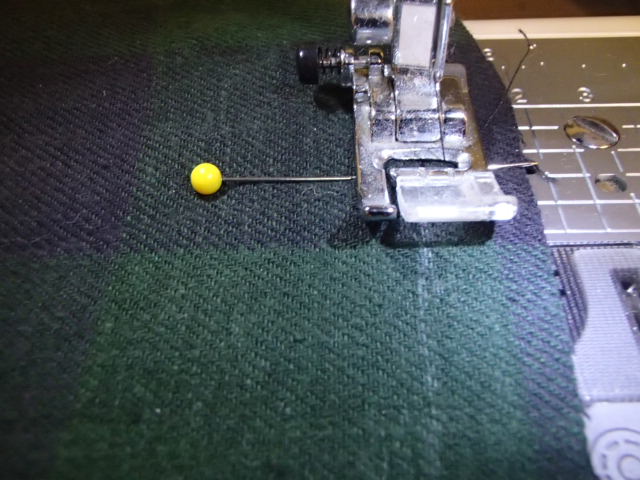
Next, we are going to sew the thumb side of the arm warmers. Start at the top sew down to the opening for the thumb. Make sure to backstitch.
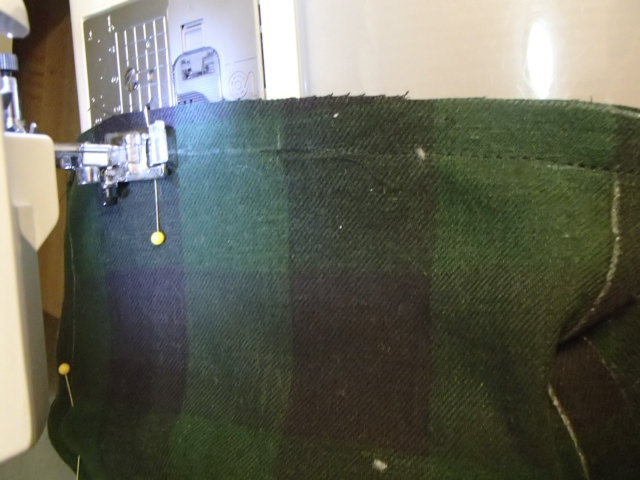
Move over the opening and finish sewing the thumb side together.

Repeat the steps on the polar fleece side of that pattern.
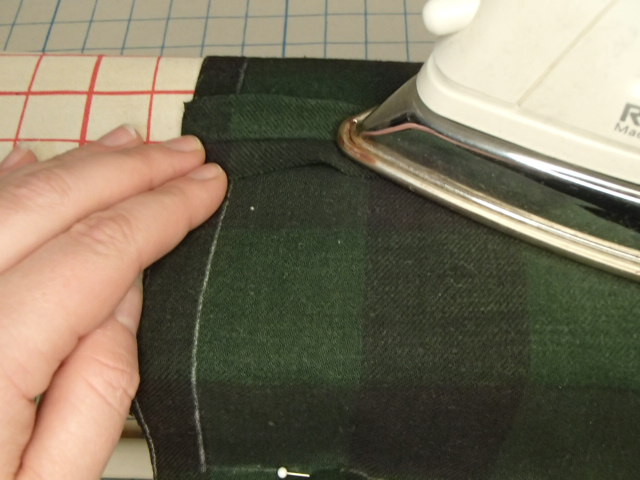
Press open both of these seams
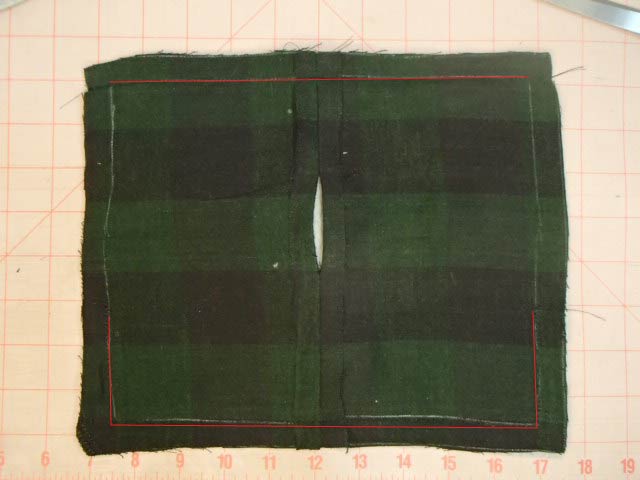
Next,, line up the flannel with the polar fleece and sew across the top. Then starting at the point marked sew around the bottom making sure to backstitch at the corners.
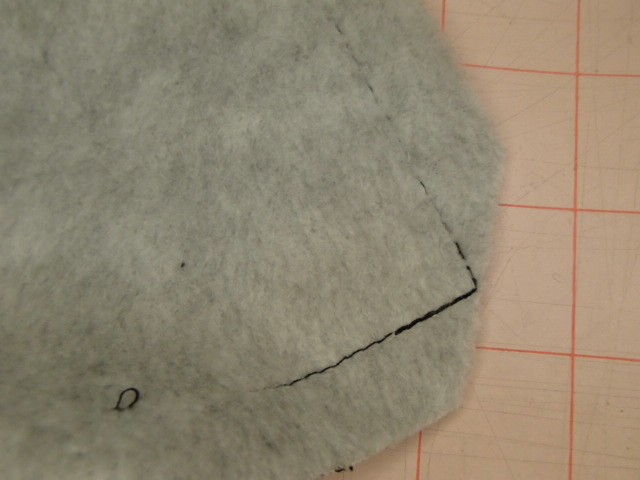
Trim away the corners. Removing the excess will help achieve a crisp corner when the arm warmer it turned the right side out. Press all the seams open.

Turn the arm warmer right side out. Use the point turner to get a sharp corner and press again.
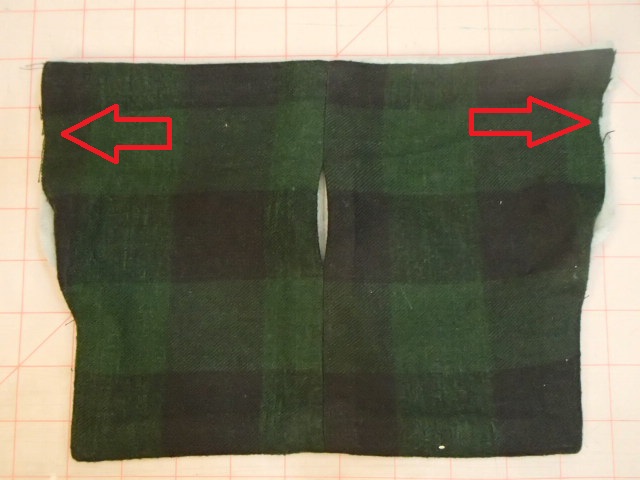
To close the arm warmer we are going to stitch the pinky side of the arm warmer as much as we can with a sewing machine. Then we will finish closing it by hand.
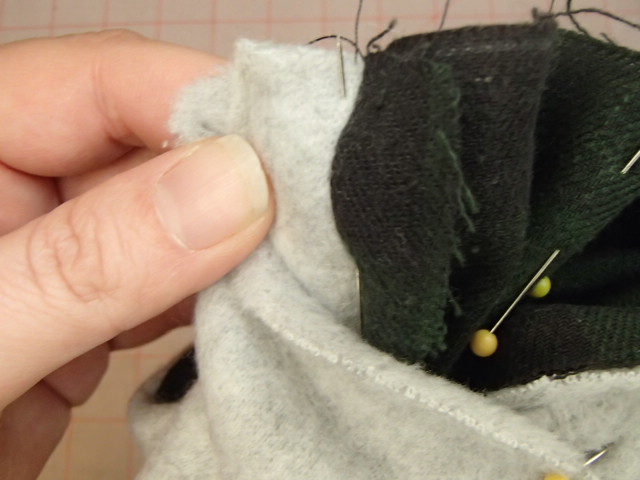
Start by lining up the top seams with each other and pin them so that when sewn the seam will remain lined up. Continue pinning down the flannel side of the arm warmer until you reach the polar fleece again.
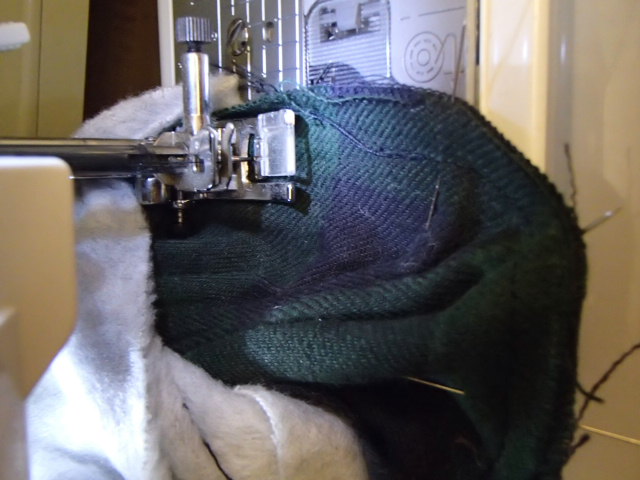
Stitch this seam into place.
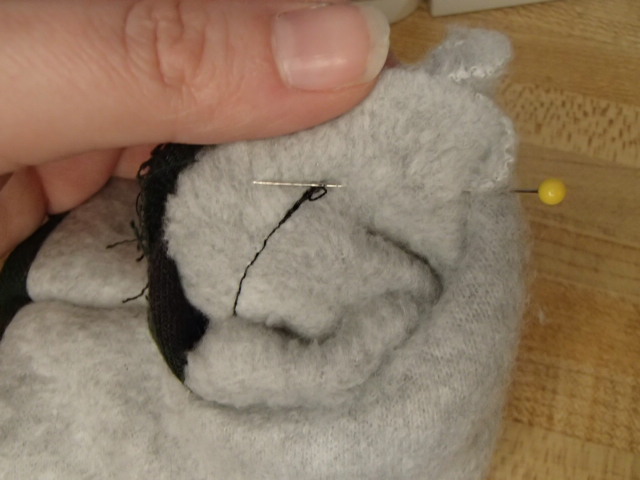
To finish closing as much with the sewing machine pin an inch or two more on the polar fleece side. Starting at the ending point of your last seam sew an inch or two up the polar fleece.
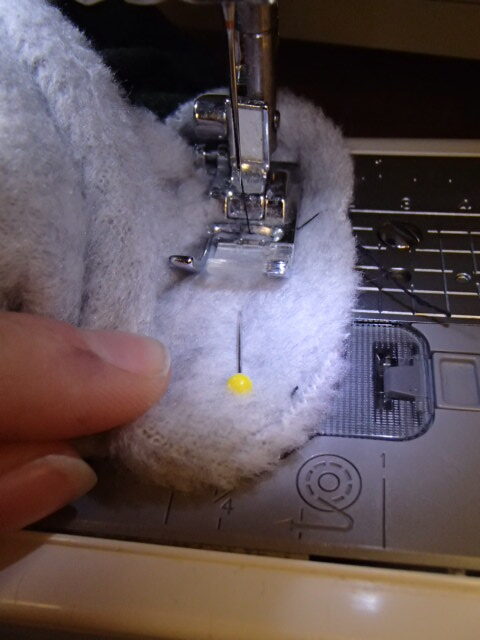
It will be very tight because we are trying to close an opening from the inside while working the rest of the arm warmer right side out.

Arrange the arm warmer so that everything is laying in place and give it another good press.
Finishing the Arm Warmers
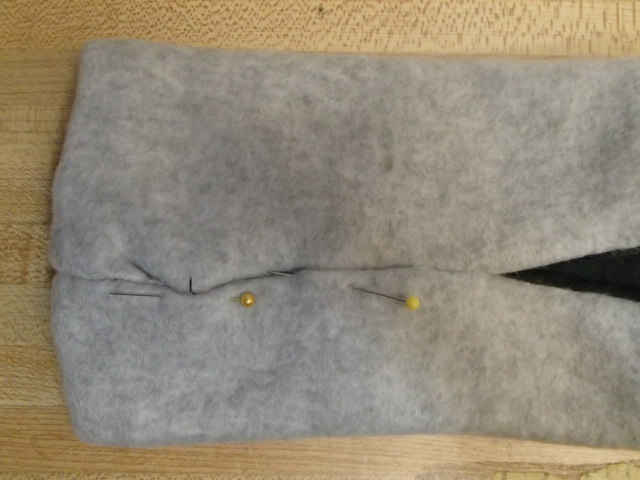
To finish pin close the opening and use a hand needle slip stitch closed.

Next, we are going to line up our thumb holes and slip stitch around their openings.
Add the fun Details
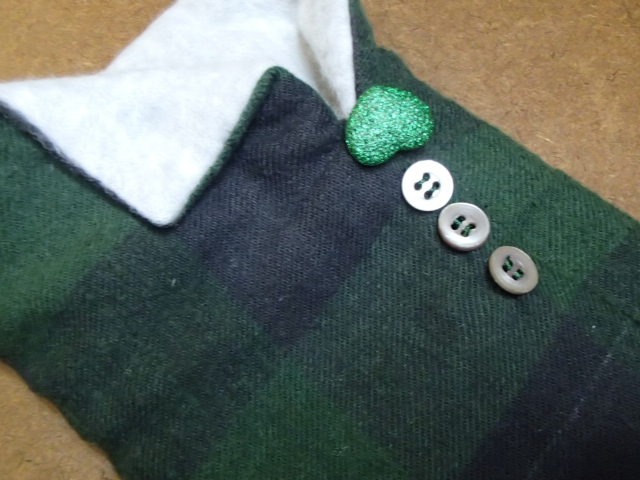
Time to add some final details. I decided to go simple and add some simple buttons up the side.
Final Pictures of the Matching Upcycled Arm Warmers and Cowl
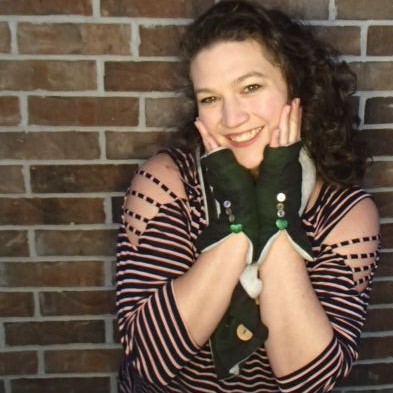
Matching Cowl and Arm Warmers

I hope you create some amazing Upcycled Arm Warmers and Cowl yourself!!! Have you missed some of the other fun?? Make sure to check out the His and Hers Pj set and some fun light-up earrings!!!

One Reply to “How to create Upcycled Arm Warmers and Cowl”
Comments are closed.