Day 18
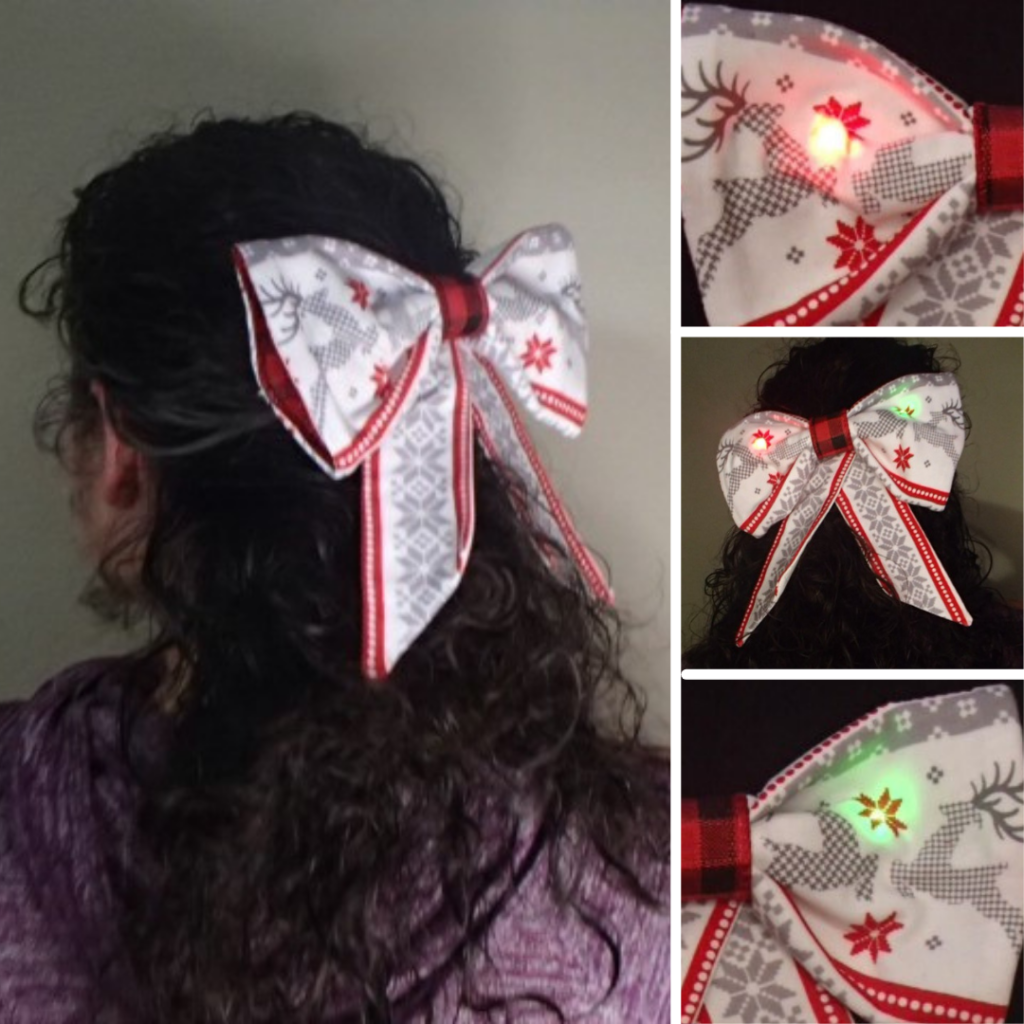
Inserting LED”s into wearable projects can be very easy. Create a light-up hair bow for a special niece in your life and what’s even better is to have her help you make it. Projects together with family are my favorite. Seeing the creative side of kids can open up ideas in your own mind. Let’s get building this Easy Light-up Hair Bow
Gather your Materials
- Scraps of Fashion Fabric
- Heavyweight cotton
- Ribbon
- LIlyPad Sewable LED (X2)
- LilyPad Button Battery Board
- Sewing needle
- Conductive thread
- Sewing Machine / Serger
- Aligator Clip wires
Designing the Easy Light-up Hair Bow
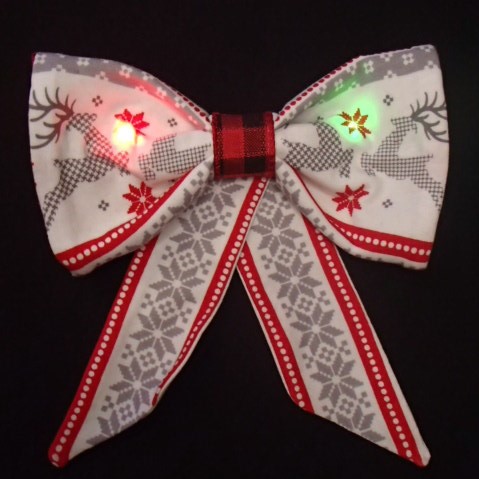
When making hair bows I like to decide the size of the bow first. Then I decided how I want to finish the edges. There are so many ways to make hair bows the options are endless!!!
Making the Easy Light-up Hair Bow
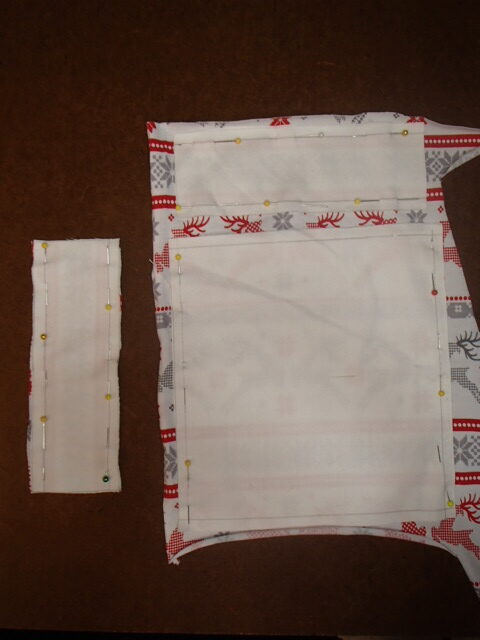
I chose to make my hair bow 7 inches wide by the doubled height of the reindeer pattern. This way I could center the pattern on either side of the bow to create a symmetrical look. I drew my pattern onto the cotton and then pinned it onto the fashion fabric taking close note of where the pattern was hitting. Next cut out the pattern pieces.
Making the Tails
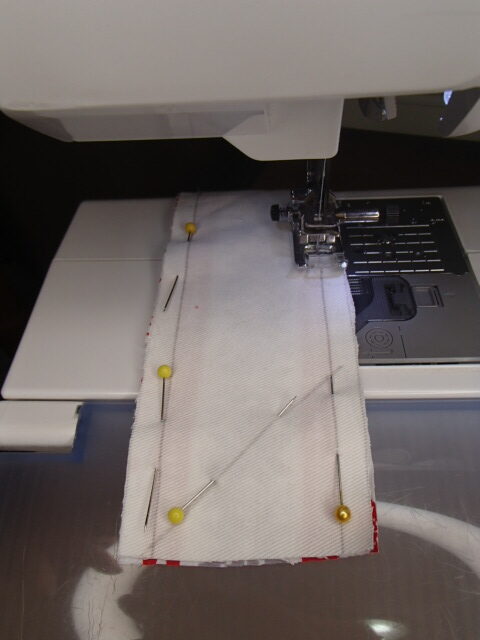
Start by seaming the tails together leaving the top edge open. I like to backstitch at every corner to help provide strength.
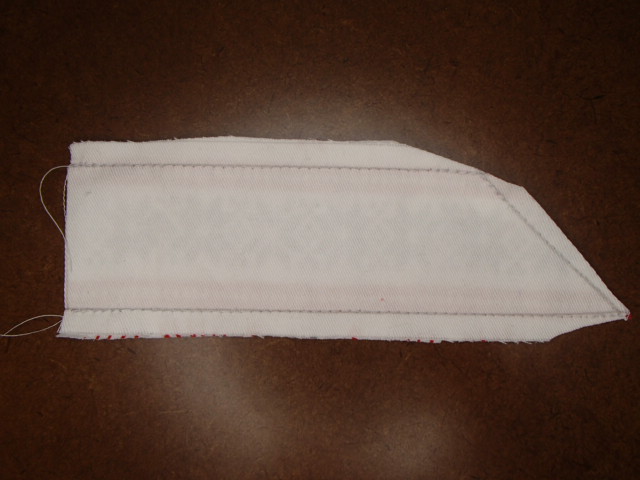
Clip away the extra fabric at every corner. Turn the tail right side out.
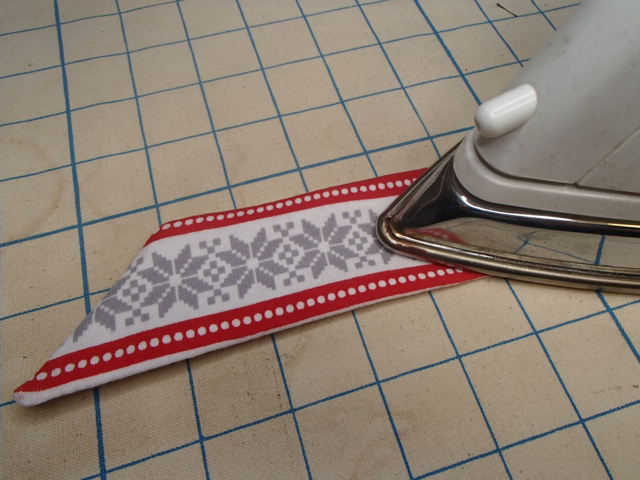
Give the tails a good press
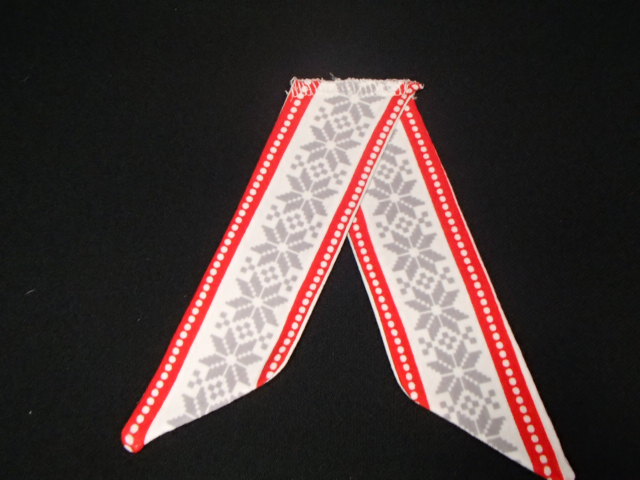
Finally line the tails up so that they have a nice angle and serge the tops together.
Making the Bow
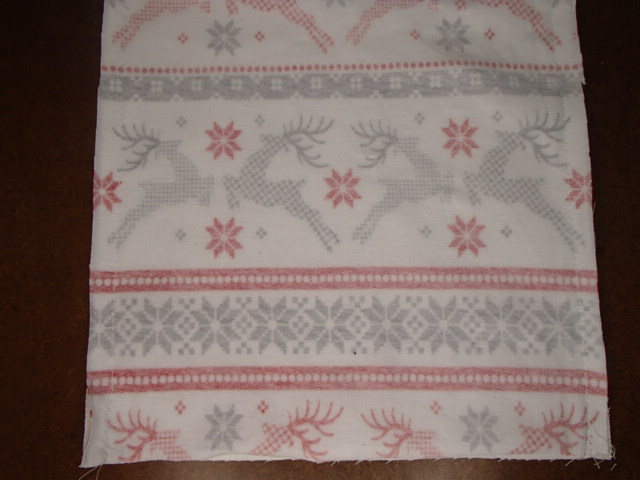
I chose to have the edges of the bow finished off so that I could easily sew in the battery pack and have easy access. Therefore I stitched up both sides of the bow.
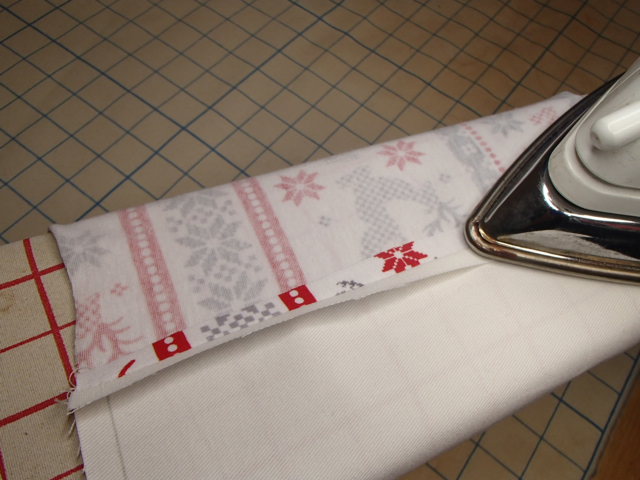
Press open the seams and turn the bow right side out.
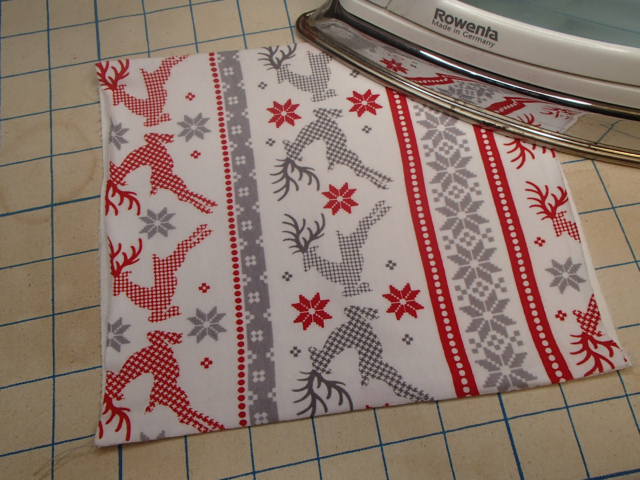
Give the Bow another good press.
Adding the LED’s
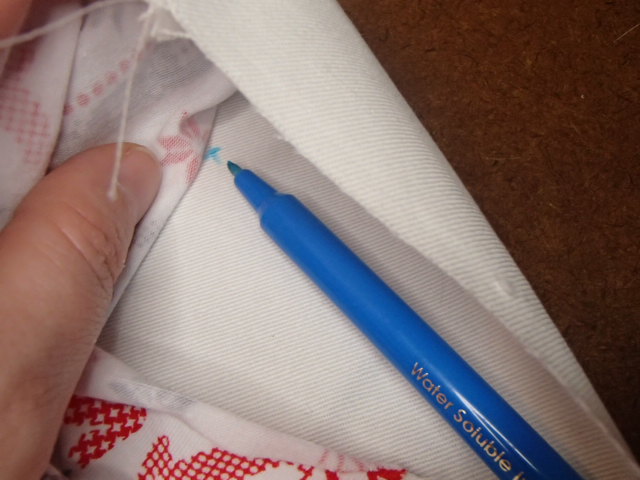
Before finishing closing the bow I want to add the LED’s and the battery pack. Start by making where you want the LED’s to be placed. I thought it would be great for my two LED’s to be under the flower in between the reindeer of the pattern. Putting my finger on the spot and then going between the two layers I marked the spot with a water soulable marker.

Begin by sewing the button battery pack on what will become the inside of the bow. Then using a backstitch and conductive thread sew to the closer LED placement. Whipstitch around the port making sure to connect the positive to the positive.
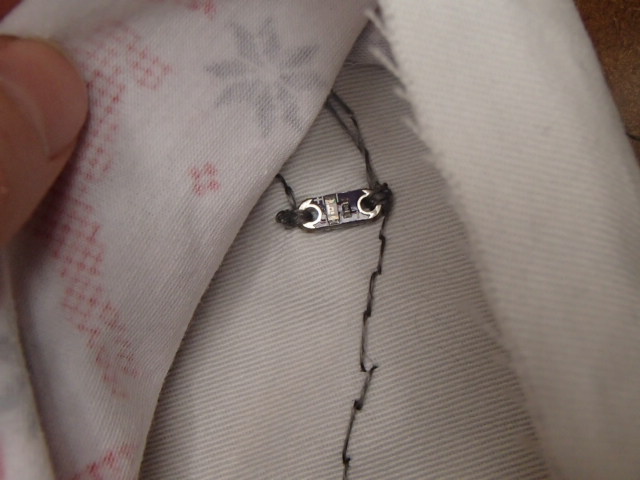
Continue onto the next LED placement and whipstitch through the positive connection.
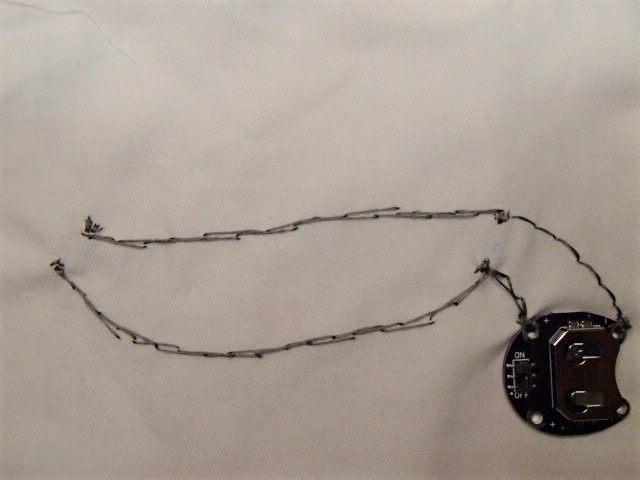
Now it is time to connect the negatives. When sewing with conductive thread make sure that you sew far enough apart that the threads won’t accidentally touch and cause a short circuit. It is also crucial to make sure that the threads do not cross over each other. If there is no other way but to cross over create a plan on how to insert a layer of fabric in between the two thread routes.
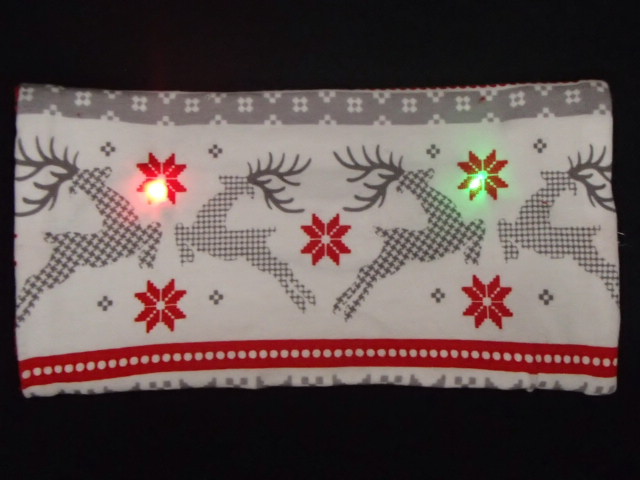
Now that all LED’s are connected with the thread it is time to test the circuit.
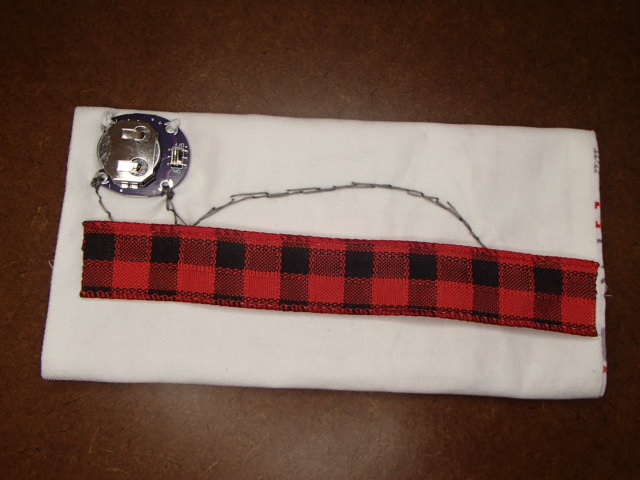
Since the bow will gather down in the center, I want to make sure that the threads never touch. If they do it will cause a short circuit. So to make sure this does not happen I decided to add some ribbon over the top completely coving one line of thread.
Closing the bow
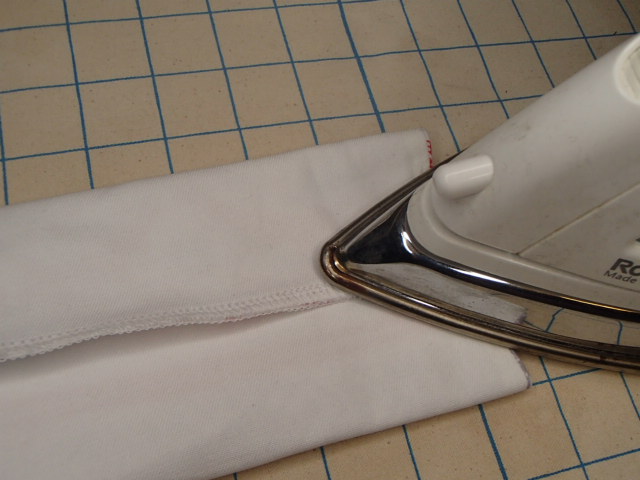
Next, serge the two open ends together creating the cylinder the will make the bow.
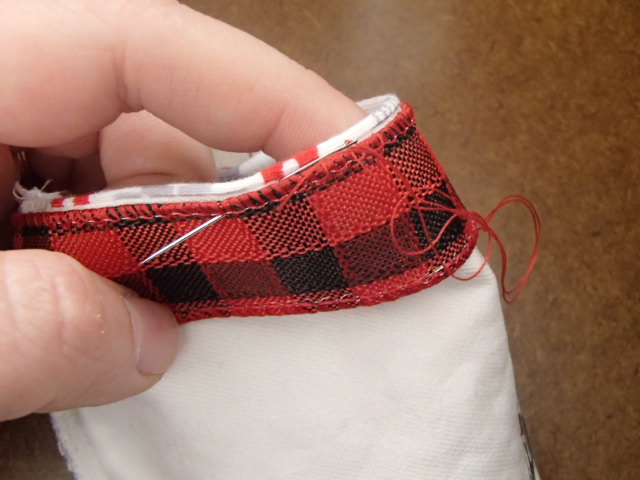
To help conceal the battery pack I decided to add a ribbon to the edge of the cotton on the inside of the bow. After lining up the edges I slipstitch around securing the ribbon to the bow. I when with a ribbon that had wire in the edges to help provide body to the bow.
Finishing the bow
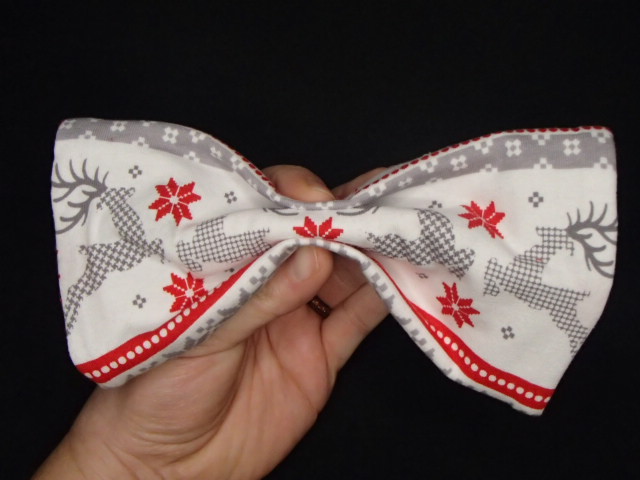
Flip the Bow right side out. Next, add the ribbon in the center that will gather down the center. Tighten it down as much or as little as you desire.
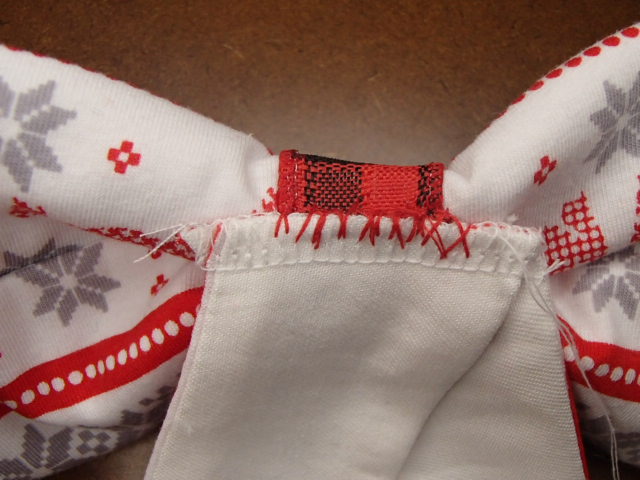
Place the tails behind the robbin and sew them on.
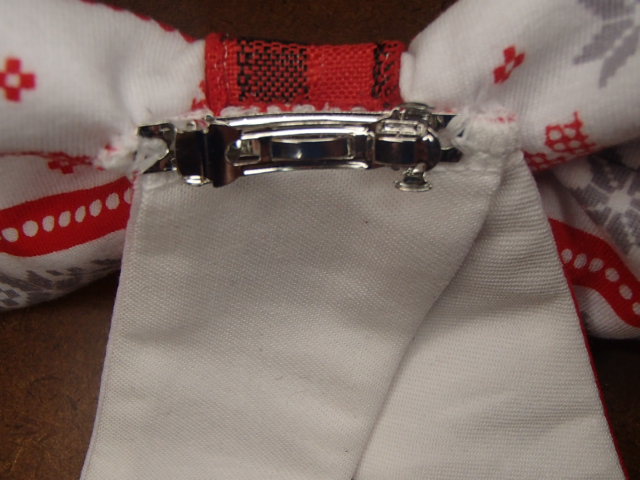
Place the hair clip on top of the serving of the tails and stitch the hair clip onto the bow.
Your bow is now complete!!! Put in a battery and place it in your hair!!!
Final Pictures of the Easy Light-up Hair Bow
