Creating a unique Light-up St Patty’s Day Hair Barrette for yourself or someone else is so much fun. I sometimes crave the ostentatious and crazy. When I was designing this barrette in my head I was trying to come up with a unique but simple design. I came through for myself. Without drying, time included it only took about an hour and a half to make. Let’s get out materials and start making some crazy hairpieces for this fun holiday.
Gather your materials
- Felt Green
- Foam sparkly green
- Fabric Glue
- Fabric Stiffener
- White fairy LEDS
- Button Battery
- Thread Green
- Barrette clip
- Springs
- Sewing needle
- Four Leaf Clover Pattern
Design the Light-up St Patty’s Day Hair Barrette
As stated before I sometimes love to create the crazy and ostentatious!!! So while I was designing this particular hair barrette I did not restrict myself to something I would actually wear. I knew I wanted a 3D element to the barrette from the very beginning. I also knew I wanted to add some fairy LED. Which led me to this unique design.
Creating the Hair Barrette
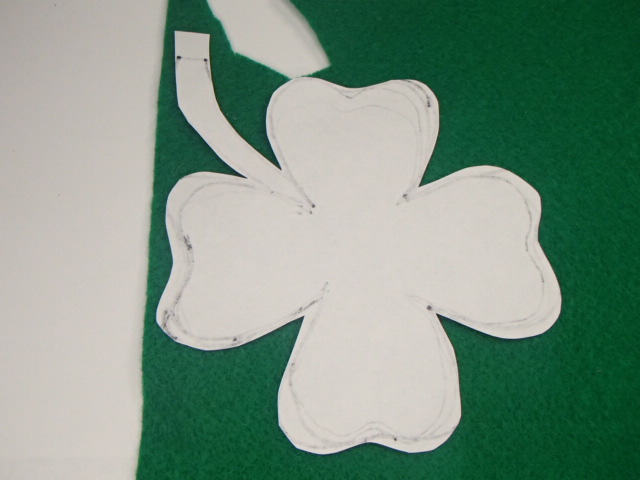
I began with a four-leaf clover pattern. I Traced the pattern onto the felt and cut it out.
Stiffing the felt
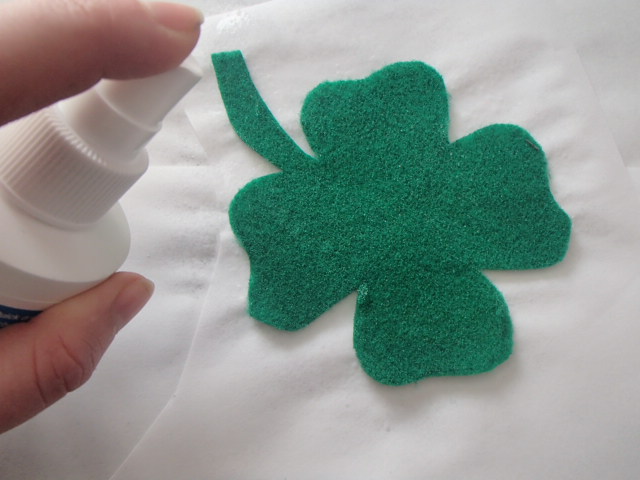
Next, I added a stiffener to the felt. I choose to go with Aleene’s Stiffen Quik. Apply a layer to one side and let it dry. Then apply a layer to the other side and let it dry. Repeat this until the felt is a stiff as you desire.
Making the 3D elements
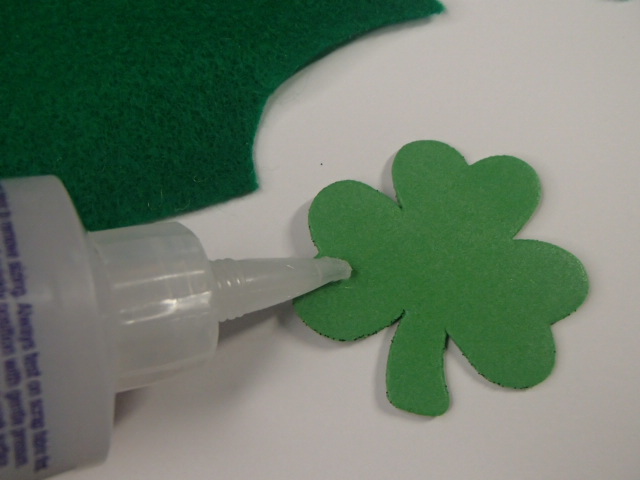
Next, I cut out the felt and foam to create the 3D aspects of my barrette. I glued them together and let them dry.
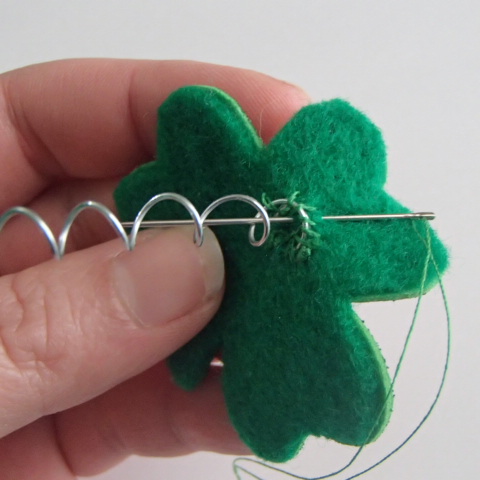
Once everything is dry it is time to put the whole barrette together!!! I started by sewing the springs onto the small four-leaf clovers and then tried a few different placements to see how I wanted to arrange them.
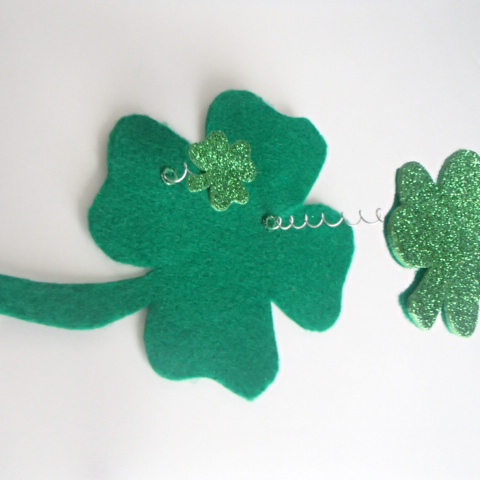
After determining placement I sewed the other side of the spring onto the stiffened felt.
Adding the LEDs
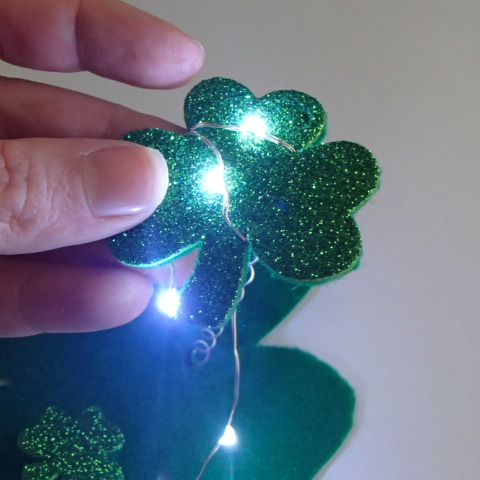
Now it is time to place the LED!!! I started with the tallest clover popping off the barrette and slowly work my way around the entire barrette. Using pins I roughly placed the entire string so that it would not move too much while I was sewing the fairy LED’s down.
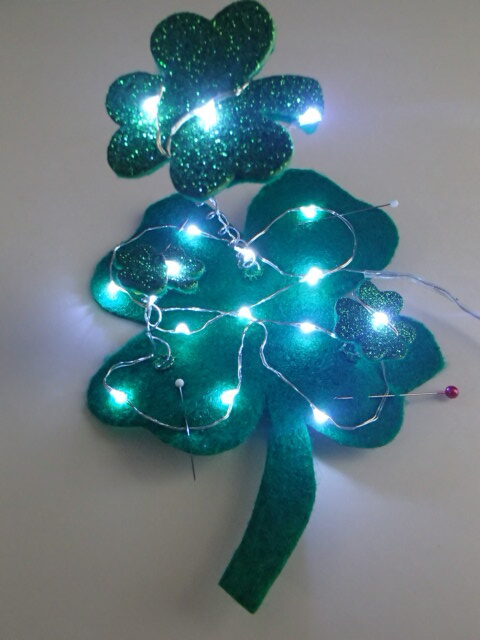
Now sew the fairy LEDs down. I used a basic whip stitch and traveled mostly through the thickness of the felt.
Adding the hardwear
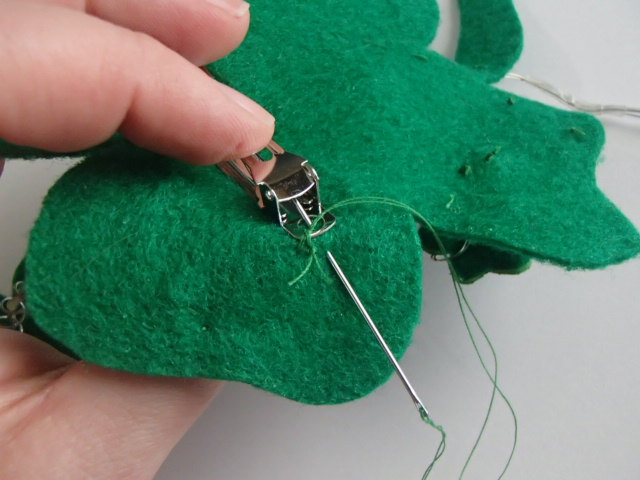
Time to sew the barrette part onto the back of the large four-leaf clover. Make sure you are happy with the placement. Once it is on I always have to try on the new barrette.
Securing the battery
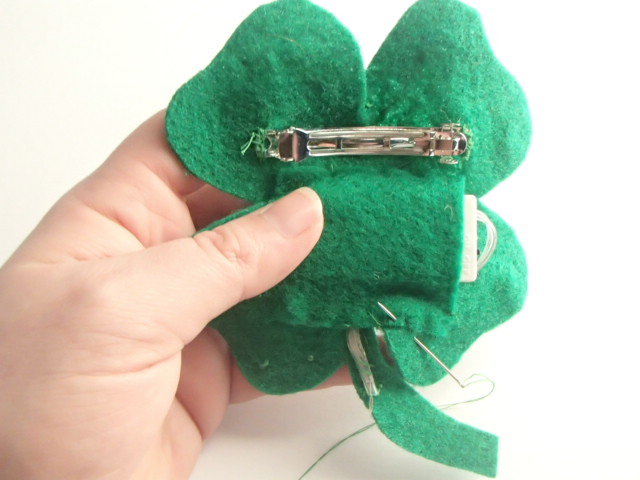
The last thing that is left is securing the button battery case. There are many different ways you do this. You can simply glue it on. Another option is to stitch it on. The option that I went with was to create a small pocket for it to be conceded in. This helps contain the wires are well as keep them from getting tangled in your hair.
Now we have a completed fun unique Light-up St Patty’s Day Hair Barrette
Final Pictures


Ready to begin your own journey into wearable technology? Grab my wearable technology starter tool checklist for free!!!
Make sure to check out some of the other St Patty Day Projects like these Light-up earrings!!!
