It is almost St Patrick day so I am going to make so light-up St Patty’s earrings. I love having holiday-specific earrings!!! Making your own is simple and easy with LilyPad. This way you will have the unique earring that you can say you made yourself when everyone asks!!!
Gather your materials
- LIlyPad button board (X2)
- Green LED (X2)
- 48 Ohm Resistor (X2)
- conductive thread
- Felt green
- Sparkle foam green
- Glue
- earring fastening
- scissors
Designing the Earrings
When designing there are many different ways you can create these earrings. I chose to have only a single led in the center. By trying out a few different ways to layout with up the three LEDs I decided on my favorite layout. I thought that any more than one looked a little crowded. So my final design is a clover with one led in the center and the LilyPad button board and resistor on the back.
Building the Light-up St Patty’s Earrings
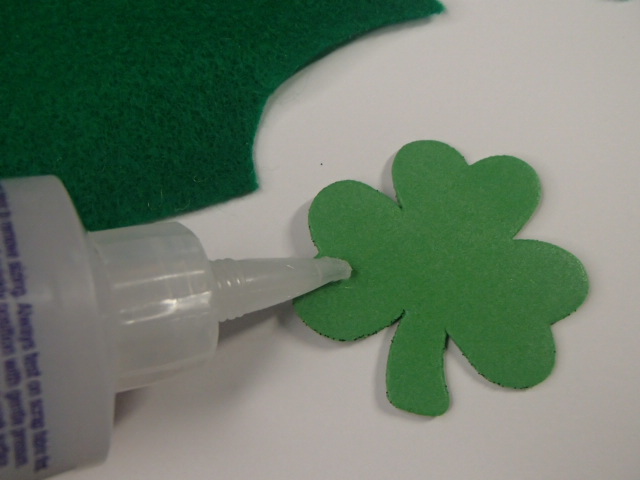
I want my earring to be more sturdy than what felt could support. There are a few different ways to help stiffen the felt. I chose to front the felt with some sparkly foam. I found a sheet at hobby lobby as well as some really fun St Patty’s four-leaf clovers. To make the design faster and easier I chose to use these as a pattern. I glued the foam to the felt and let it dry.

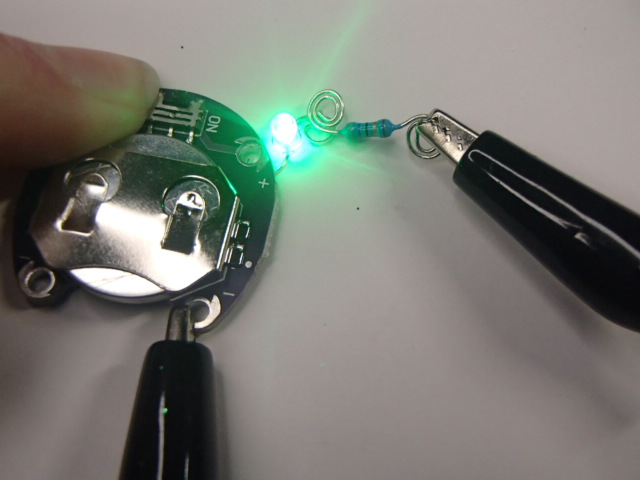
While the felt was drying I prepped the LED and resistors. With needle nose pillars twist the leads into swirls. I like swirls because it adds a nice detail as well as provides an easy way to sew around the leads. Repeat the same swirl with the resistor.
Before sewing anything on the four-leaf clover, double-check the positive and negative. This way, you will only sew once. Seam ripping with the felt and foam is not fun!!!

Stitch around the negative swirl lead and connect it to the negative port of the button battery.

When moving from the swirl to the port make sure to only stitch through the felt half. This way non of your stitches are seen in the front.
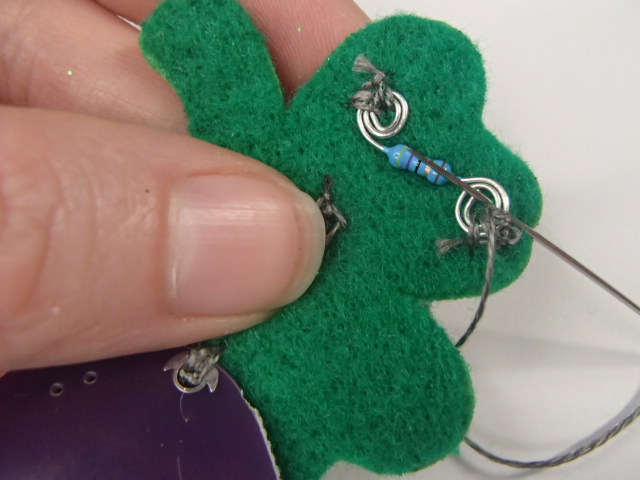
Next, we are going to sew the positive swirl to the positive port passing through the resistor. I placed the resistor on the back of the four-leaf clove to keep the front plain. However, in your design, you may choose to put it anywhere you want.
Finally sew with regular thread on the other two ports to stablized the LilyPad button board onto the back of the four-leaf clover.
Put in a button battery and test out your earring.
Adding the earring parts
The last part needed is to add the earring hook so you can wear these earring out all night!!!


Final pictures of the light-up St Patty’s earrings

Ready to begin your own journey into wearable technology? Grab my wearable technology starter tool checklist for free!!!
