Day 5
In the spirit of ugly Christmas sweaters, I thought it would be fun to make an Ugly Christmas Mantle Sweater for Him. This will not only show everyone else how much you love him or her at this time but also create an amazing party- Memories that last forever! Let’s get started by making our mantlepiece – which can go anywhere in your home as long as there is heat!!
Gather your materials
- Red Sweater
- Felt – Black, Red, Orange, Yellow, Brown, Tan
- Puff Paint
- Christmas Garland with LED lights attached
- Fabric Glue
- Thread – In corresponding colors
- Sewing Machine
- Small Stockings
- Hand sewing needle
- Picture frame
- Headband
- Wire 16 Guage
- Staples Stapler
- Hot Glue
Many of these products can be found at Dollar Tree and Thrift Stores!!!
Designing the final look of the Ugly Christmas Mantle Sweater
I like to lay out what the final design will be for the ugly Christmas sweater so that I can make sure that I have everything that I need. This is also a good time to see if the design will to busy or still need a little bit more. Can you really ever have too much on an ugly Christmas sweater? Inspiration can hit at any time and there is a good possibility that the design will evolve and change some throughout the build process.
Building the Ugly Christmas Mantle Sweater for Him
Creating the Fire
I began with building the fireplace.
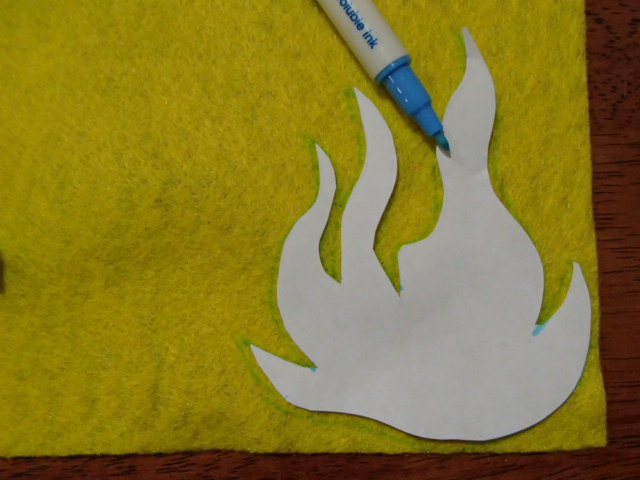
I created my pattern in Adobe Illustrator, which I have attached below, and then started cutting out all the pieces. This included the three flames and 5 pieces of wood
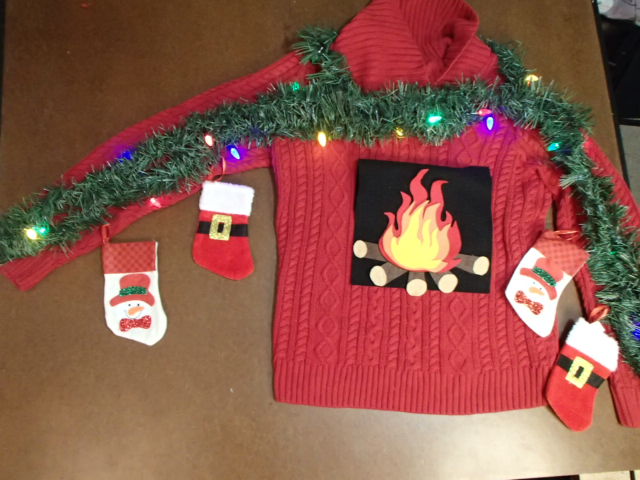
Next, I laid out the final look on the sweater to make sure I was happy with the colors and look.
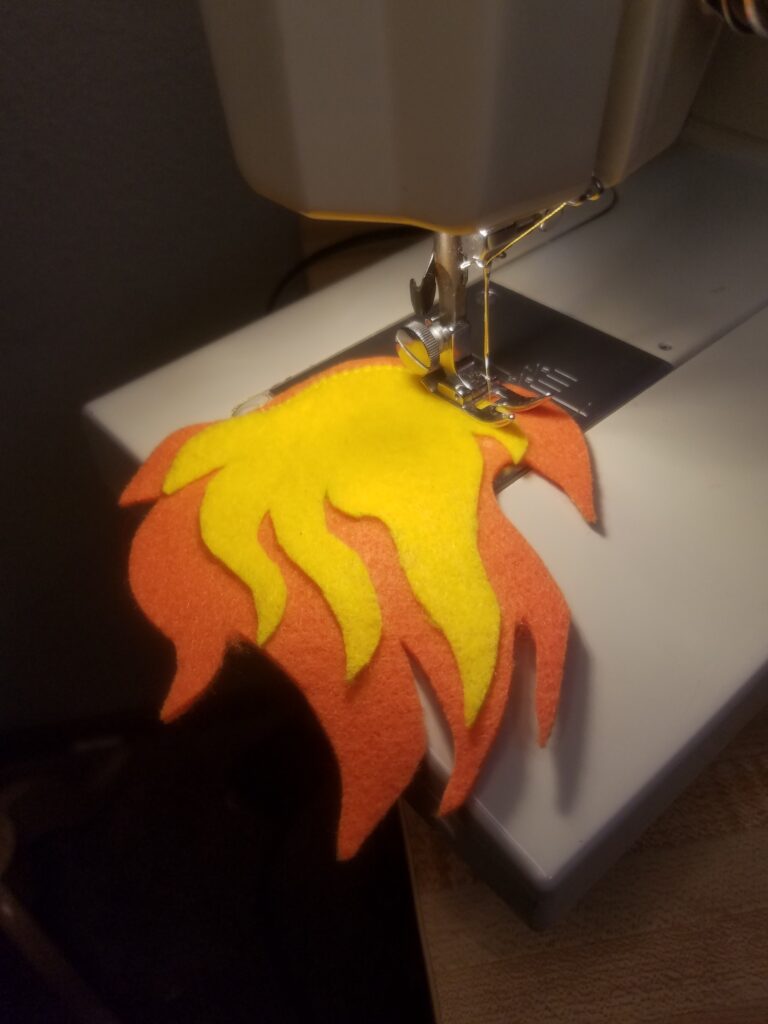
Now it was time to permanently adhere the layers of the fire to themselves and then to the sweater. I used washable fabric glue to initially adhere the yellow flames to the orange flames. Then I zig-zag stitched around the edges to permanently join the two pieces of felt.
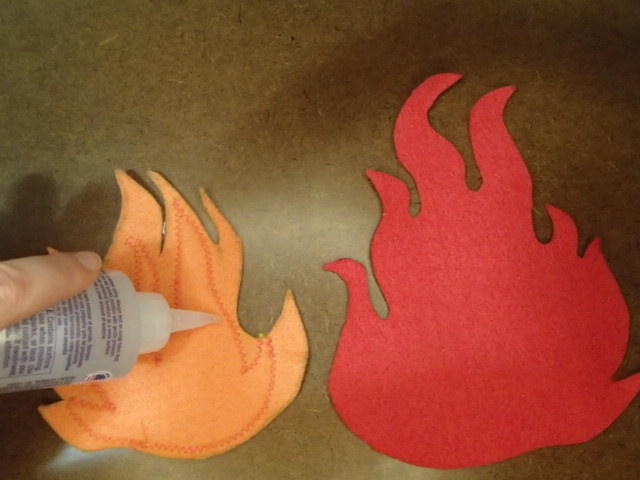
Next, I did the same with the orange to the red felt. Glue on the back…
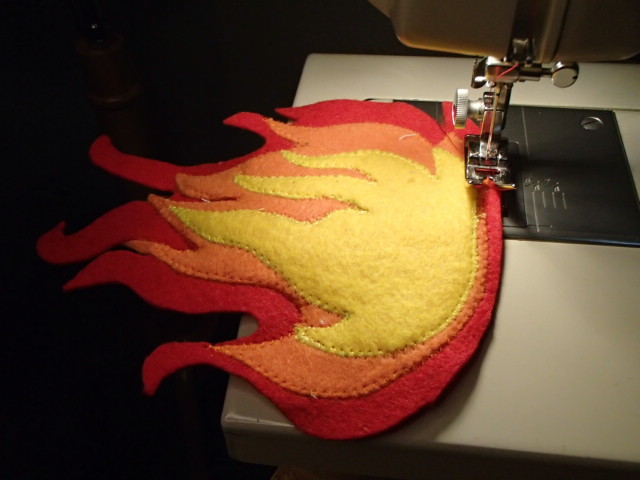
And then zig-zag stitched down.
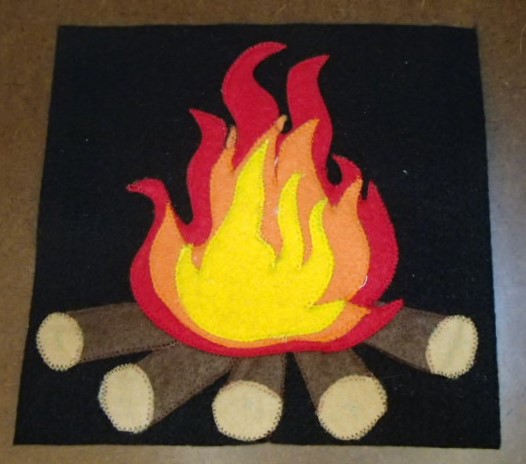
Finally, I moved on to the wood logs. I first attached the circular ends by gluing and the stitching. And then began the placement of the wood pieces and fire on the black felt.
Once I was happy with the logs and fire placement I glued and zig-zag the logs first and then the fire. I am very happy with the final look of the fire and logs. I think the colors helped create a dimensional look as well as the stitching created a finished appearance.
Attaching the Fireplace to the Ugly Christmas Sweater for Him
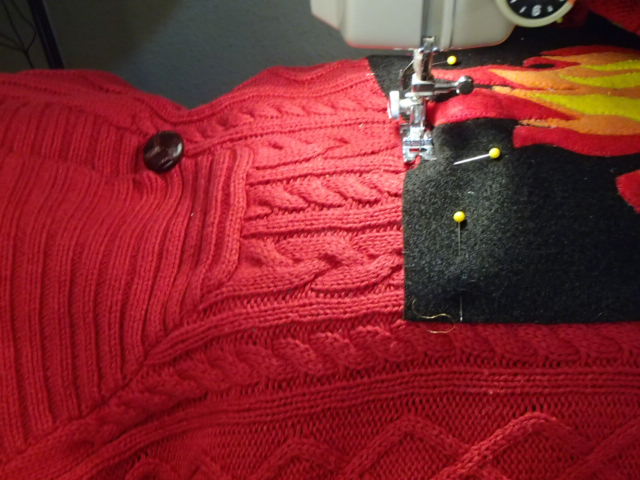
Next, it was time to attach the fireplace to the sweater. I laid the felt on top of the sweater using the knitting patterns as a guide on each side. To help me pin through only the felt and front of the sweater I inserted a long wide ruler to separate the front of the sweater from the back. After double-checking that I was happy with the placement I started to zig-zag stitch around the black felt.
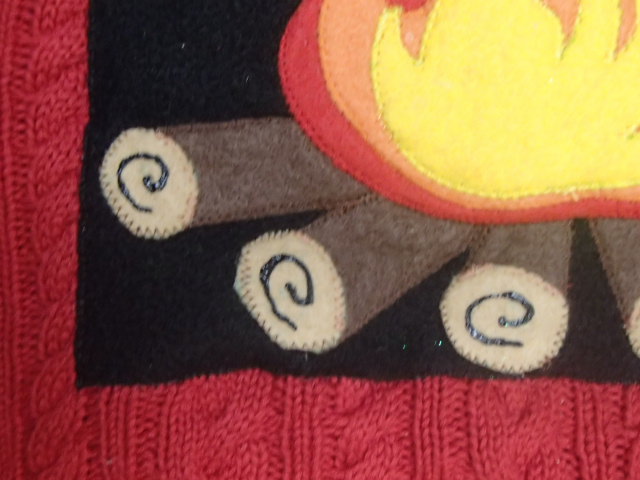
The last detail I added was the swirls on the logs. I used black puff paint to create these swirls and help provide a bit of dimension.
Attaching the Garland to the sleeves
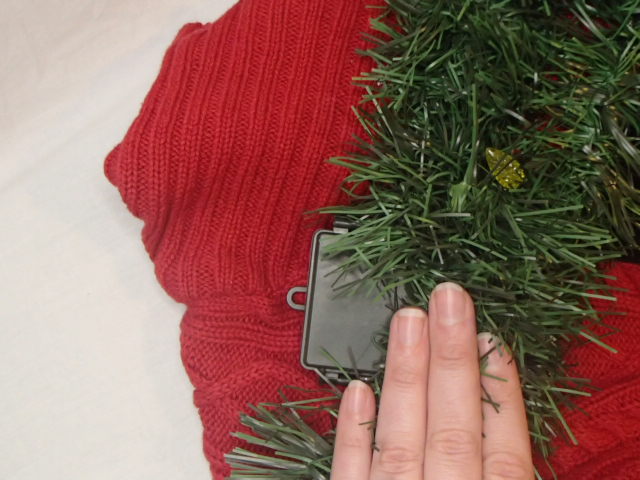
First I had to decide where to hide the battery pack on the right shoulder under the garland. I was able to have the garland overlap in that area to help conceal the battery pack.
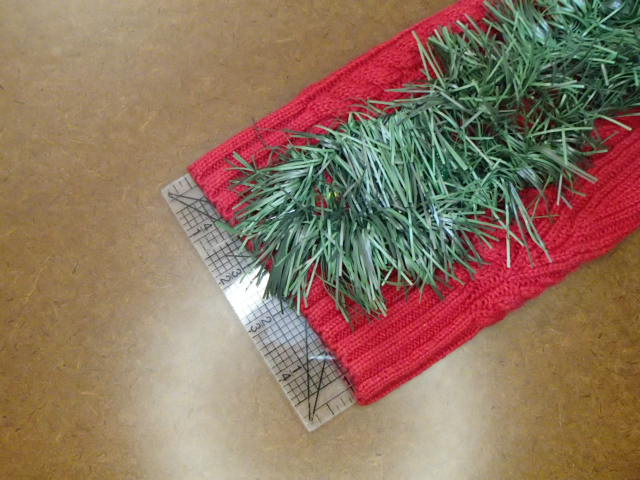
Inserted a ruler into the sleeve so that while pinning and stitching the garland you will not catch the bottom part of the sleeve. I pinned the garland from end to end down and then using a larger whip stitch I hand stitched the garland down.
Attaching the Stockings
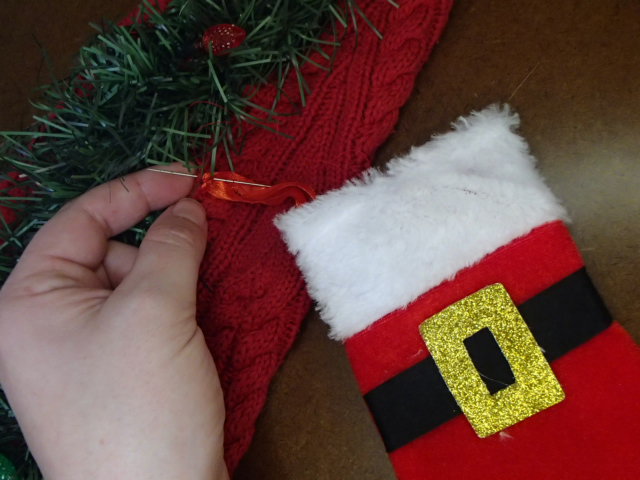
To help sell that this sweater is a mantle I added on 4 miniature stockings. I divided the sleeve into thirds and had stitched them under the garland
Picture frame Headband to enhance the Ugly Christmas Sweater for Him
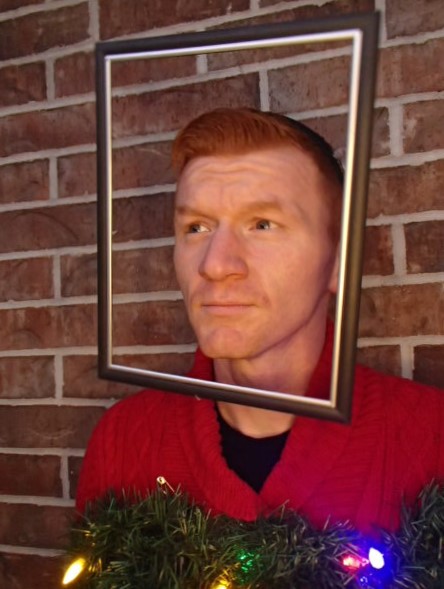
The final item that truly helps sell this sweater as a mantle is the picture frame headband to frame the wearer’s face as the painting over the mantle.
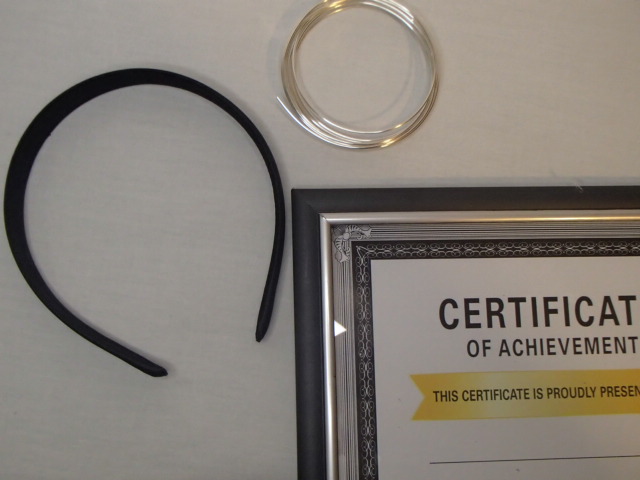
I started with a cheap lightweight picture frame a headband and some wire. I bent the wire into an isosceles trapezoid shape. That way there was a log edge to help stabilize the frame down to a smaller side that would be stitched onto the headband.
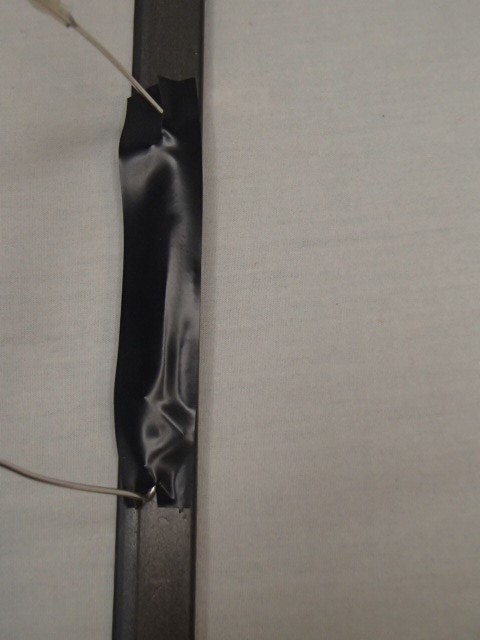
I used tape to help test different placements of the isosceles trapezoid on the frame and headband until it was sitting exactly where I wanted the frame. I found that I needed a third single straight wire at the very top to help stabilize and angle the frame correctly.
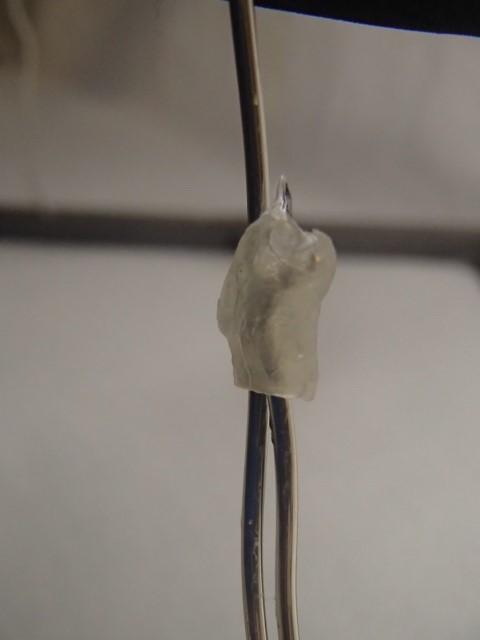
Now it is time to permanently attach the frame, wire, and headband to create the final product. I started by adding a little glue to hold the wire isosceles trapezoid together.
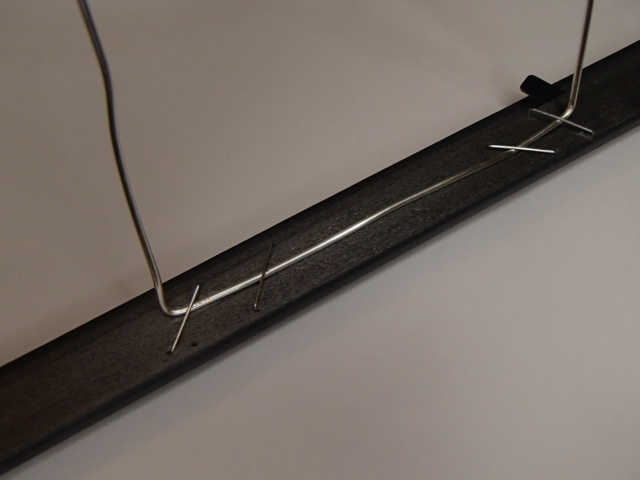
Next, I stapled the wire to the frame.
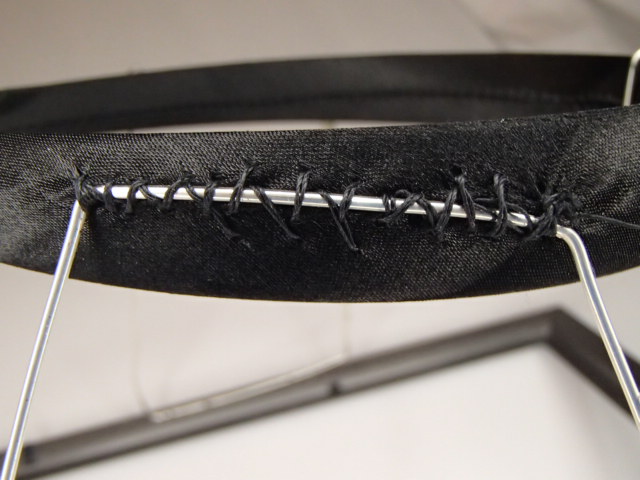
Finally, I whip-stitched around the wire to attach it to the headband.
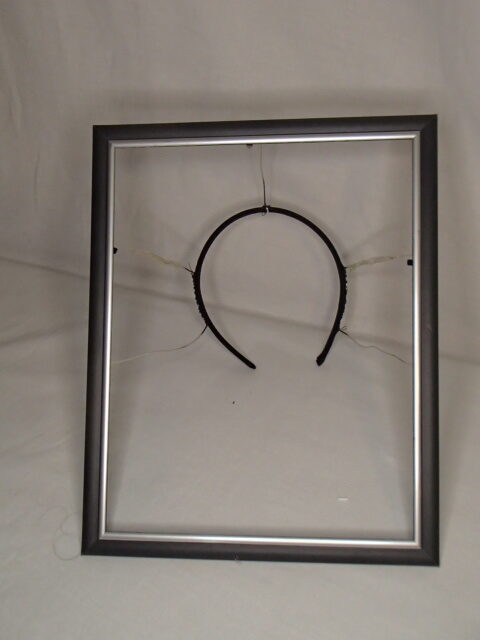
Now you have completed the picture frame headband.
Time to try on the Ugly Christmas Sweater for Him
It is finally time to try on the Ugly Christmas Sweater for Him and see how it looks!!!
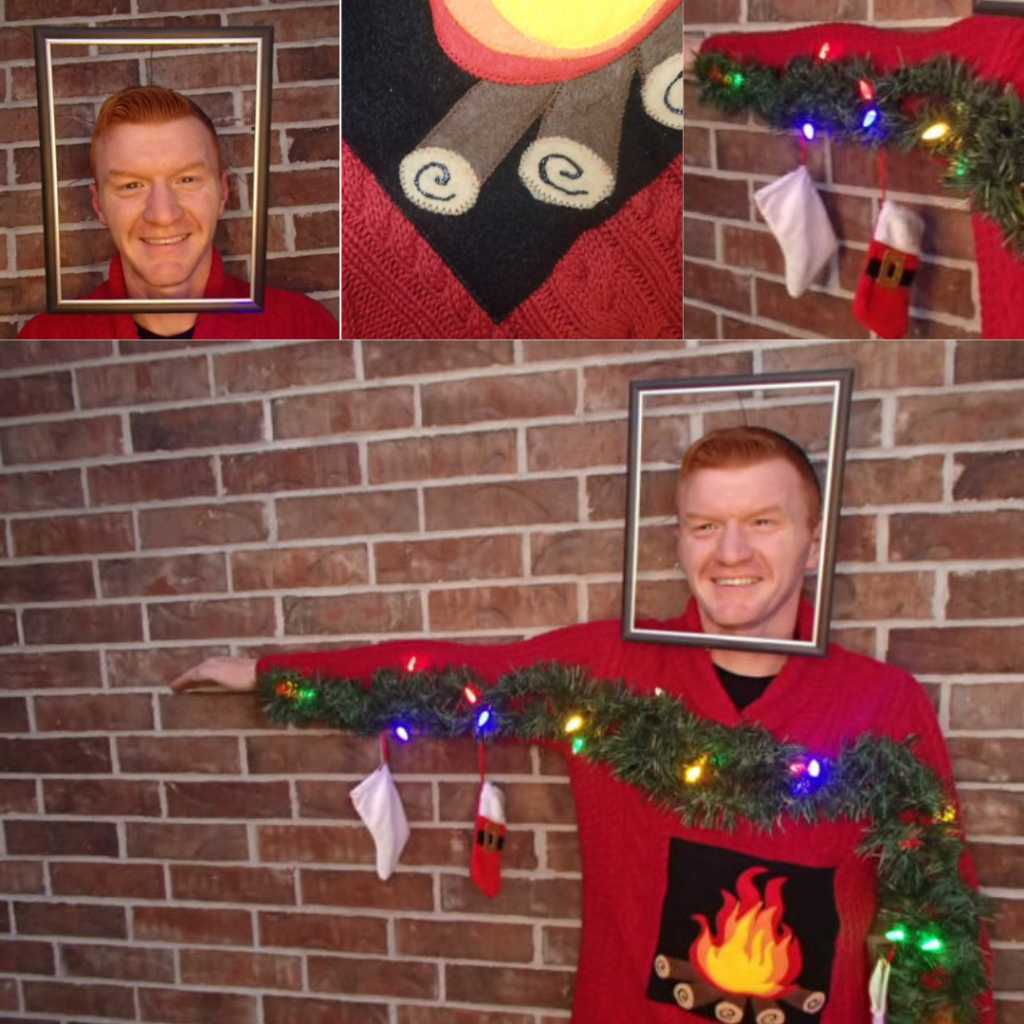
Did you see the Ugly Christmas Tree Sweater for her from yesterday? Make sure you check it out!!! Have you missed some of the other Days of this fun 25 Days of Christmas?!?! Check out this fun Light-up Santa Hat or this fun Light-up Santa Earrings!!! Make sure to come back tomorrow for more fun Christmas Themed projects!!!

3 Replies to “Create A Unique Ugly Christmas Mantle Sweater For Him”
Comments are closed.