Day 1
This is the perfect time of year to get into that Christmas spirit. Decorating with banners, trees, and lights!!! Create a light-up Santa Hat for your next party which will make it feel like an event from another world! Let’s gather all our materials together now so we can start building right away!
Gather you materials
- Santa hat
- Muslin or cotton (about 1/4 yard)
- USB powered individually addressable NeoPixel LED Strip
- Small power bank
- Snap
- Sewing needle and Thread
- Sewing Machine
Design of Light-up Santa Hat
There are many different ways to add LEDs to a Santa Hat. I decided to go with a basic look and only add LEDs to the fur cuff around the base of the hat. Power banks that are often used for recharging phones are a great way to power these LEDs. I will add a pocket for the power bank on the inside of the hat so all the wires, battery, and lights are contained within the hat.
Constructing the Light-up Santa Hat
Patterning and inserting the muslin facing
I am going to be attaching the LEDs to a piece of muslin that is sewn to the inside of the hat. Start off by measuring the circumference and width of the fur. Draft a rectangle that is this size and add half an inch seam allowance all around the pattern.
Next, I serged around all sides of the rectangle to keep the edges from fraying. Then I sewed the rectangle into a circle pressing open the seam and pressing one edge up.
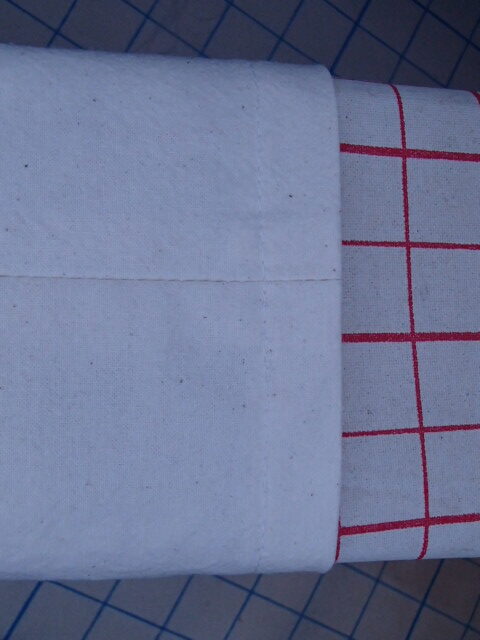
Now topstitch the hem that was pressed up to provide a clean edge for the final look.
The way this Santa hat was originally made makes it easy to add the muslin on by stitching on top of the original seam. This will secure the muslin, that the LEDs will be applied on, to the Santa hat.
Attaching the LED’s
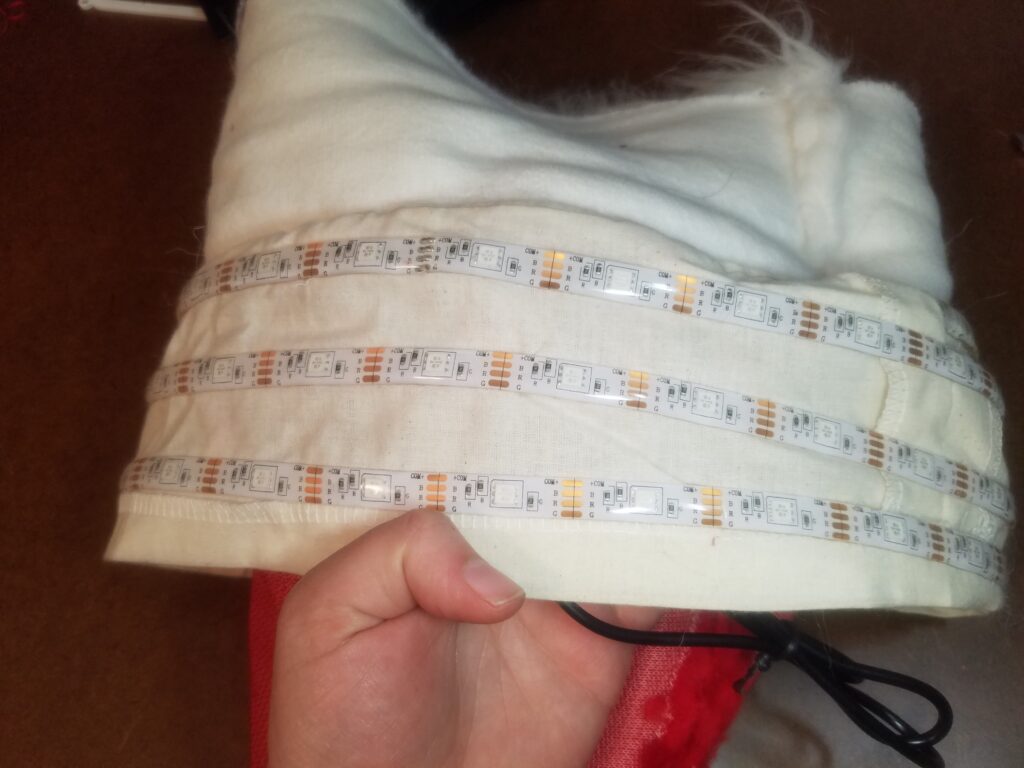
Now it is time to add the LEDs! I decided to attach them in a circular swirling pattern. I had 6.5 feet of LED tape to swirl onto the hat. The strip that I purchased has double stick tape on the back and even though I am not a fan of tape and wearing I am going to make an exception for this project. To help with the placement I also marked around the muslin at even intervals.
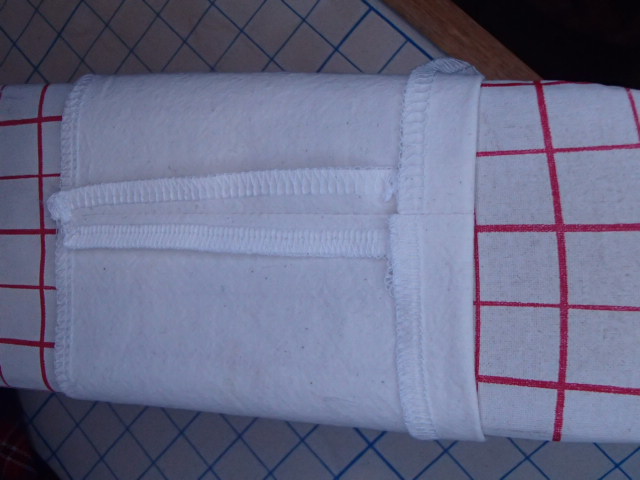
Adding the battery pocket to the inside of Light-up Santa
Next, we are going to cut another piece of muslin that is an inch bigger than your power bank. I then serger around all edges and pressed down a half-inch all the way around.
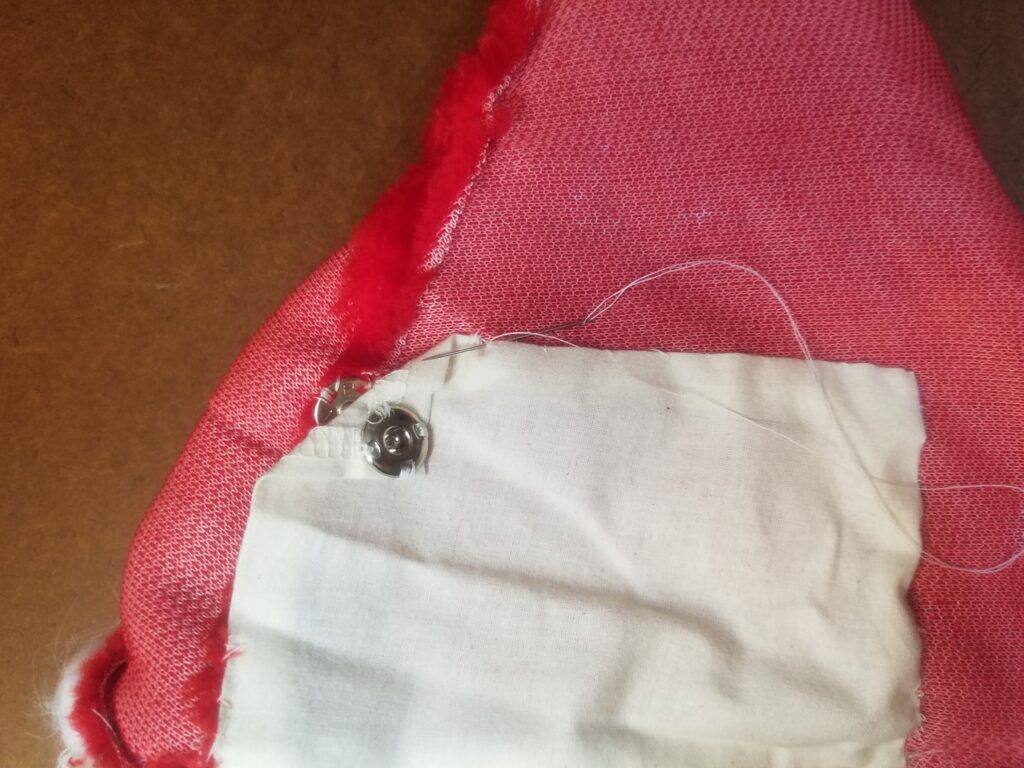
Now we are going to attach the pocket almost all the way around. You want to make sure that you will leave an opening that is large enough for the battery to slip in and out of. I decided to leave the top corner so that gravity helps keep the battery in place. Using a slip stitch, work your way around firmly attaching your muslin to the hat and creating a pocket. I added a snap to the very top corner of the opening to fully encase the battery and securely keep the battery in the pocket.
Finishing details

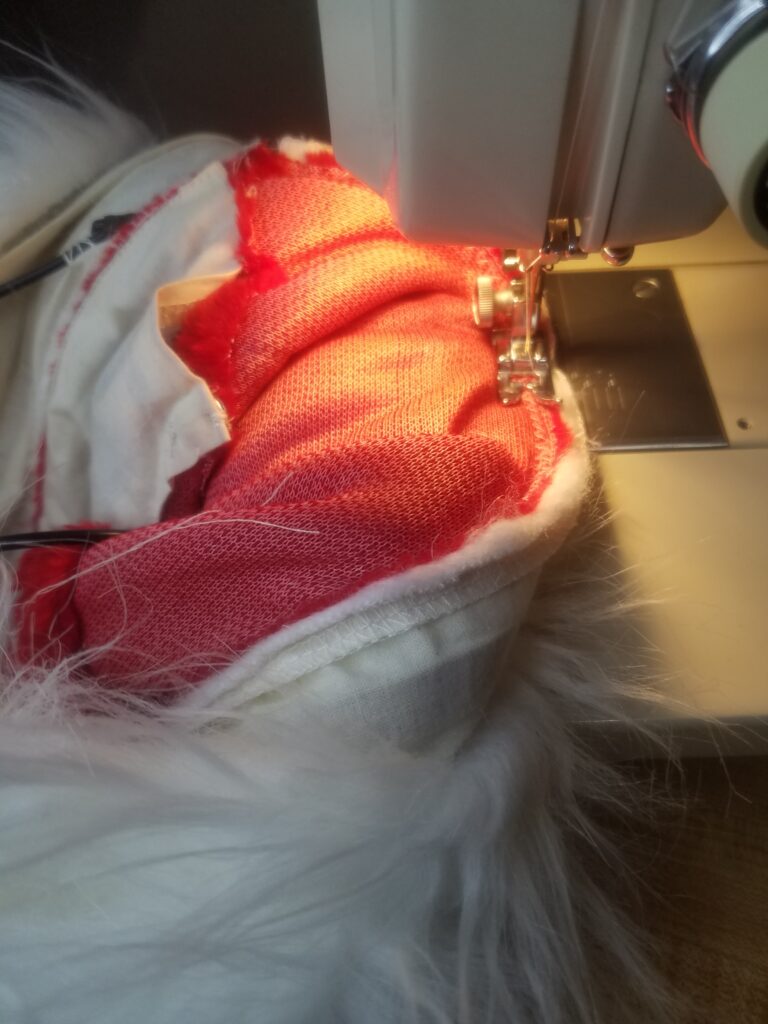
Lastly, I am going to hand stitch down the bottom edge. I used a long whip stitch so that if I even needed to open the seam back up I could easily and quickly get to the LEDs.
Finished Light-up Santa Hat
Now it is time to plug in your battery and try on your new Light-up Santa Hat!

Make sure to come back tomorrow and check out day 2 of 25 Days of Christmas!!!
Want to begin your own adventure into Wearable electronics? Grab my free mini-course to start learning the basics!!!
Love this pin check out some of the other light-up projects I have. Such as the felt flower light-up earrings or this fun Felt Pumpkin Pin. Get some inspiration and create some for yourself.
11 Replies to “How to Create a Light-up Santa Hat for the Holiday Festivities!!!”
Comments are closed.