Making Light-up Flower Earrings using Lily Pad button board and sewable LED is a fun way to create unique earrings. I have so many ideas when it comes to creating light-up earrings. It can be hard to choose which project to create next. Let get started making some fun Light-up Flower Earrings!!!
Gather your Materials
- LilyPad Button Board (x2)
- LilyPad Sewable LED (x2)
- Conductive thread
- Felt
- Foam
- Pattern
- Fabric glue
- Earring Hook (x2)
- Chain (x2)
- Pillars
- Scissors
- Water Soluble Pen
- Awl
- Sewing Needles
Design the Earrings
Last week, I had created a bracelet using a LilyPad Button Battery Board and three LEDs and wanted some matching earrings. Staying within the same design, I decided to create a smaller flower with a larger leaf petal that would light up in the same way the bracelet did.
Pattern
Making the earrings
Prepping the materials
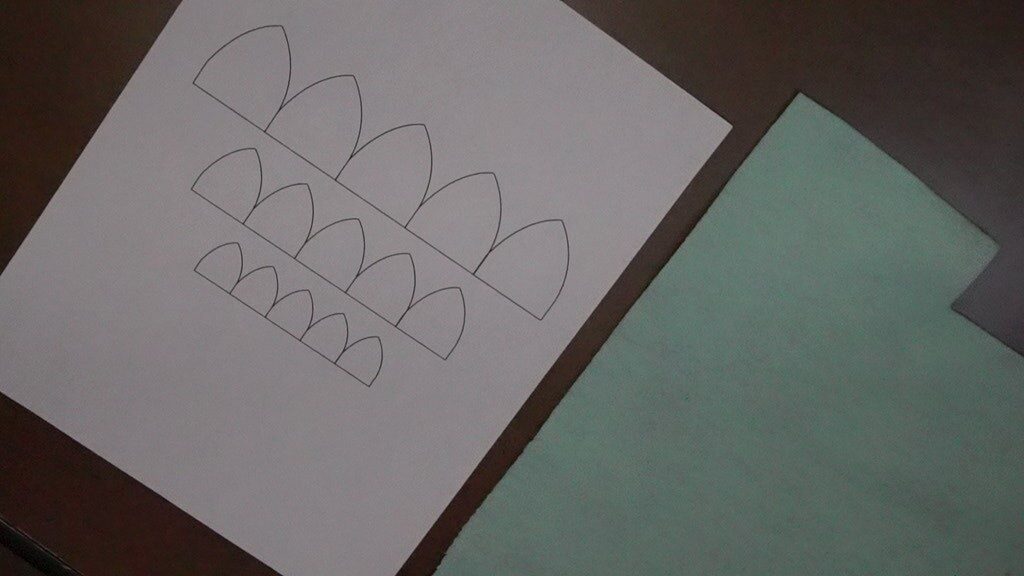
After printing out the pattern, cut the size of the flower desired for the earring. Also, cut out the size of the leaf pattern that the flower will be attached to. Note that the leaf pattern will also be where the Button Battery Board is housed, ensuring that the leaf is large enough.

Using the water-soluble pen, trace out the patterns on the colors of felt you have selected. Cut out the two flower patterns and set them aside.
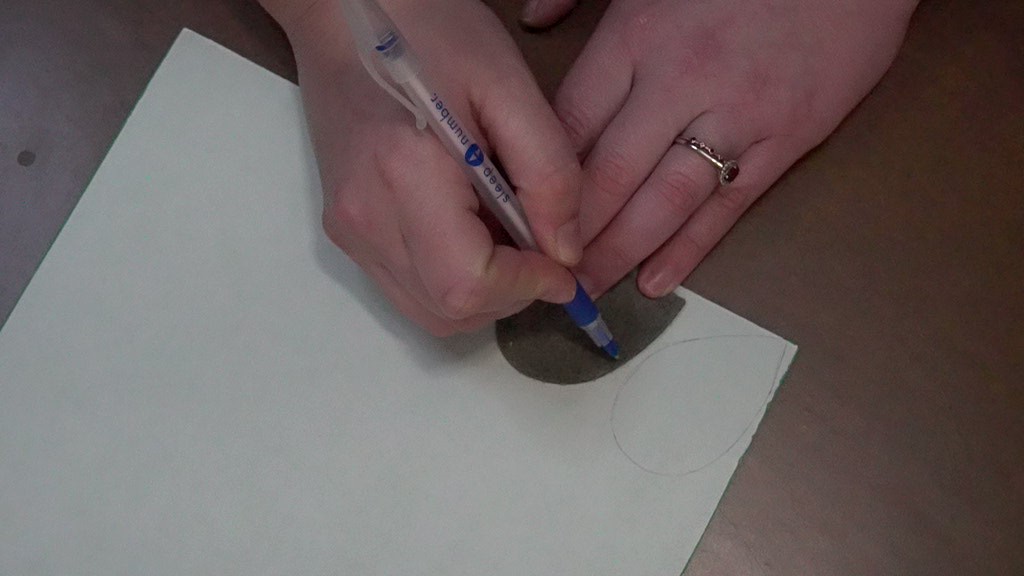
I choose to add foam to the back of the leaf to create more stability for the. I traced the pattern in the back of the foam.

Glue the foam to the felt using the fabric glue and let it dry. Once it is dry, cut out the leaf pattern. I wait to cut the pattern out until the felt and foam have adhered together because the two pieces will be smooth.
Create the Flower
With a hand sewing needle, baste along the bottom edge of the flower. Once at the other end, pull tight to have the flower gather into a circle. Stitch back at the beginning to create the full circle. Stitch all around the flower to secure the gathering. Knot off the end but do not cut the thread.
Adding the LED and Button Battery Board to the Earrings
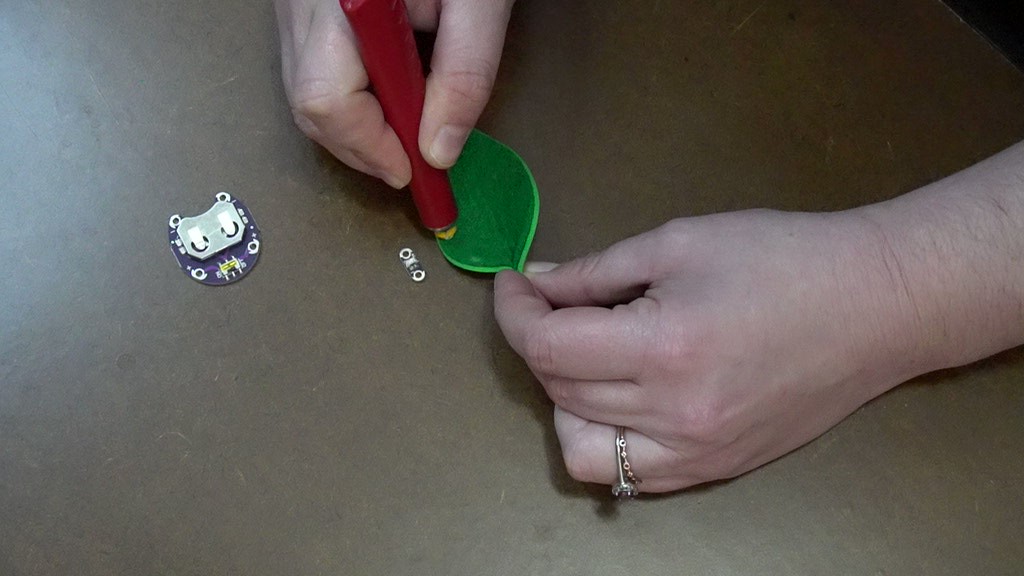
Figure out the placement of the components and place a chalk mark.
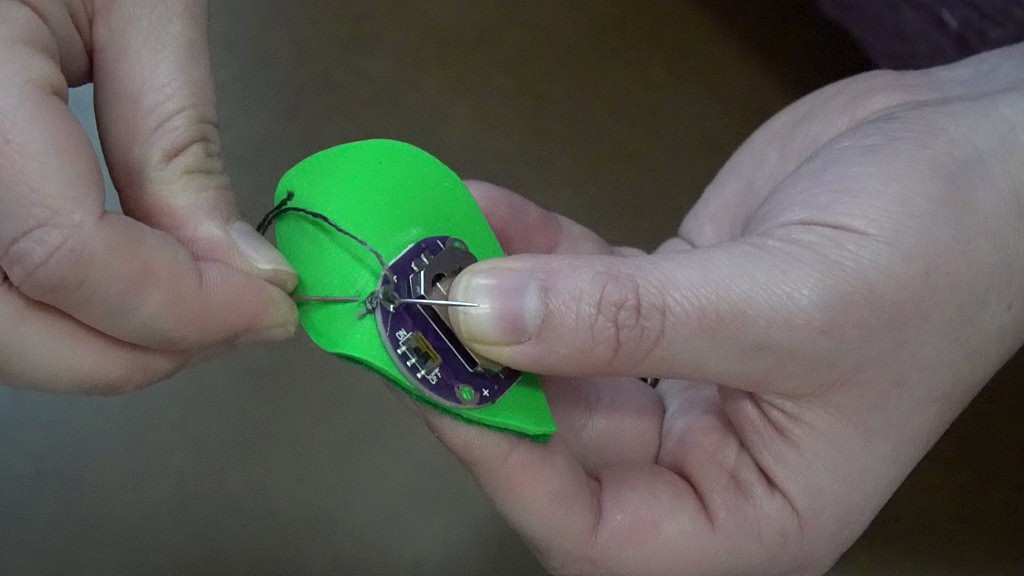
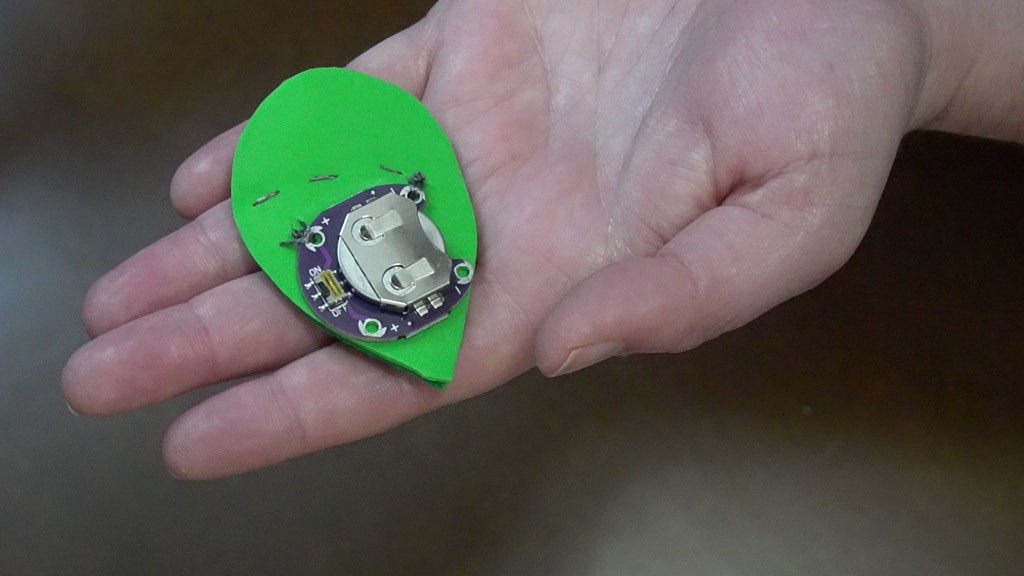
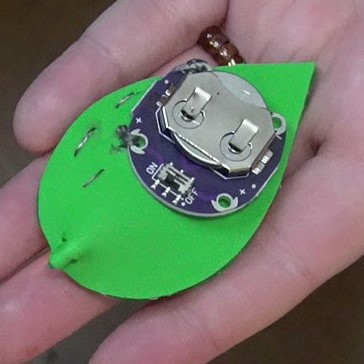
Begin sewing the positive side of the LilyPad Button Battery Board. Make sure to whipstitch around the port at least three times to get a secure connection.
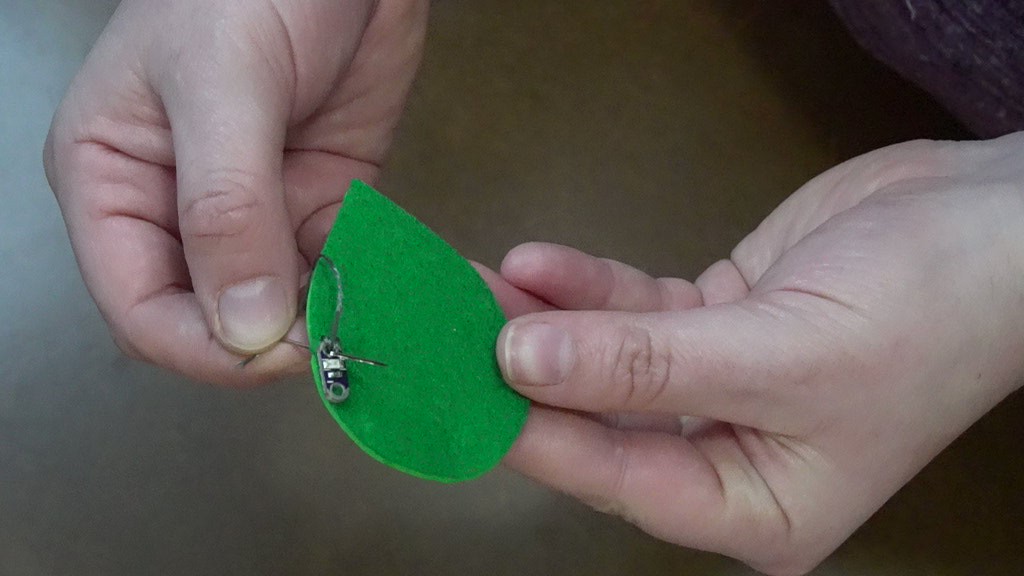
Using a running stitch, move to the positive port of the LED and whipstitch around at least three times. Try only to sew through the foam part of the leaf so that the front of the earring looks nice.
Repeat with the negative port. Make sure that the two threads do not cross over one another or touch at all.
Test the circuit to make sure that the LED turns on and off.
Attach the flower
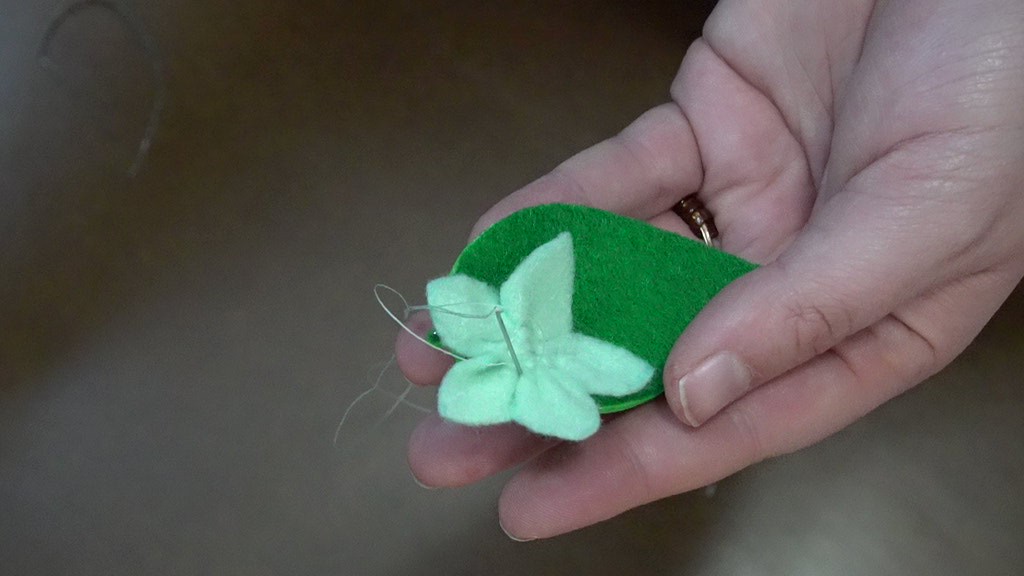
Check the placement of the LED and the center of the flower. Sew the flower on top of the LED with the light centered.
Add the Earring Hardwear

Prep the chain link by using two pillars and twisting the chainlink open. Having this prepped will help ensure a quick and easy alignment of the holes once they are made.
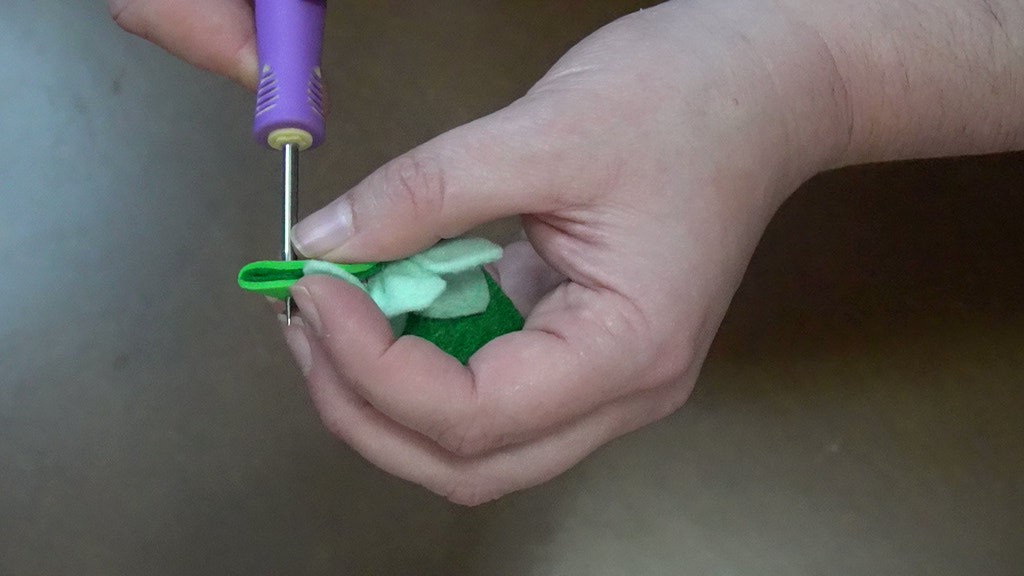
Using an awl, create two holes for the chain link to go through. Pinch the top part of the leaf together to create dimension. Push the awl through all layers. Maintain the pinching while getting the chain link. This way, the hole will be aligned while you put the chain link through.
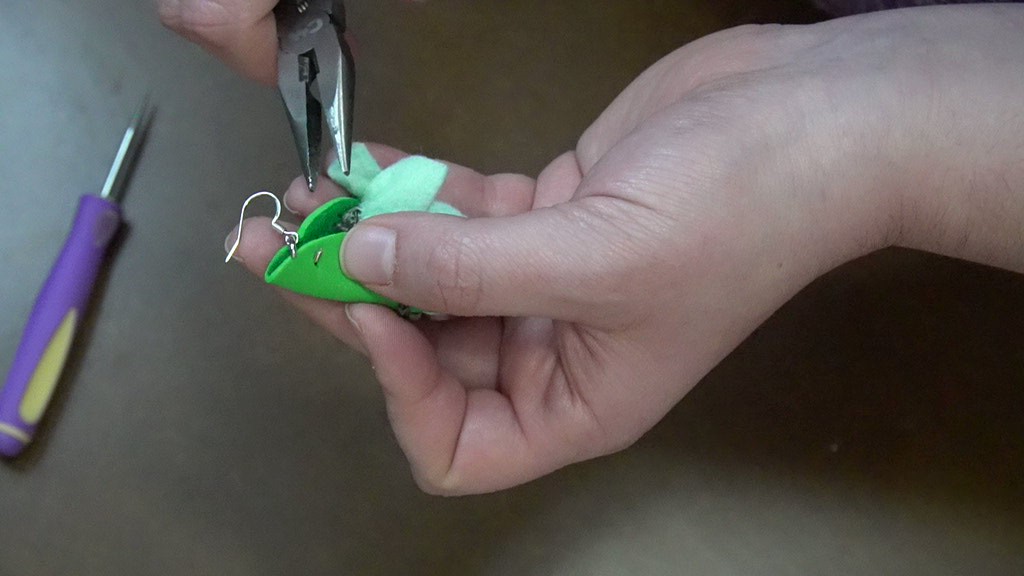
Feed the chainlink through the openings and add the earring hook onto the chainlink. Ensure that the hook is facing the correct way. If the hook is facing the wrong way, you will need to wear the earring backward or reopen the chainlink and turn around the hook.
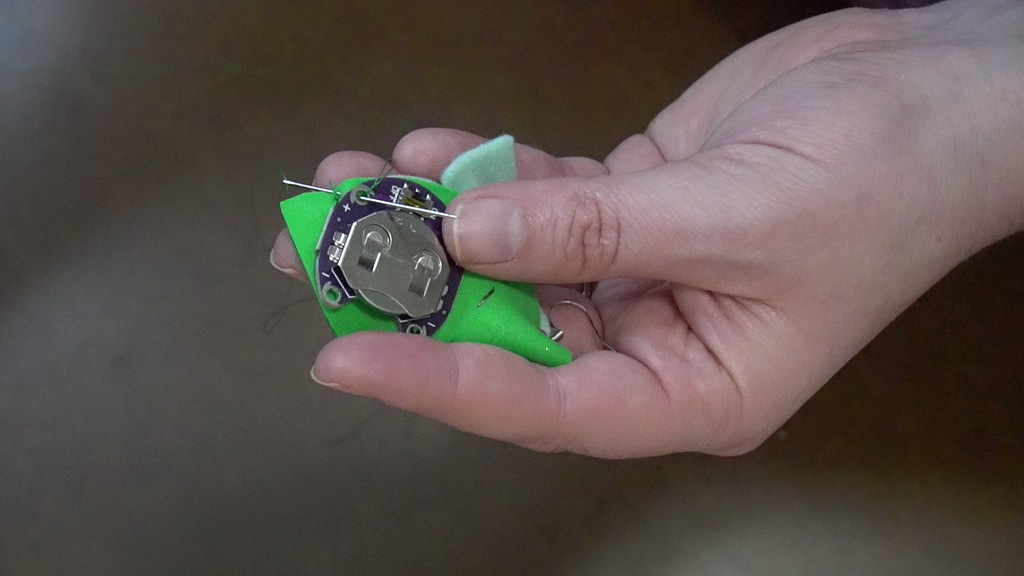
Finally, secure down at least one of the other ports of the LilyPad Button Battery. We don’t want the battery flopping around!!!
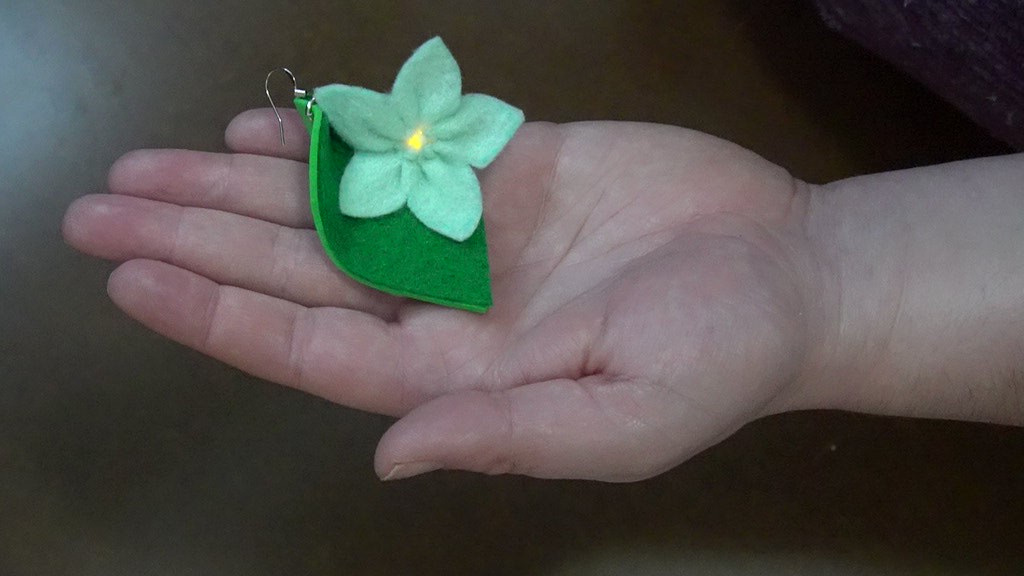
Finished Light-up Flower Earrings
Now you earrings are completed turn on the LED and wear them out!!!


Want to go through my free Sewable electronics mini-course and create your own Light-up Project? Sign up by clicking the button below!!!