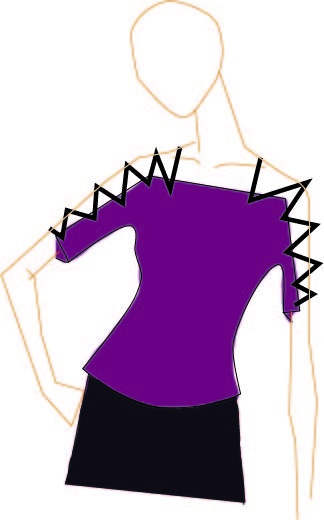
I enjoy patterning in adobe illustrator because I can save the different basic block patters and then quickly modify the pattern for the new top I imagined. Wearing clothing that has unique closures or fun sleeves brings a smile to my face. Today, I am going to walk you though how to take a basic knit block in adobe and turn it into a Neckline Lace-closed knit shirt I designed.
Basic Design Inspiration
Prepping the Block Patterns
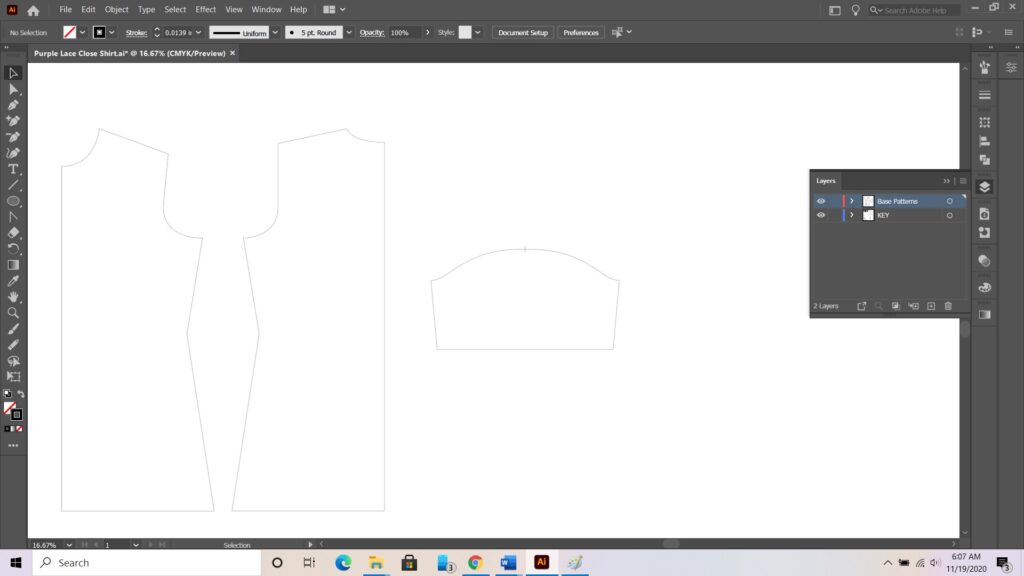
First, we are going to open up illustrator and our basic knit block. Make sure to save it as a new project name so that you have your basic block again for a later time.
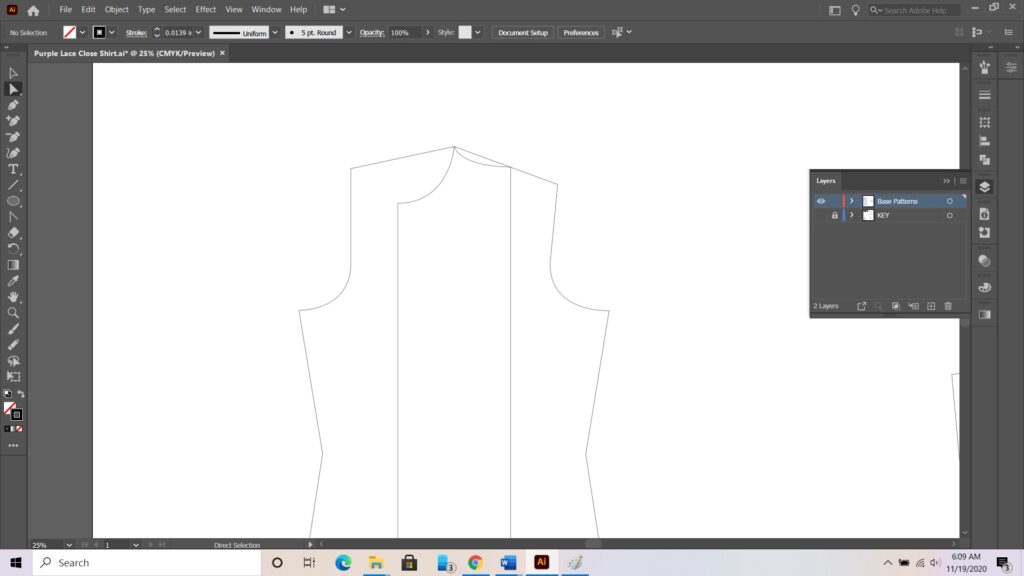
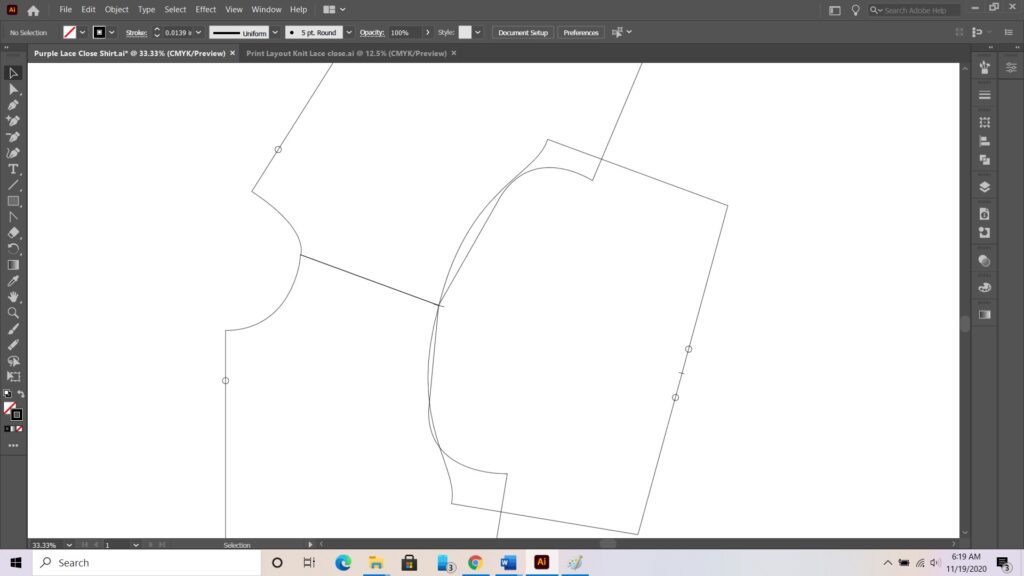
We are going to line up the the neckline / shoulder seam corner by moving the back pattern over to the front pattern.
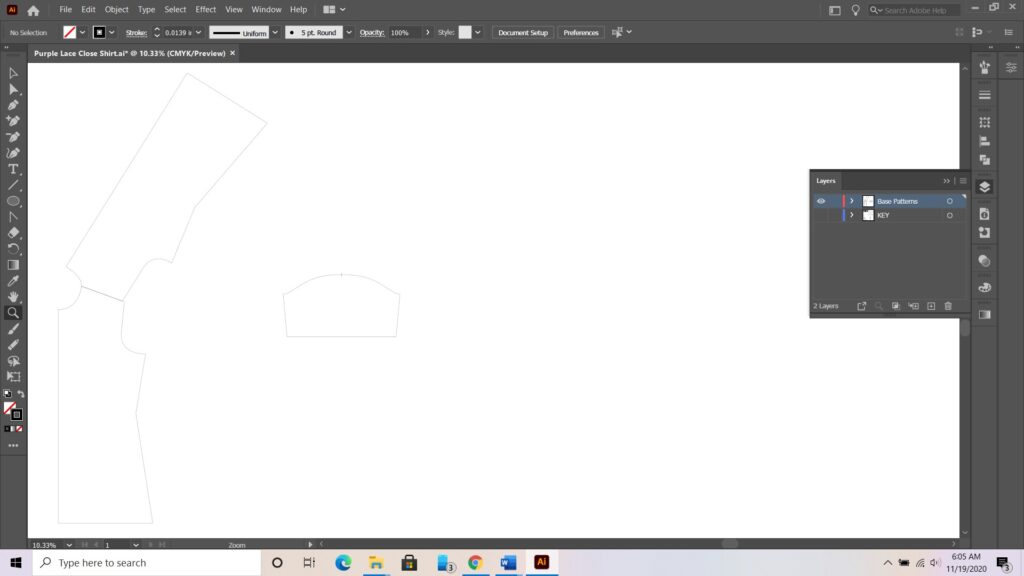
Rotate the pattern on the fixed point at the shoulder seam until the two shoulder seams line up.
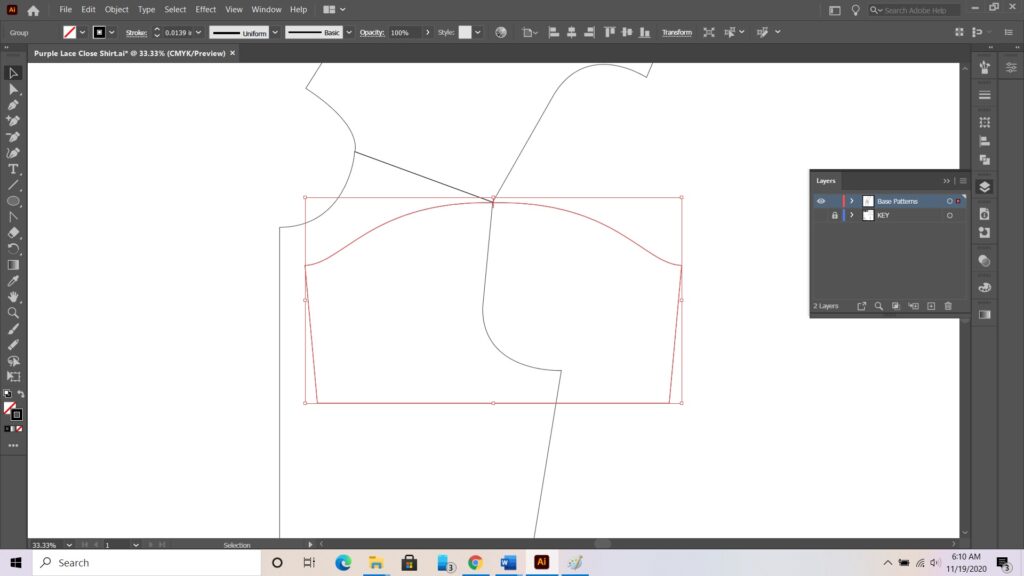
We are going to place the sleeve into its position. Start by lining up the shoulder seam point on the sleeve with the shoulder seams. Now, rotate on the sleeves’ shoulder seam point until it lines up nicely with the arms eye seam.
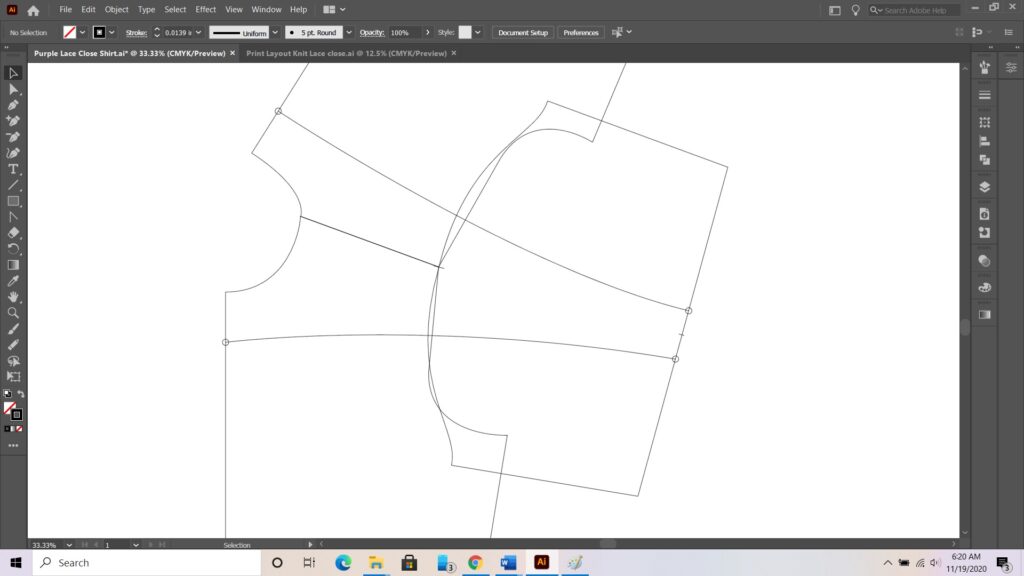
Next we are going to add our reference points. For this shirt I will be placing reference points at the new neck lines I want as well as at the new sleeve closures. I chose to drop both the front and back neckline by 2 inches. I also knew I wanted about a 2 inch lacing gap at the sleeve hem therefore I inserted a point an inch away from the center line of the sleeve.
Creating the new patterns
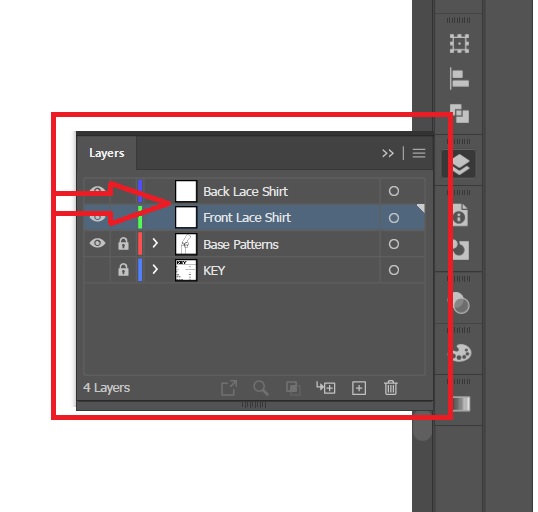
Now we are going to trace the blocks to create our new patterns. Before we do this we need to create a new layer. I like to create a new layer for each pattern that I will be making that way I can easily go back and edit the one layer. Therefore I created two new layers and renamed them front lace shirt and back lace shirt.
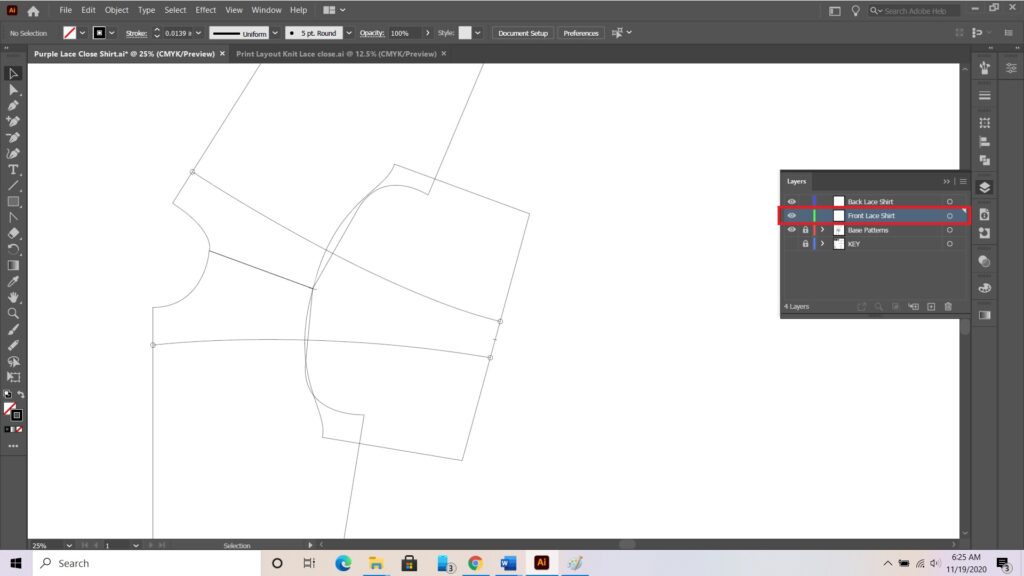
Also before we can start drafting we will need to lock any layers we do not want to draft onto, specifically the base pattern layer. Finally click on the layer you will draft. I will start with the front.
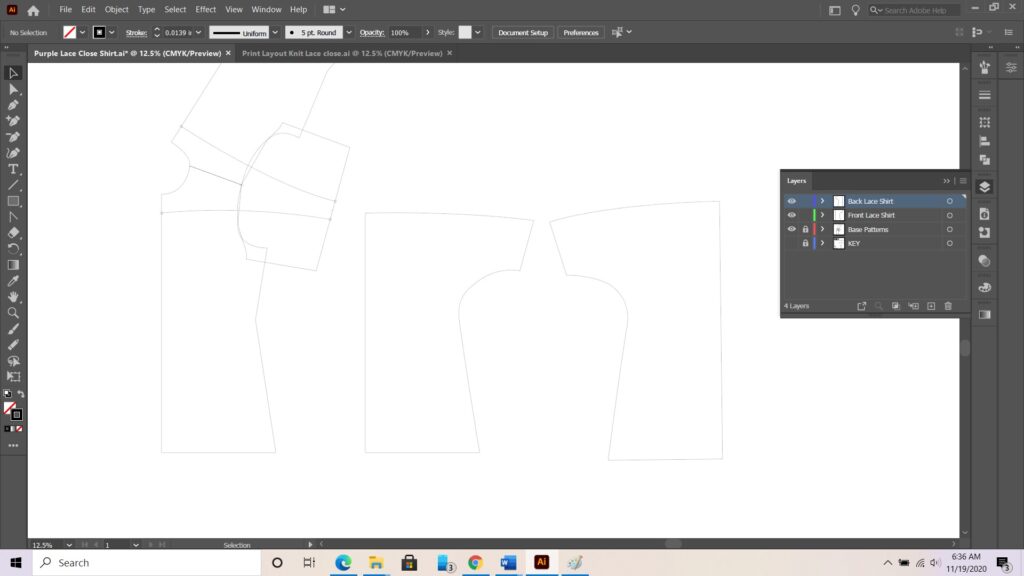
Change to your pen tool and click around the pattern hitting all your reference points. Do not worry about hitting exactly in the center or making all the curves perfect during this outline. It is easy to go back and make the small adjustments when you are zoomed in and have fine tuned control. Next lock your front shirt layer and click on your back shirt layer. Then do the same steps for the back pattern.
I always like to pull my patterns off to the side of the original draft and then hide the drafting so that it is a cleaner page to work with.
Trueing and Checking the Pattern
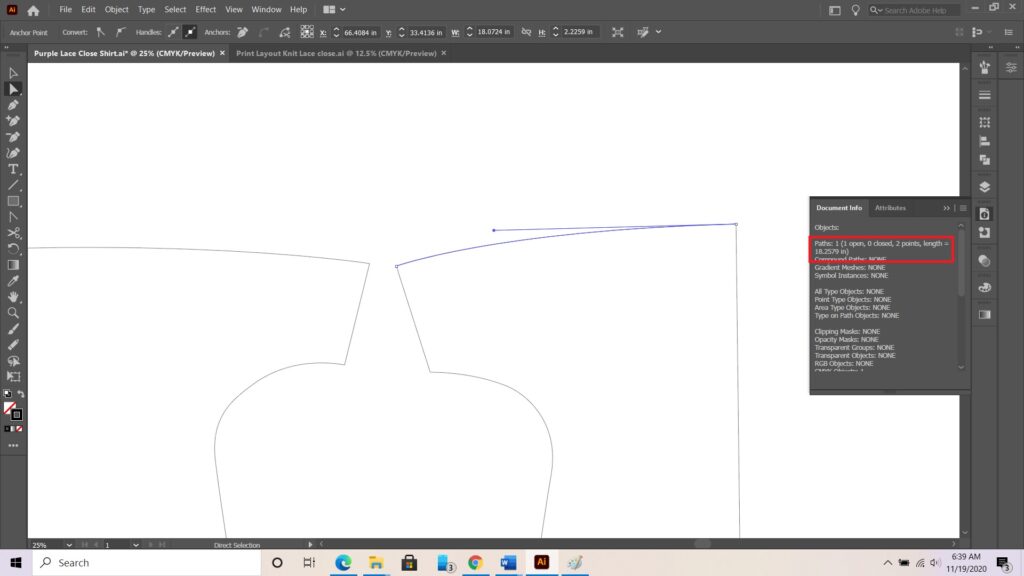
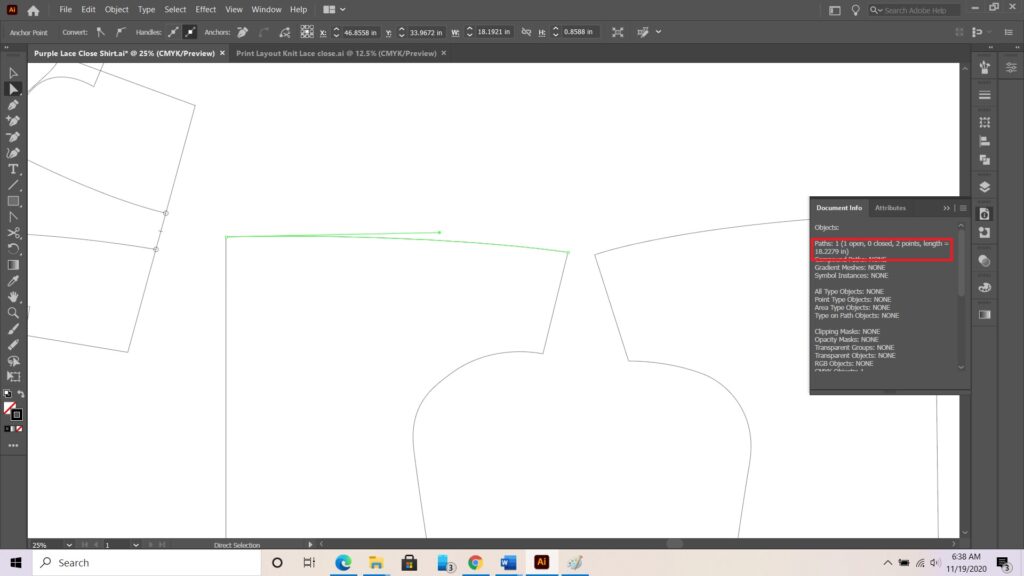
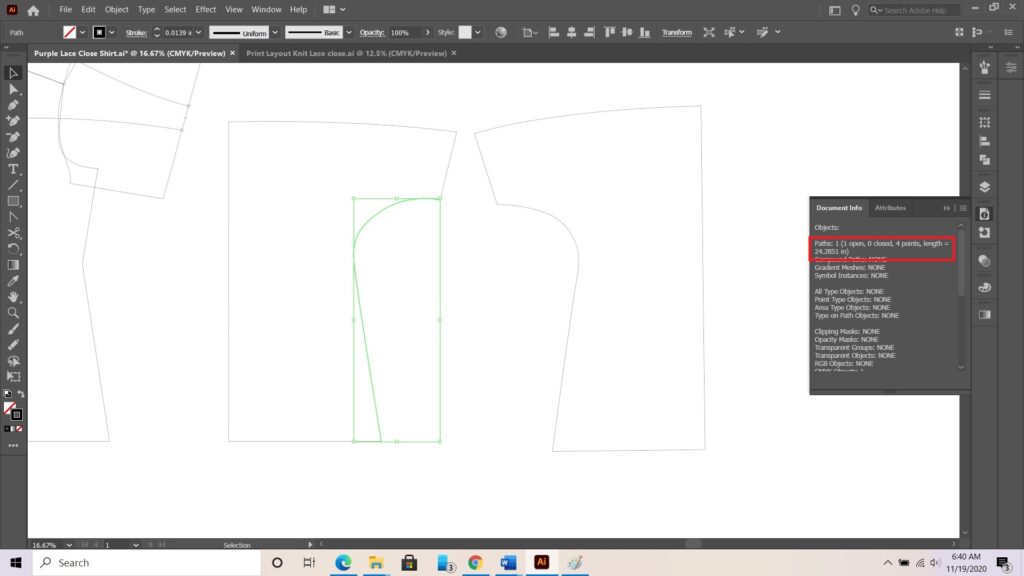
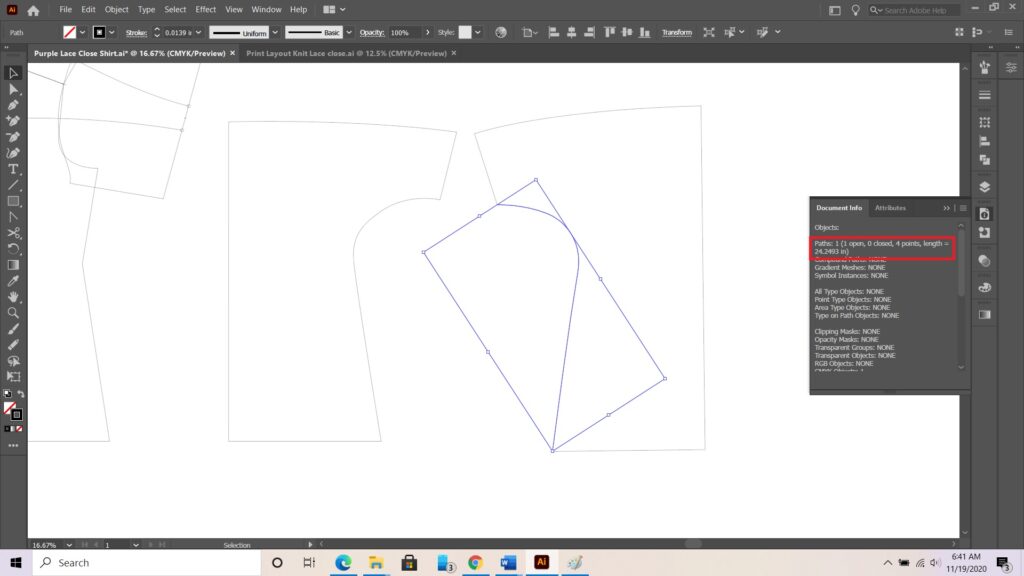
It is always important to make sure that your pattern for the Neckline Lace-closed knit shirt will easily fit and sew together. Check the seam lengths by cutting apart the pattern in adobe illustrator, highlighting the seams and comparing the lengths against each other. I started with checking the neck lines even though they will not be sewn together. It is also important to ensure they match in length.
Next, I Check the side seams in the same way.
This garment did not take any altering to true up the two patterns. Normally there will be some fine tuning especially in woven garments.
Finishing Touches to the pattern
It is important to add your label, grain line and any special notes to the pattern for future reference. This helps incase you walk away from the pattern for a long time before you build the garment. It is also helpful if you are planning on having someone else build the garment using your pattern.
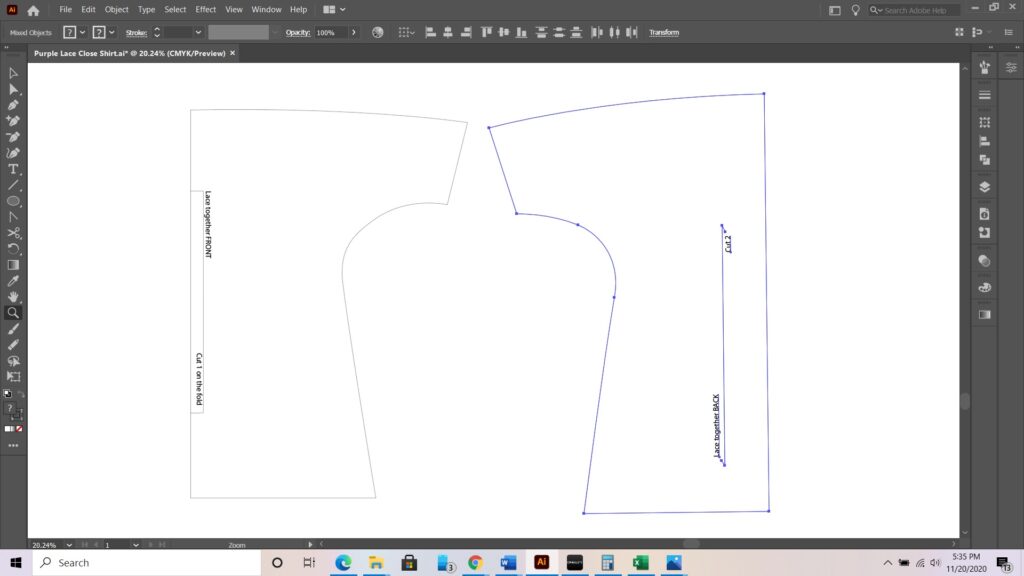
This is also a great time to add your grommet placements. Already knowing the length of the neckline and spacing of the grommets it is easy to add the placement in. I wanted 20 grommets on each edge spaced about 2 inches apart. I also wanted to make sure that the end grommet was 1/2″ from the edge.
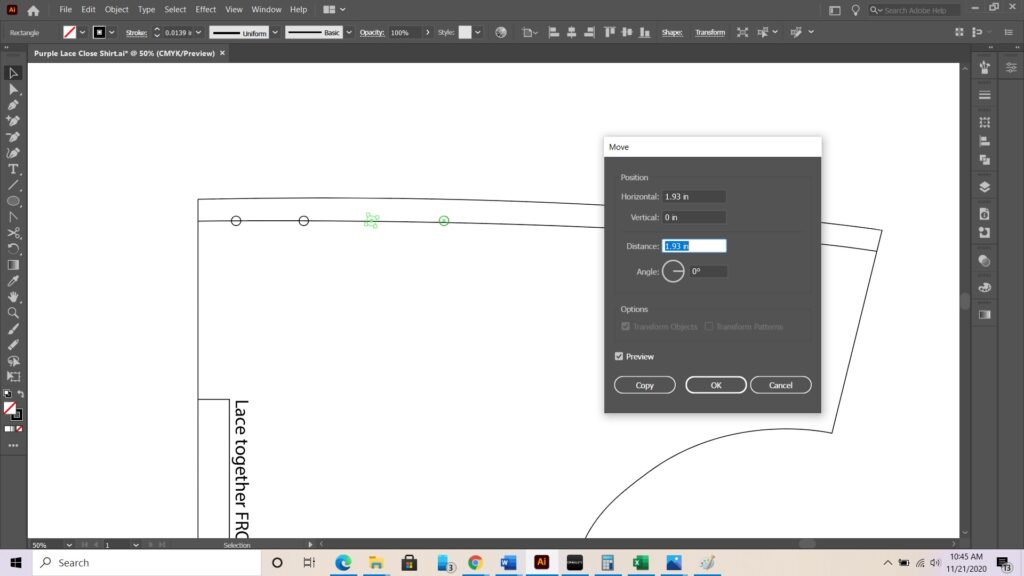
Quickly, I came up with the actual distance I would want to use between each grommet(1.93″ or 1 15/16″). This can be a hard measurement to accurately get when hand drafting but you can easily achieve this exact distance by using the move functions.
Printing Layout and Printing
Most people don’t have a huge printer at home to be able to print off big large pattern pieces. Using Adobe Illustrator to create the print and then printing off the patterns is very easy.
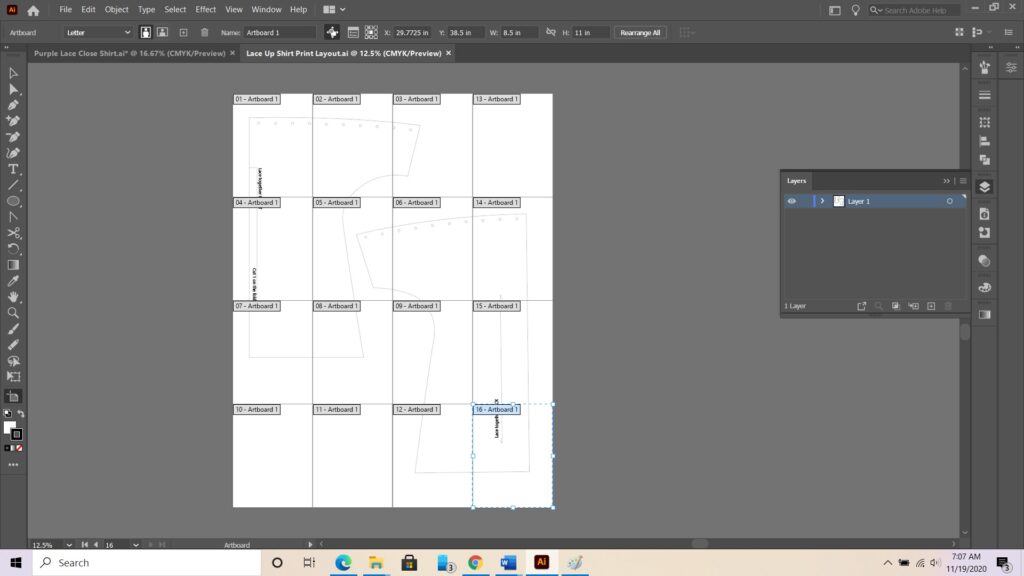
I start by copying and pasting my patters to my pre set up print layout and arranging them onto the art boards. Sometime to finish this step i need to add more art boards however this time the patterns easily fit.
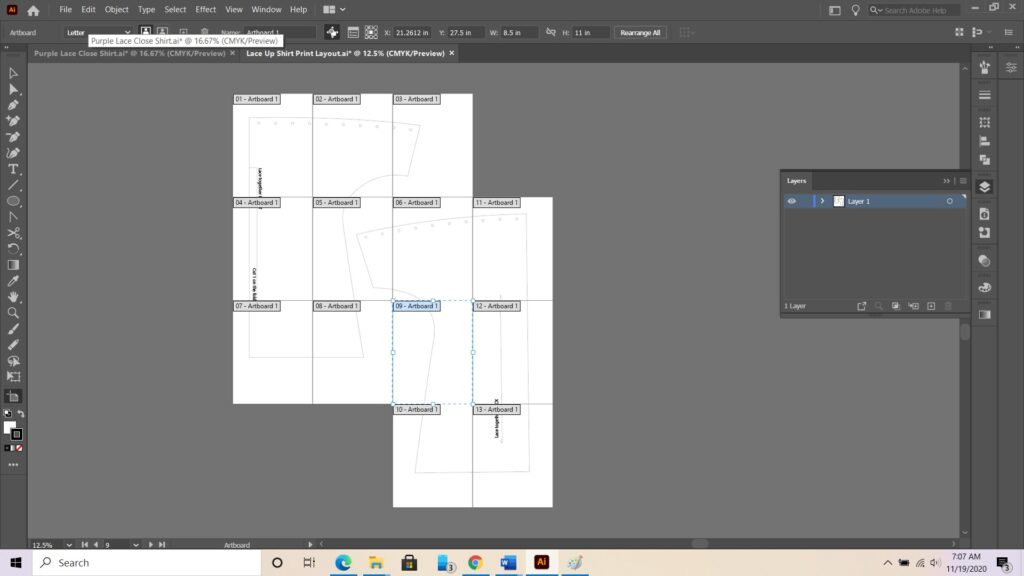
Next, I delete any unused art boards so that I don’t waste paper.
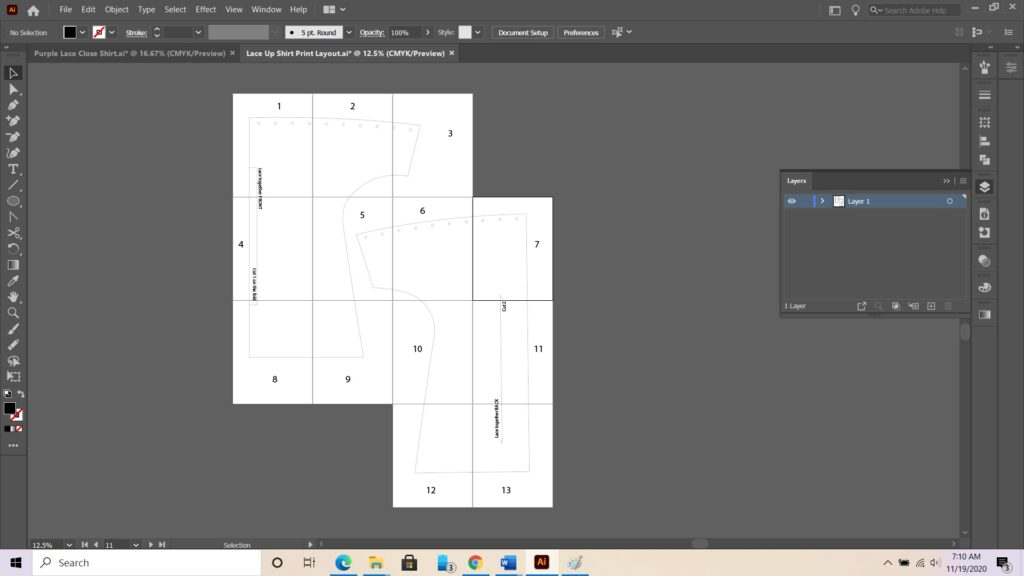
Then, I assign numbers to every artboard so that I have an easier time assembling the patterns after they are printed.
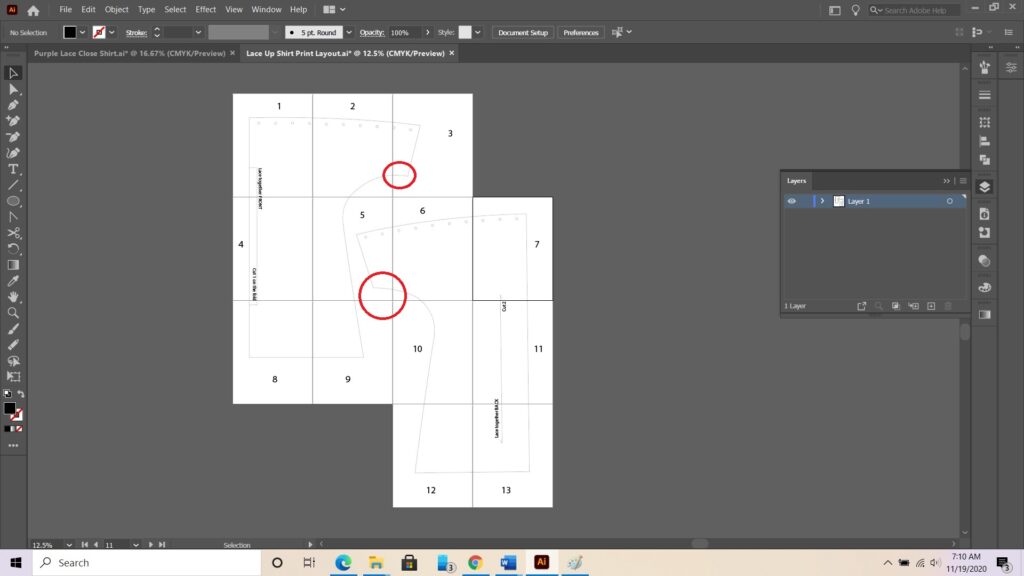
Finally, I double check that there is no important corners near the edge of an art board. Since printers can not print all the way to the edge of the paper there is a small space that can be missing. I always strive for straight or slight curves at all page intersections.
It is now time to hit print, tape the patterns together, and get sewing the new shirt!! Click HERE for how I put together this Neckline Lace-closed knit shirt.

