Day 7
The imagery of a shivering snowman has always made me smile. I like wearing pins with my scarves in the winter months. So I decided to put the two of them together and create a shivering snowman pin for this holiday season.
Gather your materials for your Shivering Snowman Pin
- White Sparkle crafting paper
- Felt – White, Black, Orange, Red, Brown
- Black Puff Paint
- Button Battery Case
- Cell Phone Button Vibes (x3)
- Button Battery
- Thread
- Pattern
- Scissors
- Soldering Iron
- Solder
- Third hand
- Alligator Clip wires
- Heat shrink clear
Designing my Shivering Snowman Pin
I knew that I wanted my Snowman to have 3 tiers to his body so I would also add three cell phone button vibes. I also wanted a scarf and a hat. In Adobe Illustrator I created my pattern. You can find the pattern I created and used below. I have three different sizes on the page, I used the medium size.
Build your Shivering Snowman Pin
Cut out your pattern

I originally planned to cut the entire snowman out of felt however I found a white glittery piece of craft paper next to the felt that looked like snow and I could not resist making my shivering snowman out of it.
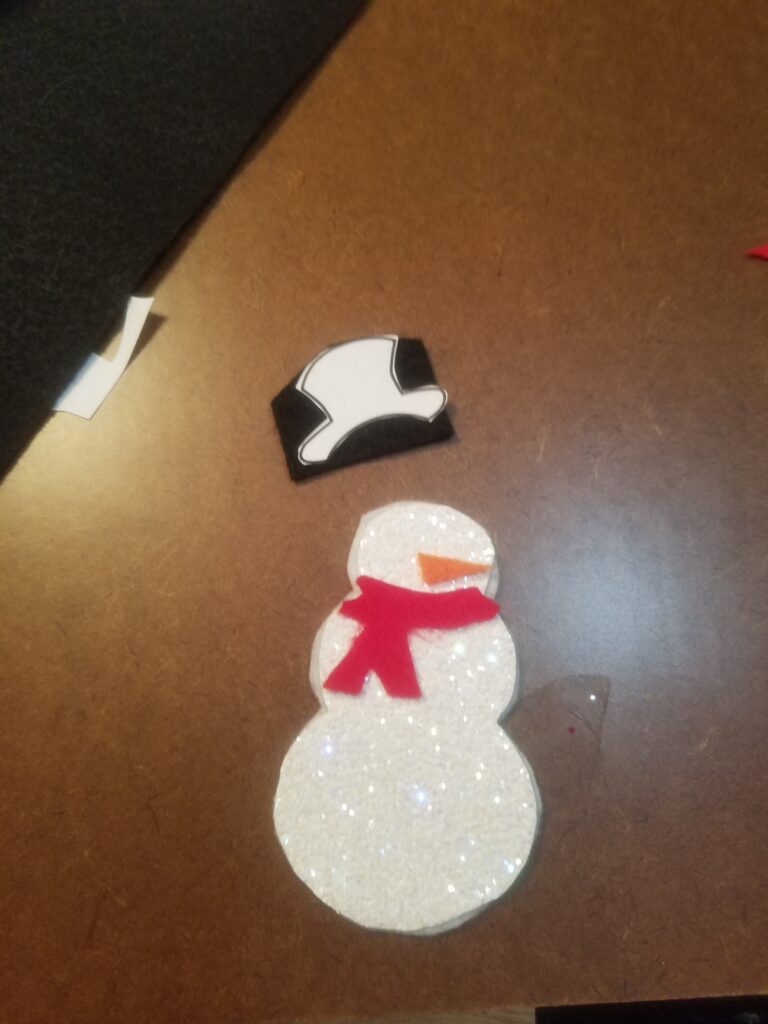
I started by cutting out all the pattern pieces and deciding what each pieces would be cut out of.
Test and Add the Circuit
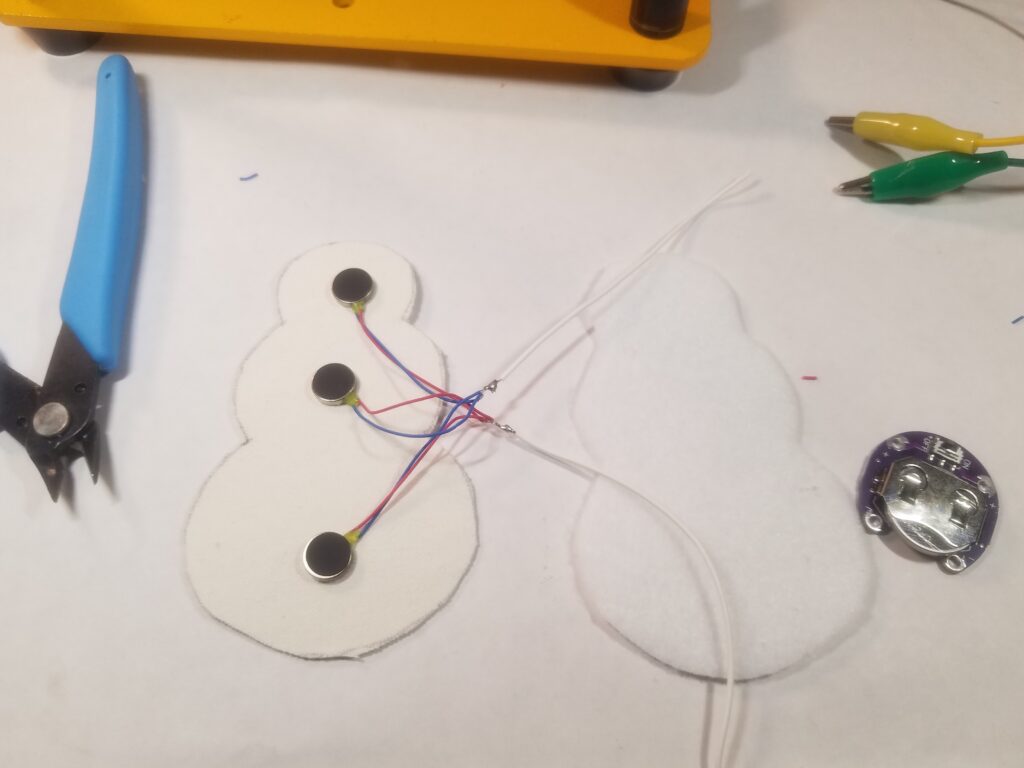
Next I soldered the three cell phone button vibes together. Connecting all the positives to one out going wire and all the negatives to another outgoing wire. It is important to test the circuit now when you can easily get to your solder points.
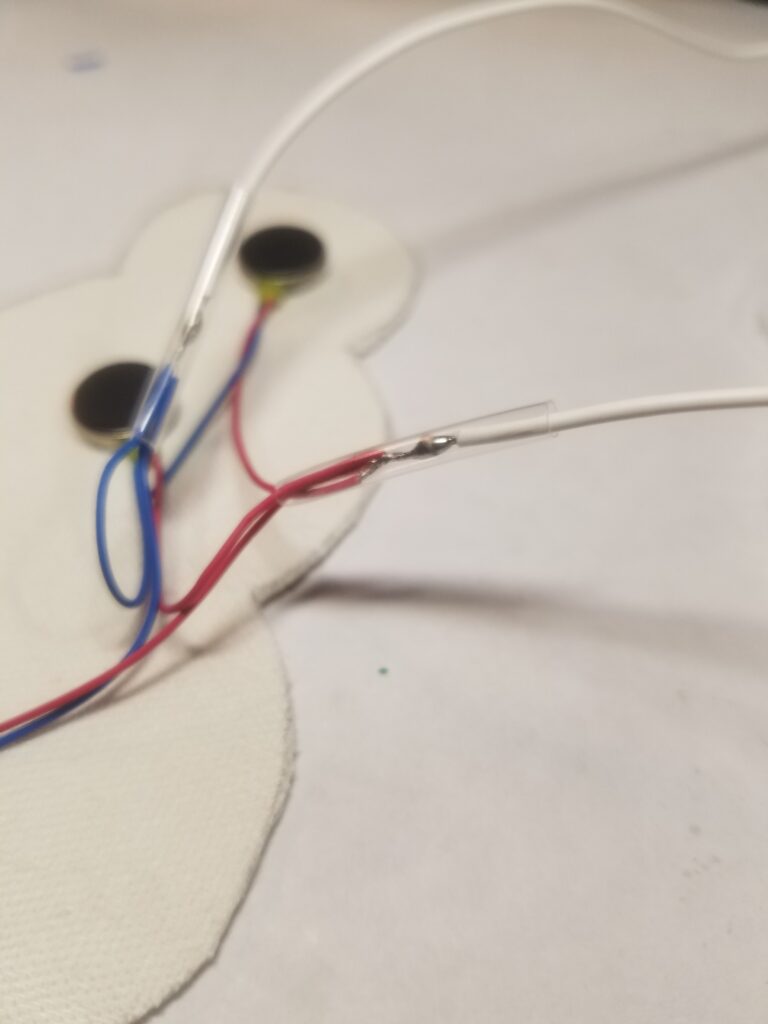
After using alligator clips to confirm that the solder points and circuit are good I add some clear heat shirk over the solder points. This will keep the solder points from touching each other and other metal that could cause problems in your circuit. Finally I peeled off the paper backs of the cell phone button vibes and stuck them down on the paper at the three point s I had determined during my design.
Button Battery Case and Pin Hardware Placement
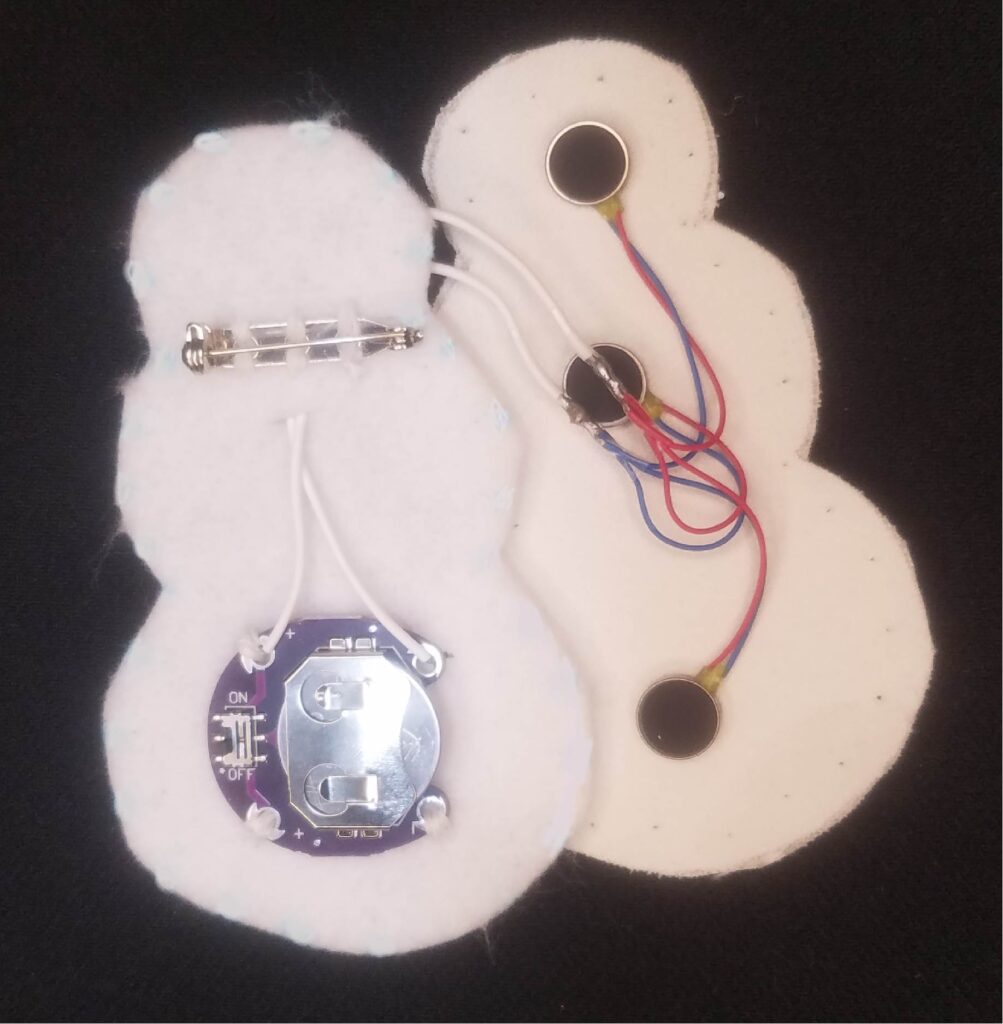
Next the wire need to be feed through a hole in the felt and then solder to the button battery case. Then you are ready to sew the button battery onto the snowman. I whip stitched through all four solder holes with regular thread to hold the button battery case in place. I also sewed on the pin hardware at the same time. Make sure to sew both above and below the holes on the pin hardware to really secure it to the felt.
Sewing the Snowman together
Closing the Shivering Snowman Pin with a decorative blanket stitch around the edges creates a fun edging while also securely attaching the two pieces. I also decided to keep the thread white instead of a contrasting color.
Adding the final details
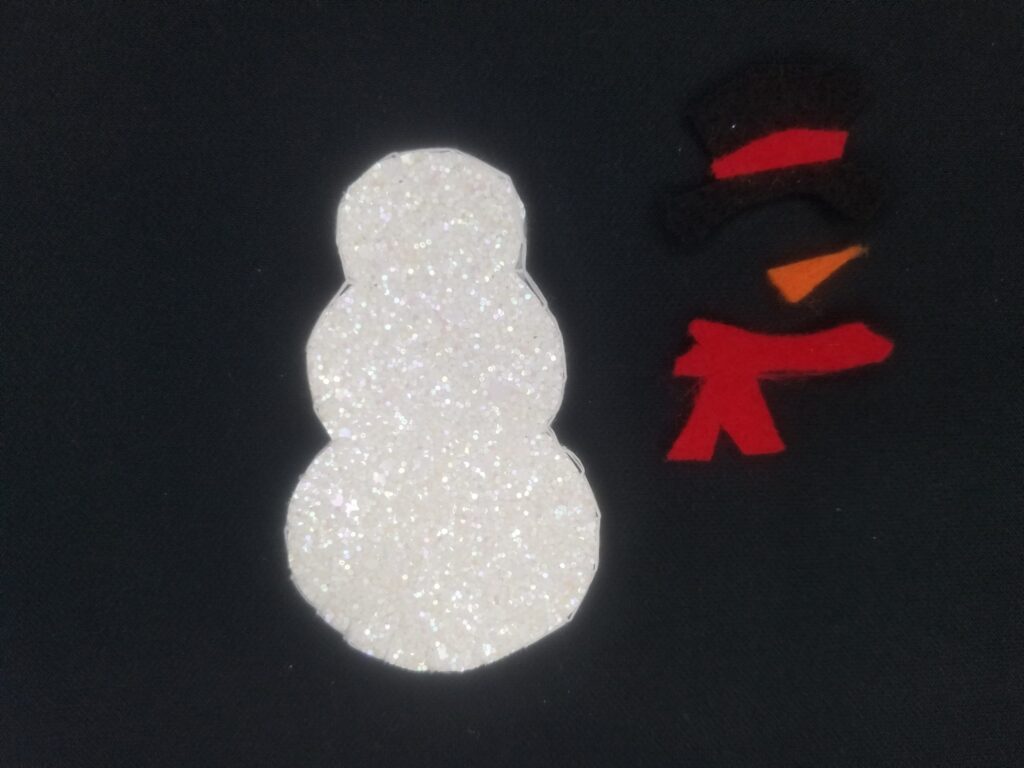
It is finally time to add the snowman’s accessories. I started by gluing the hat band to the hat and letting it dry.
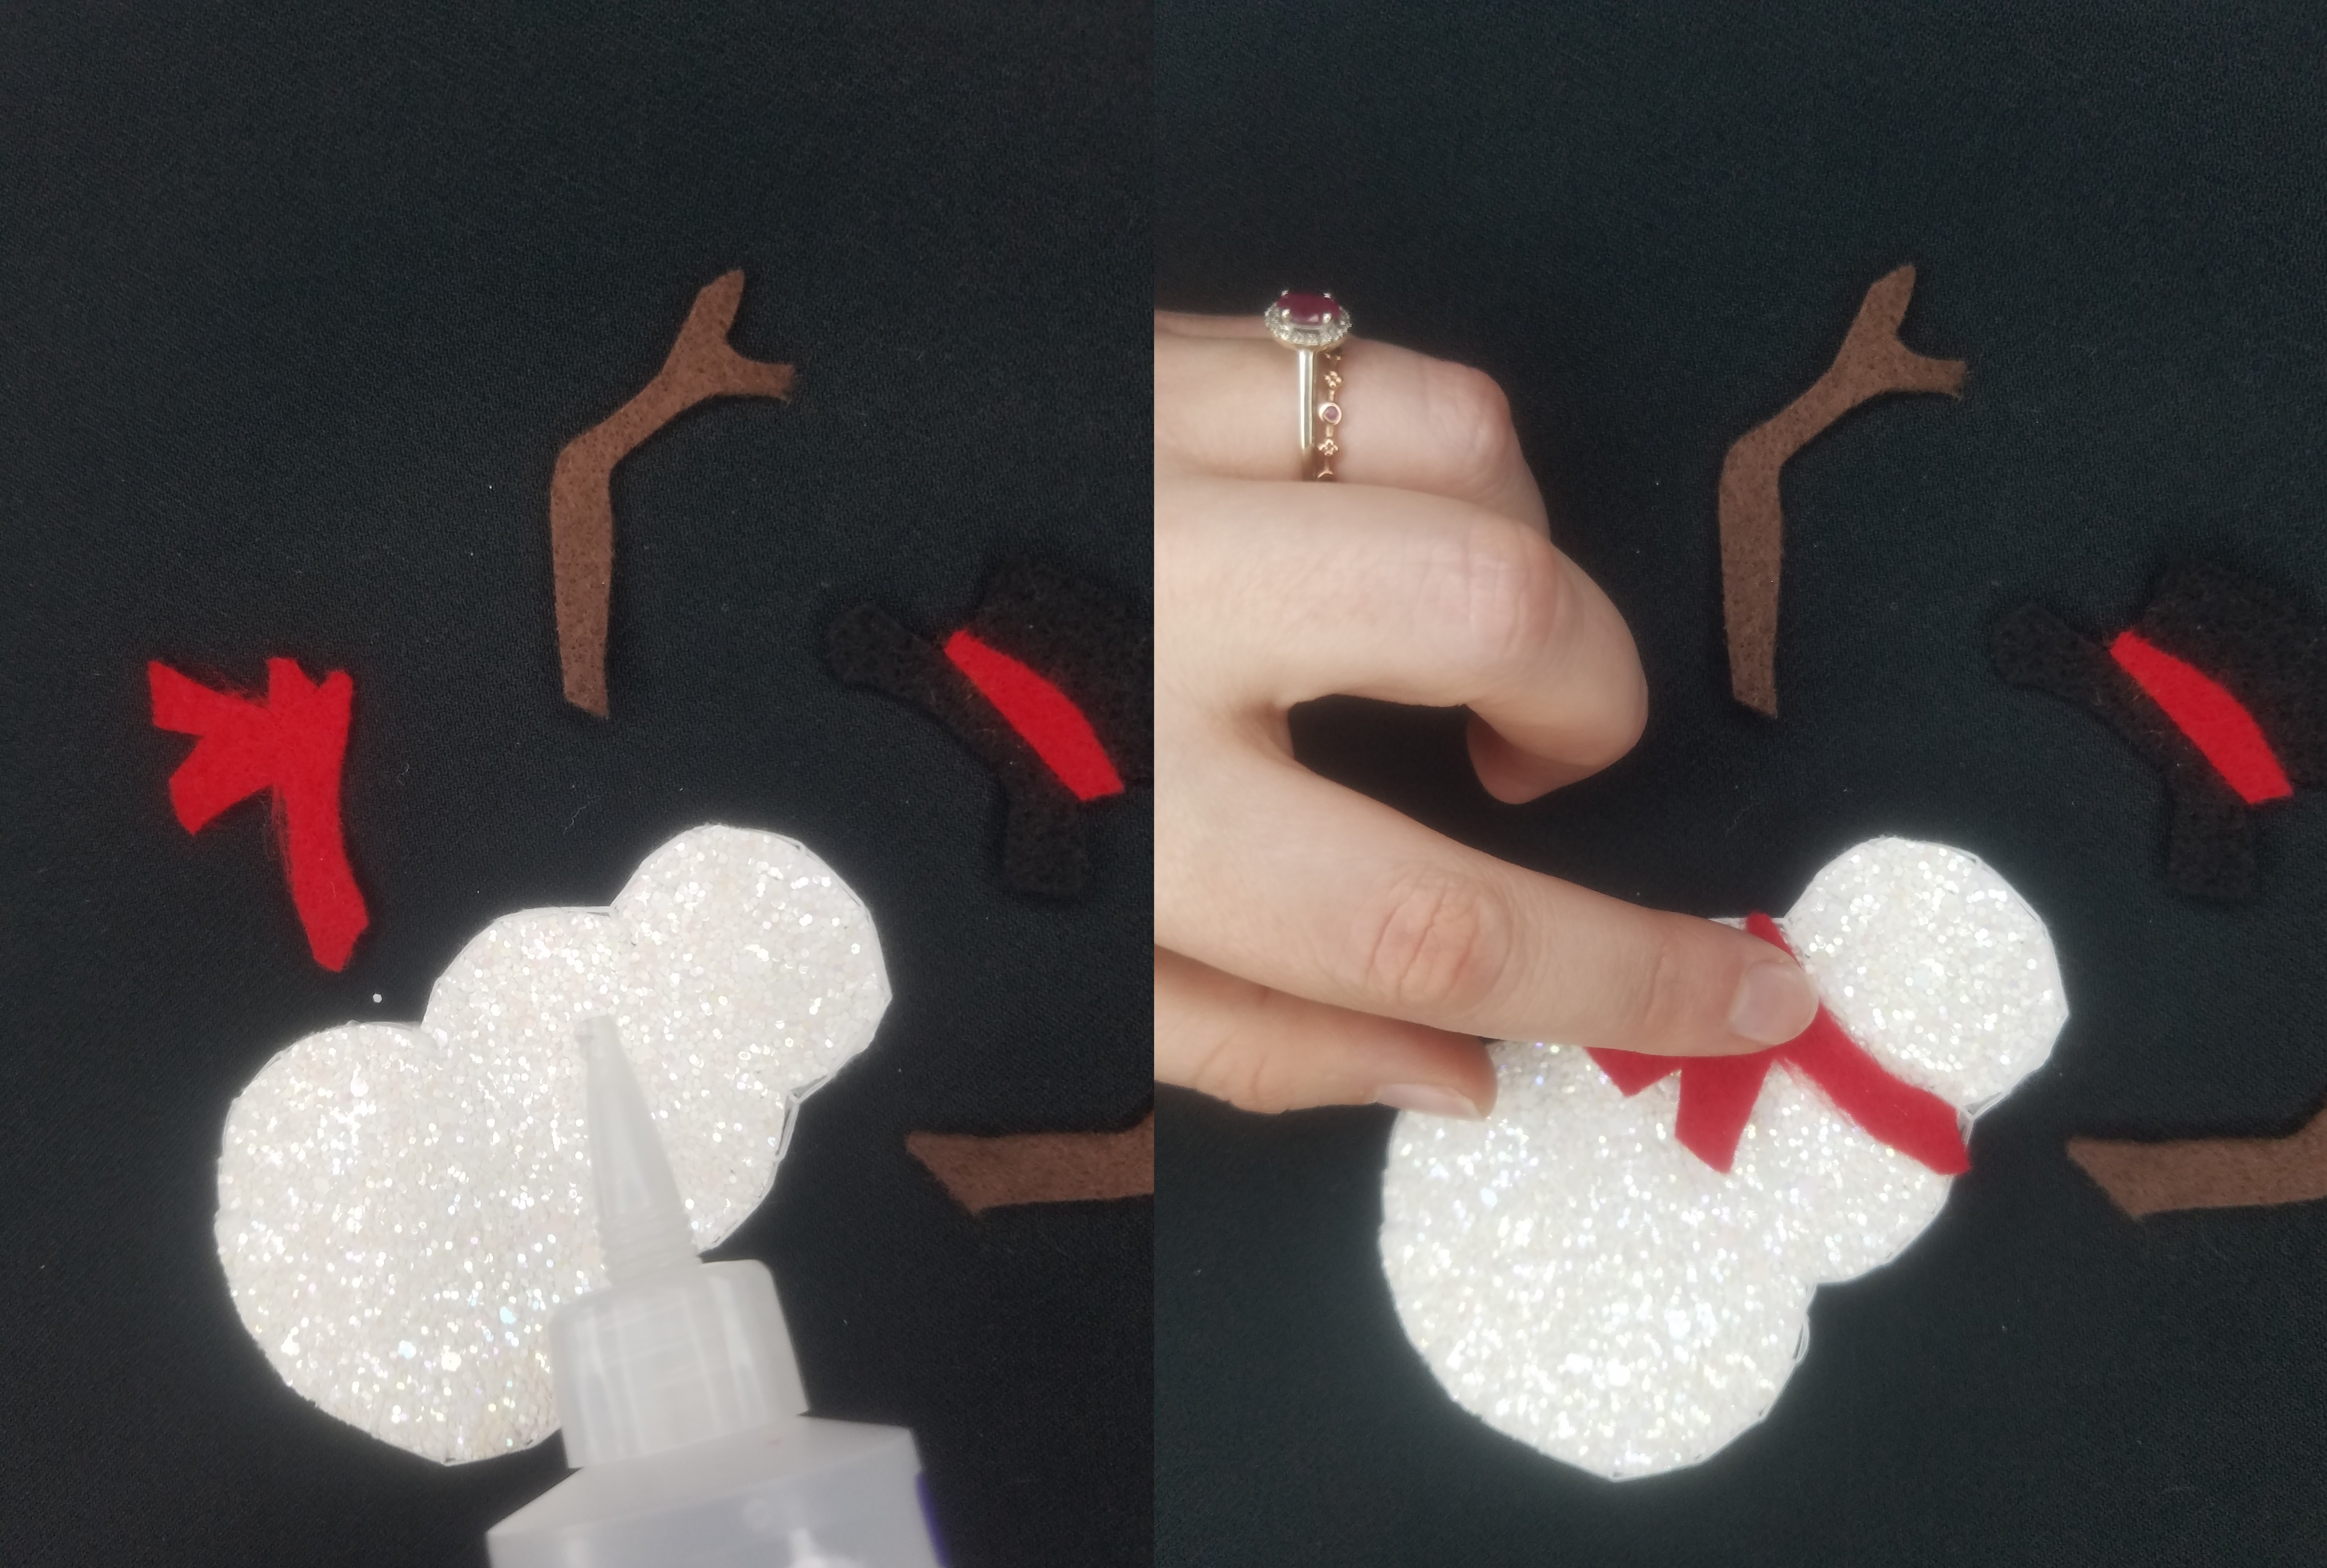
Next I attached the scarf to the snowman by adding a little glue where the scarf would be placed and the laying the scarf on top. I repeated these steps with the carrot nose and the hat.
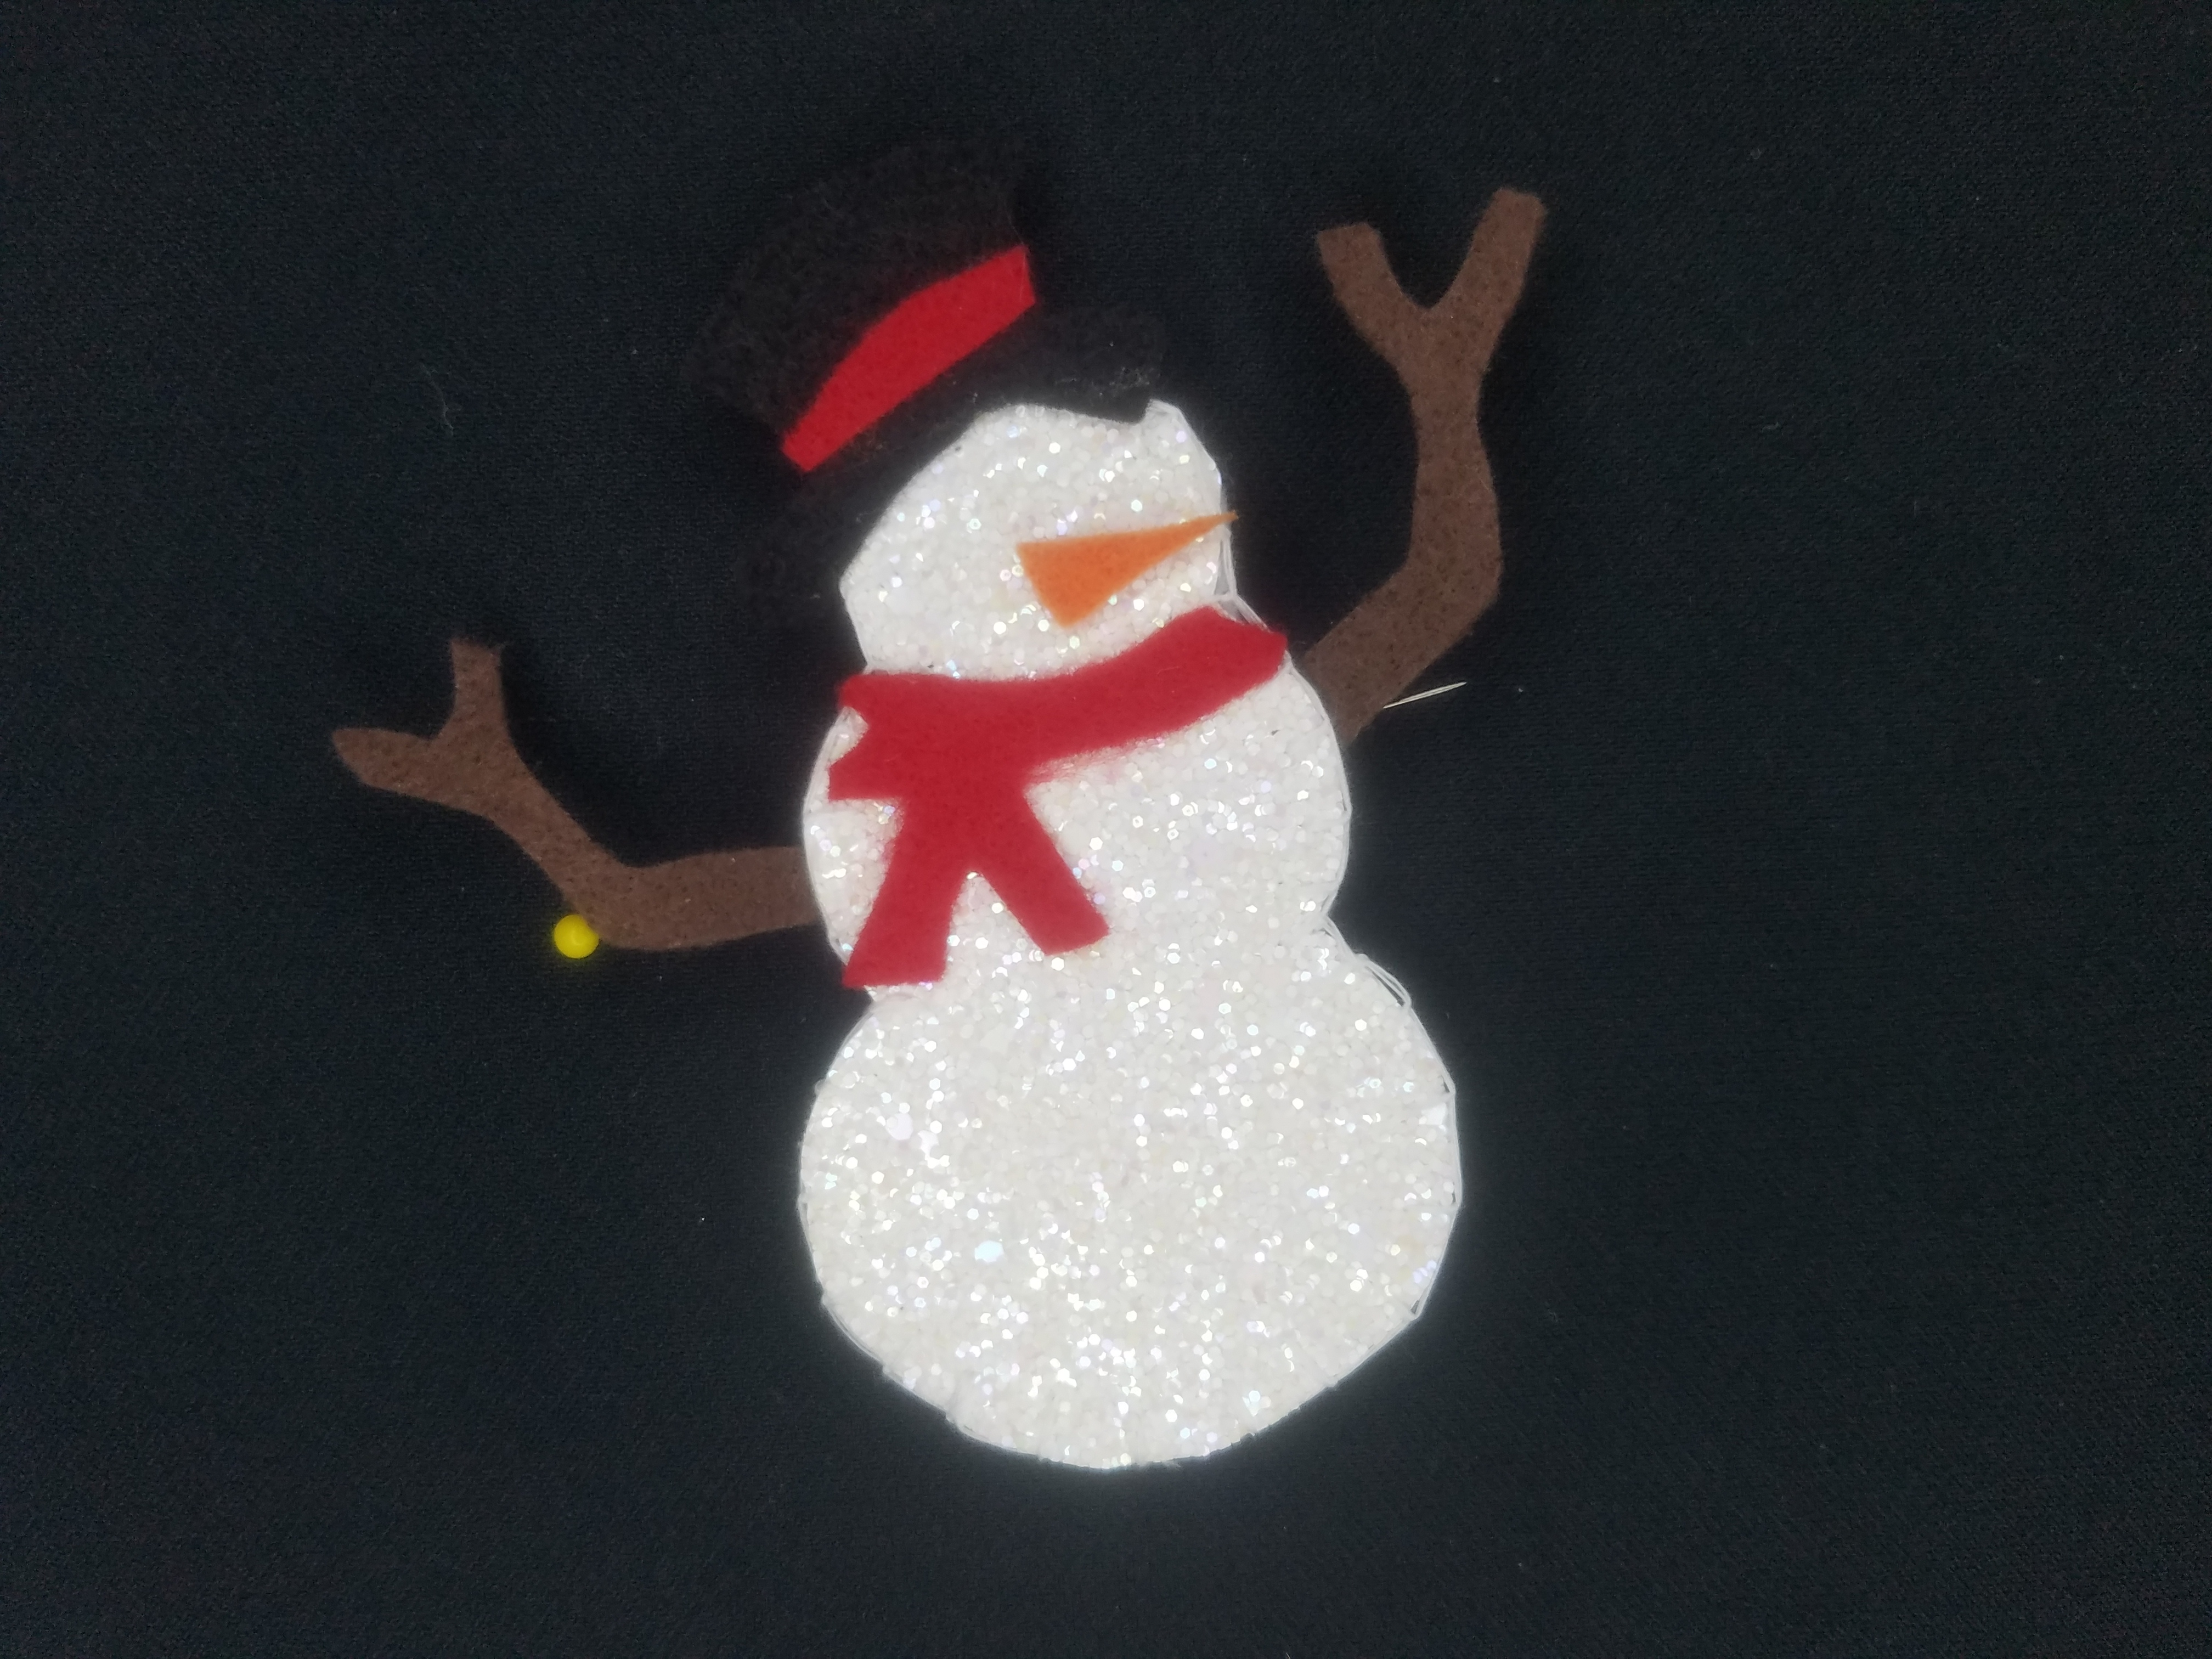
Now it is time to add the arms. I started by pinning them on the back in a few different angles before settling on my favorite. Next I added a bit of glue on the back of the arms and attached them to the back of the snowman. I went back over the edges with a small whip stitch to secure the arms in place.

The last detail to add is the snowman’s eyes. I use black puff paint to dot on the two eyes.
Time to try and test out your new Shivering Snowman Pin
Final Pictures

Make Sure to come back tomorrow for Day 8!!! Did you miss the Ugly Christmas Sweaters? There is one for Him and Her!!!
