Day 6
Having a matching theme of Ugly Christmas Sweaters for Her and Him is a great way to get in the holiday spirit together!!! Today we will be creating an Ugly Christmas Sweater for her that matches the theme we created yesterday for him. His sweater is a fireplace mantle and today we will be building an Ugly Christmas tree Sweater for her!
Gather your materials for the Ugly Christmas Sweater for Her
- Green Sweater
- Garland
- Led Christmas Lights with Battery packs x2
- Christmas Ordainments
- Light Up Headband
- Tree topper
- Round Christmas Table Cloth
- White Cotton Fabric
- Shirt Hook and Bar
- Small Decorative Christmas Presents
- Decorative Gift card bags
- Clear thread
- Sewing Machine and serger
- Scissors
Design your Ugly Christmas Sweater for Her
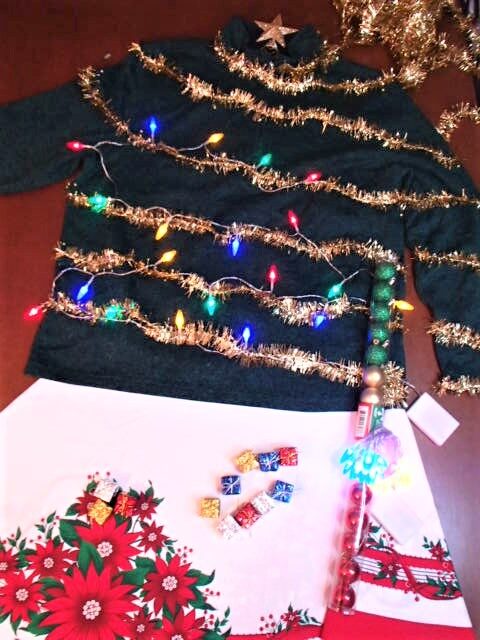
For my Ugly Christmas Sweater for her, I wanted a tree that could “stand by the mantle”. I wanted the garland and lights to wrap around the sweater like they would a tree. To complete the outfit I will create a skirt that would resemble a tree skirt and I will attach decorative small presents too.
Building the Ugly Christmas Sweater for Her
Adding the garland and LED onto the Sweater
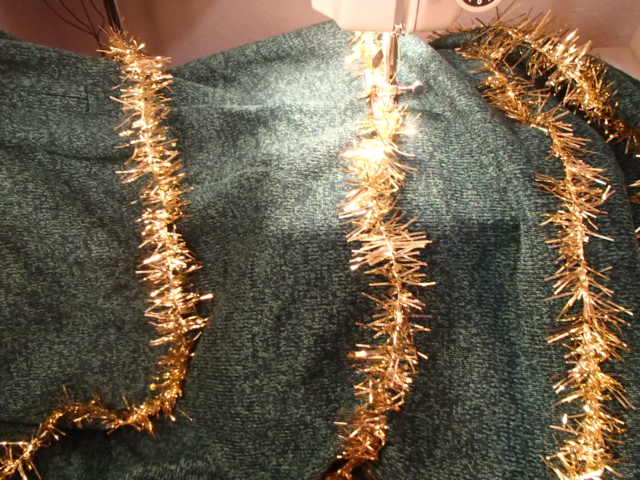
I started by laying the garland around the sweater and pinning only at the side seams. I did not cut the garland to length because I knew the sweater might want to stretch a little as I sewed the garland down. Begin at the hem and with a wide zig-zag and long stitch I followed my garland around the sweater to the top. I repeated the steps on the sleeves. This way everything was well stitched down to the sweater and the machine sewing went faster than hand sewing would have.
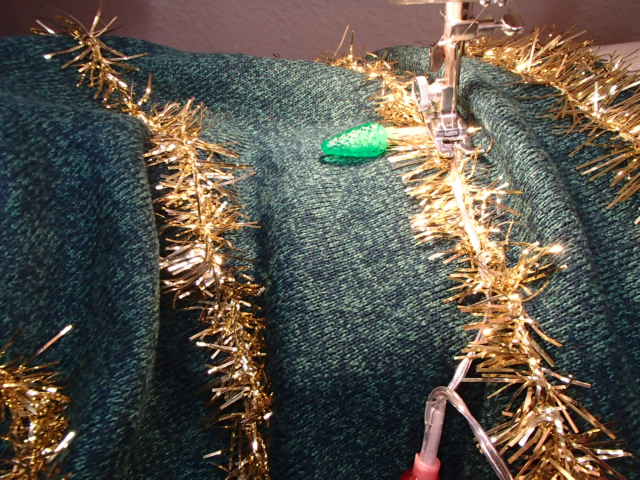
Next, I added the LED strands in the same way. I pinned the stands in place at the side seams as well as in the middle of the front and back. Then again I used as wide of a zig-zag stitch and went slow to make sure I did not ever puncture the clear coating of the wires. I knew that machine sewing on the LED would be the strongest and fastest way to add them on.
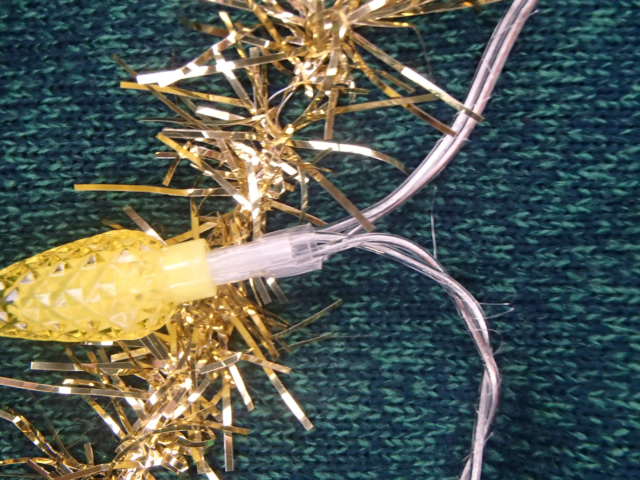
As I approached each LED I did a small backstitch and skipped over the double wires.
Fixing the wire that pulled out of the LED’s
It is important to be careful with these leds. I had bought the LED strands from Dollar General. One of the solder points was not well adhered and as I pulled the wires straight to sew the connection wires broke. This made the circuit incomplete. As I took a closer look at the other part of the LED the wire on the other side broke as well. It was unfortunate that it was the third LED in the strand. Luckily I have a soldering iron and a way to fix the problem. I decided not to reattach the LED but to only reconnect the wires together. I connected positive to the other positive and the negative to the other negative. Make sure to use some alligator clips and check the circuit so you only have to sell once.
Adding on Final Decorations
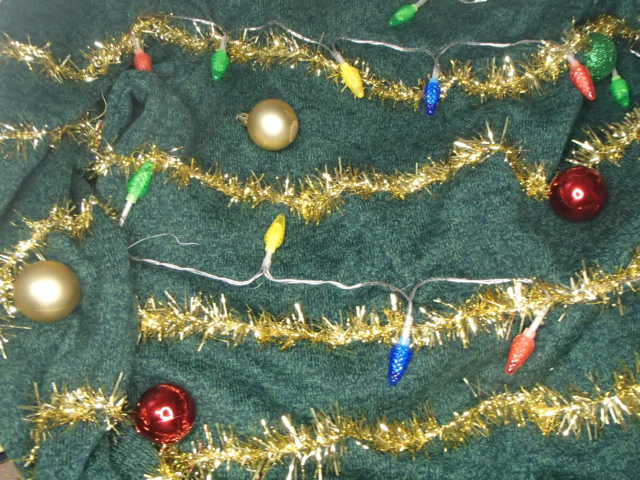
I also wanted to add green, gold and red Christmas ornament balls as decoration. These ornaments I only added to the front of the sweater so that I would still be able to sit and relax. If you are planning on being in a sweater all night it is important to make sure you will actually want to wear the sweater all night.
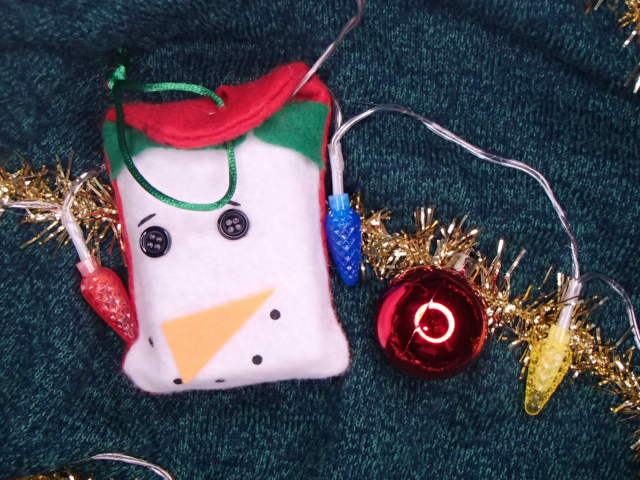
While I was in the check out line at dollar general I saw some gift car covers made out of felt. I tested the size and found that I would be able to fit my battery packs inside them. So I covered my battery packs with prebuild small bags to help save some time.
Building the Skirt to Complete the Ensemble
I found a circular table cloth at the thrift store and knew I could easily make it into a skirt. This would make a great addition to my Ugly Christmas Sweater for her.
Cutting and prepping the skirt
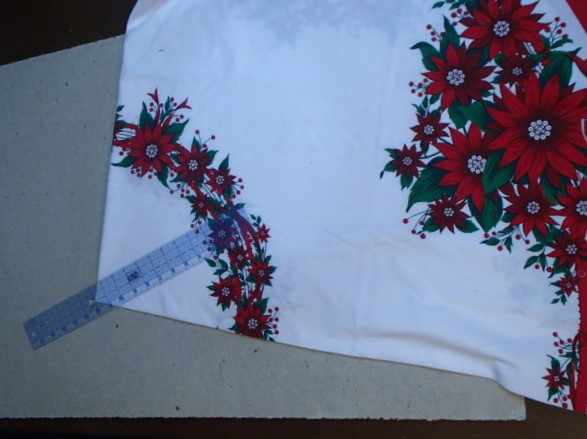
I started by folding the circle into quarters so that I can cut the center out and add a waistband. To find the circumference and radius of a circle you use the formula C=2(3.14)r. Since you know your waist size you can use this formula to find the radius you will be marking. I used a ruler with holes in the middle every half inch. I pinned my fabric down and marked my radius.
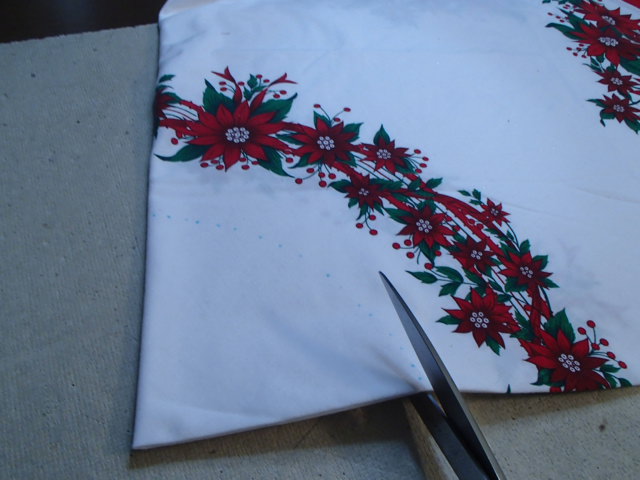
Next I cut along my dotted line to create my waist seam.
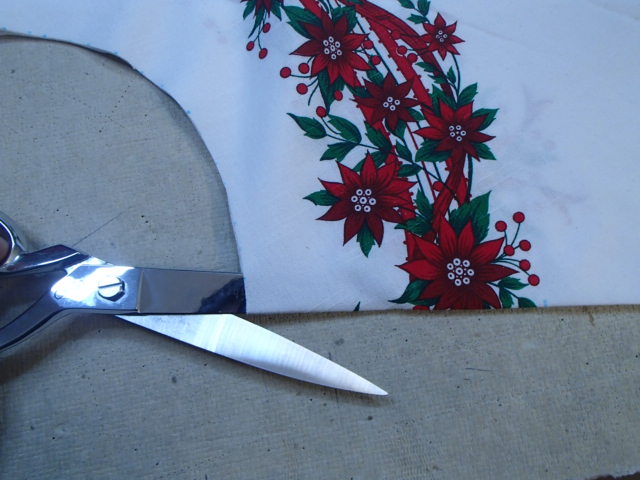
Finally I cut a slit open 6 inches down one of the folds to provide a placket. This extra opening will allow the skirt to go over the hips with ease.
Finally, you will need to cut your waistband and packet. When cutting your waistband I recommend cutting it 2 inches bigger than your waist circumference by 2.5 inches wide. Cut the placket 13 X 2 inches. Then give both pieces a good press in half.
Sewing the Placket
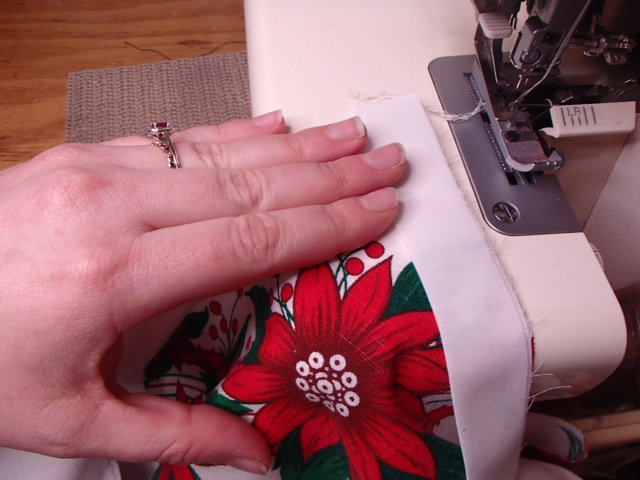
Start by sewing the placket onto the placket opening. I decided to serge everything edge to edge so I lined up my edges and started serging.
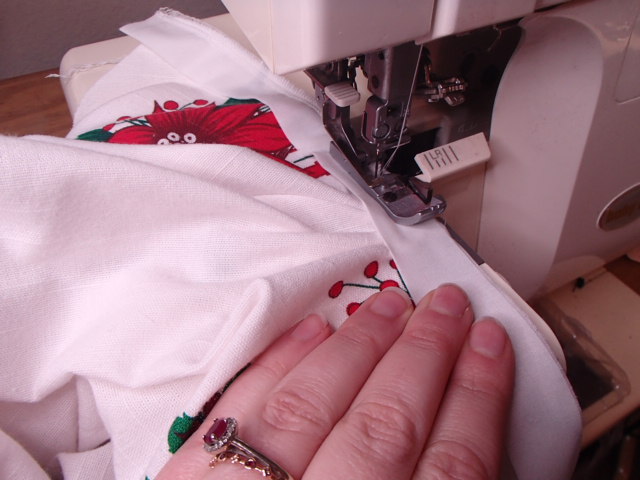
When I came to before the point I laid the fabric so that the slit was one straight line. This can cause some tuck at the base of the slit because you are serging 3/8 of an inch away from the slit instead of 1/8. Once the placket is sewn together press the seam.
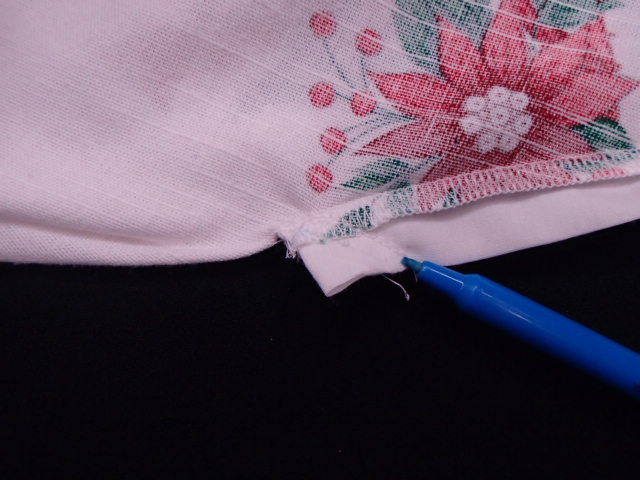
The final step to complete the placket is sewing a diagonal line at the base to keep the fabric on the inside.
Sewing the Waistband
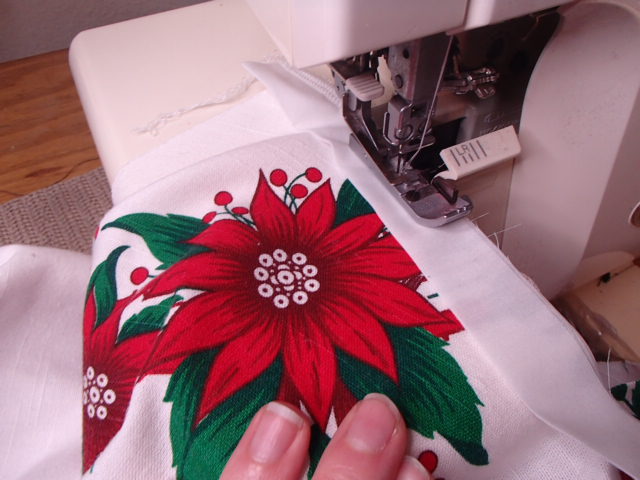
Now that the packet is done we can move onto the waistband. I also lined up the edges of the waistband and the skirt and serged around. Before I started I folded in the edge to create a clean encased edge. I worked around slowly adjusting the edges as I moved around the curve. Before finishing the other side I folded in the edge as well to create the same cohesive look. This edge also will hang off the edge a little. Once you are done sewing make sure to give the seam a good press.
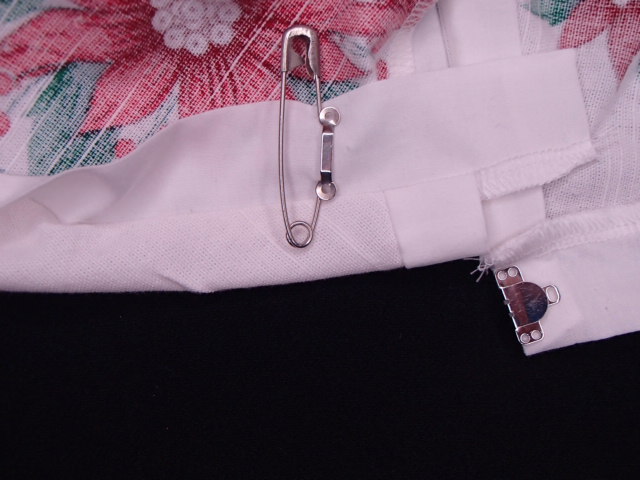
Now it is time to add the skirt hook and bar. I like to try on the skirt and place a pin where I want my bar to be placed.
Since this skirt used to be a table cloth I do not have to do anything to the hem…YAY!!!
Creating the head piece for the tree topper
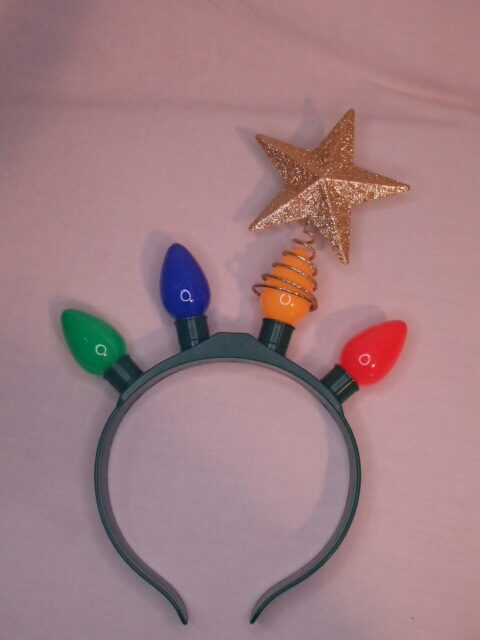
I found a headband at the Dollar Tree that already light up so I decided to add my tree topper to that instead of building a whole new headpiece. Sometimes it is important to factor in time and cost to achieve the end look. I was planning a headpiece that look almost exactly like the one I bought. So I added a little glue on the back of one of the lights and added the star tree topper and call the headpiece great.
The Final look of the Ugly Christmas Sweater for Her
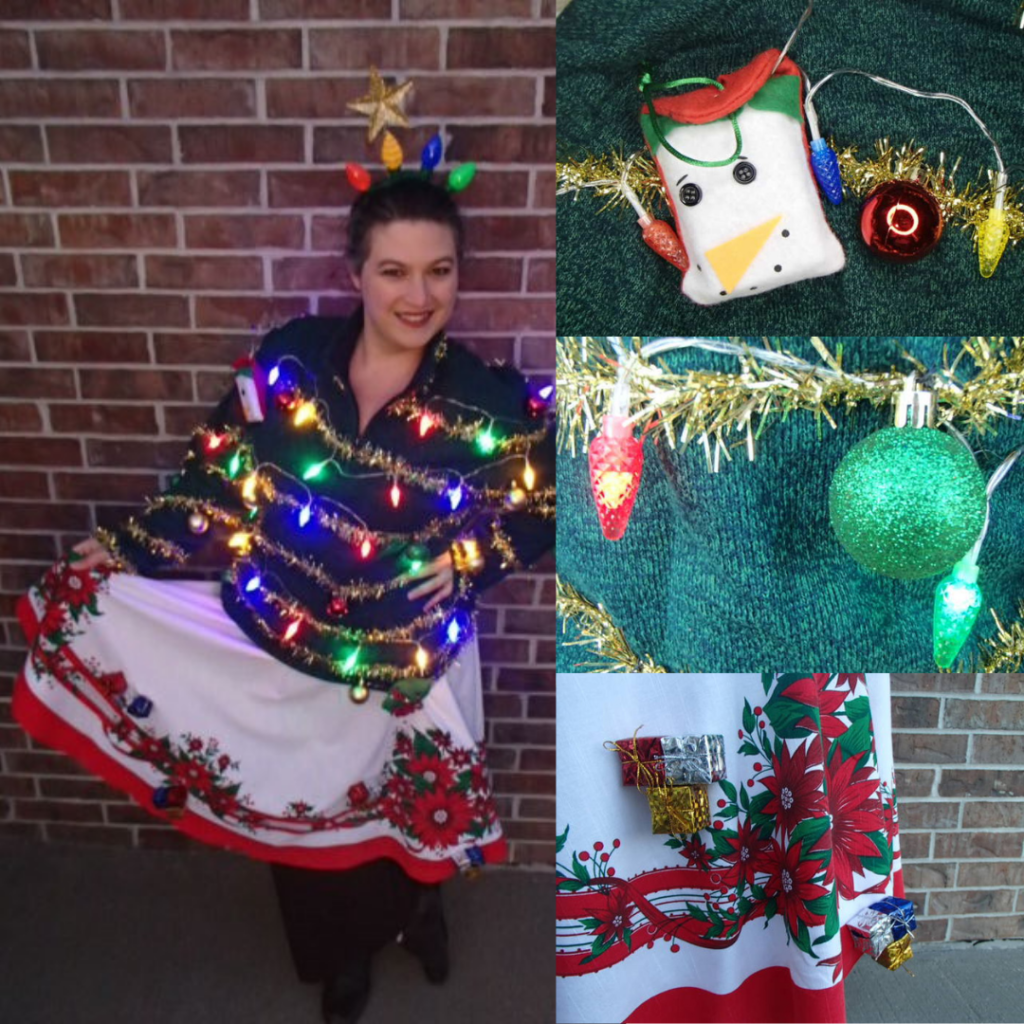
Did you miss the Ugly Christmas Sweater for Him?? Make sure to check his out!!! Come back tomorrow for Day 7!!!
