Day 8
I enjoy the look of EL wire and always like to find ways to use it. Writing with EL wire has been in the back of my mind for years and I am finally able to complete a project with it. Having the word Joy light up on your reusable shopping bag during this season will bring a smile to many faces!!! So let’s get making this reusable bag with EL-wire writing!!!
Gather your materials
- 1/2 yard of heavy duty fabric
- 9ft EL wire with battery pack
- Handle / strap material
- Invisible thread
- Scissors
- Sewing Machine / Serger
Making the Reusable bag with EL-wire writing
Start with deciding how big of a bag you want to make. I chose to use my entire 1/2 yard of fabric I had. Next is the design of the bag. For example, the bag can be flat or have some dimension. I chose to have a little dimension to easier fit more items easily in my bag.
Prepping the EL-wire
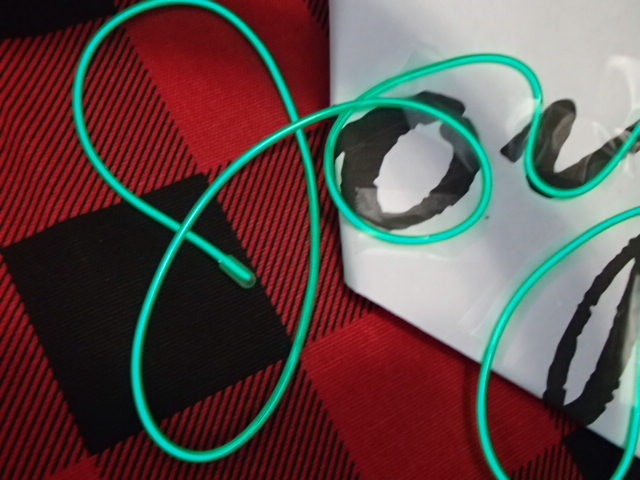
Next, we are going to prep the EL-wire. I found the size of lettering I wanted displayed on my bag and printed out the word joy. Then I began to form the word with the EL-wire over the paper. I used tape to secure down the EL-wire lightly at first until I was happy with the full look. I let the EL-wire remain taped on the paper for over 24 hours. This will help the wire keep its shape while you are trying to sew with it. It is possible to start sewing immediately but if you do you may be fighting against the EL-wire.
Prepping the Bag
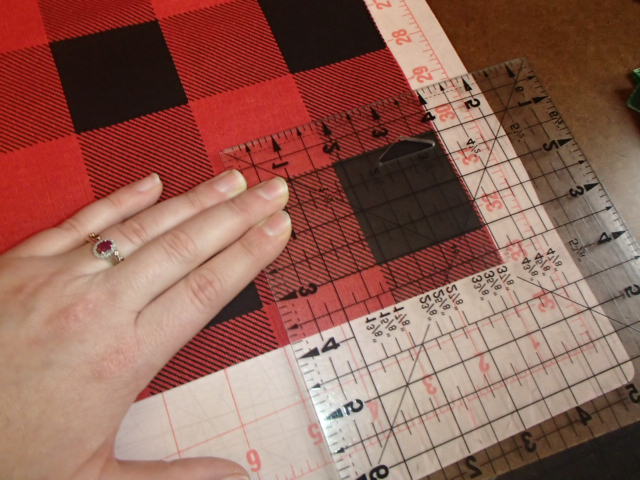
My bag will end up being approximately 11 1/2 X 8 X 18. I based this on the size of the square on my fabric and I also knew I needed to add a pocket and I wanted to make sure the corners I cut away would provide enough for a small pocket. I was also using the fold as the bottom of my bag. When I marked where to cut I made sure I marked a square 3 3/4 by 4 ensuring that the 3 3/4 was on the fold. This is because I will not be adding seam allowance and I want to make sure the seams will be even.
Sewing on the EL-wire
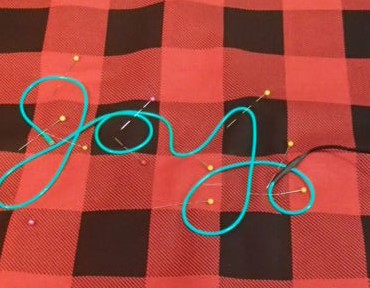
Before the bag is constructed sew on the EL-wire. It will be easier working with a flat piece of fabric than one that is already sewn into a cylinder or bag shape. Place your EL-wire onto the fabric and pin it in place.
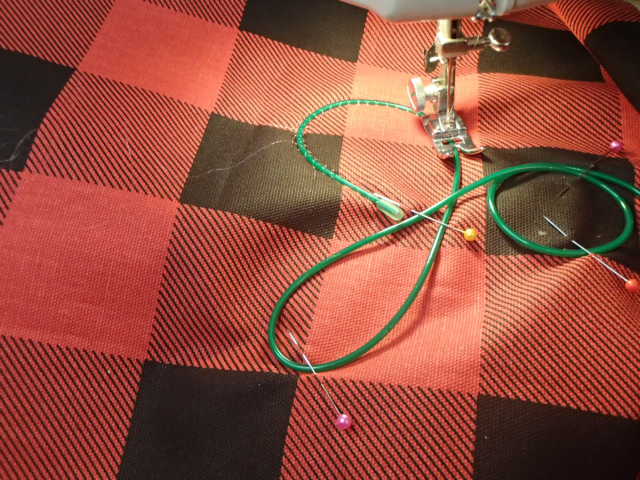
Using invisible thread and the widest zig-zag stitch your machine has slowly sewed over the EL-wire. I had to jump over anywhere the EL-wire was doubled up. Be very careful as you sew you do not want to puncture the wire because if you do you can break the circuit causing the entire wire to not work.
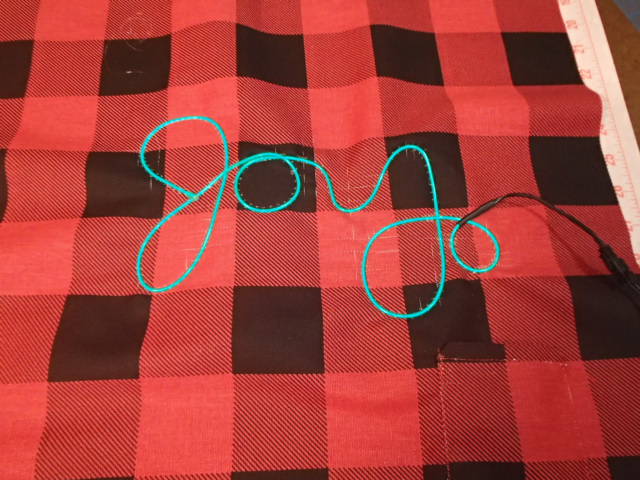
Now I have to give the EL-wire a test since it is on the fabric.
Adding the pocket for the battery pack
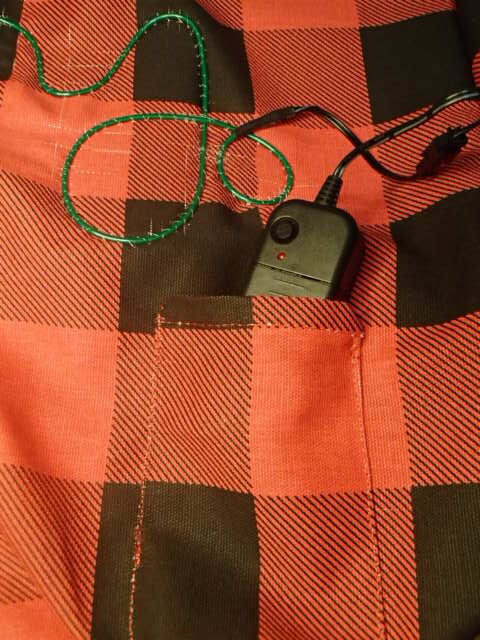
There are many different ways for you to add the battery pack on. I chose to add a small pocket at the bottom making sure to pattern. This will help the pocket blend in and not stand out as much.
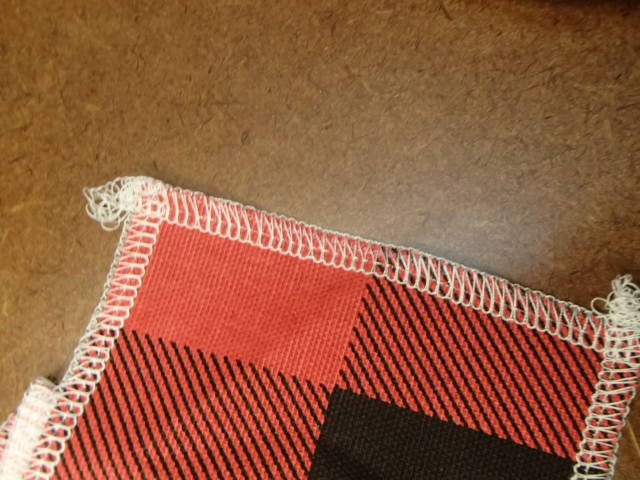
I started with serging around all edges. next, I turned in all the serging a gave the pocket a really good press. I top-stitched the top edge of the pocket to finish the edge.
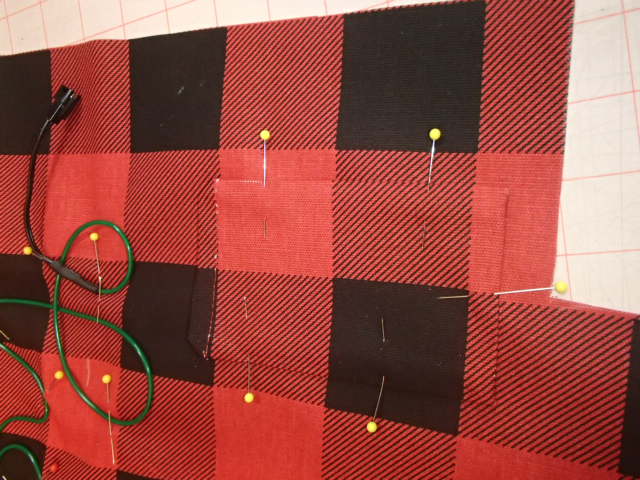
Next, I lined up the pattern on the pocket with the pattern on the bag in the location I wanted the pocket in. Securely pin the pocket in place.
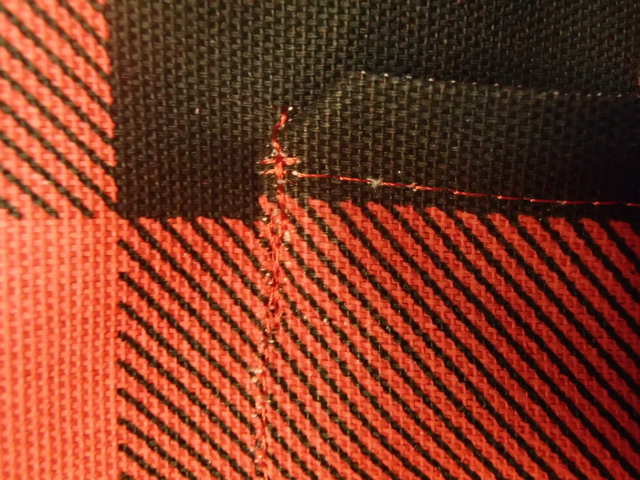
The last step for adding the pocket is to topstitch it down to the bag. I made sure to backstitch at each corner to provide extra support and assist with longevity.
Sewing up the Reusable bag with EL-wire writing
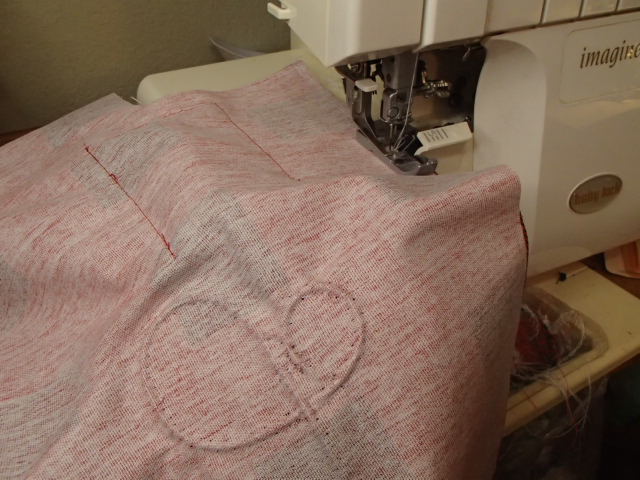
Time to put the bag together. With right sides facing each other line up the side seams and serge up both sides.
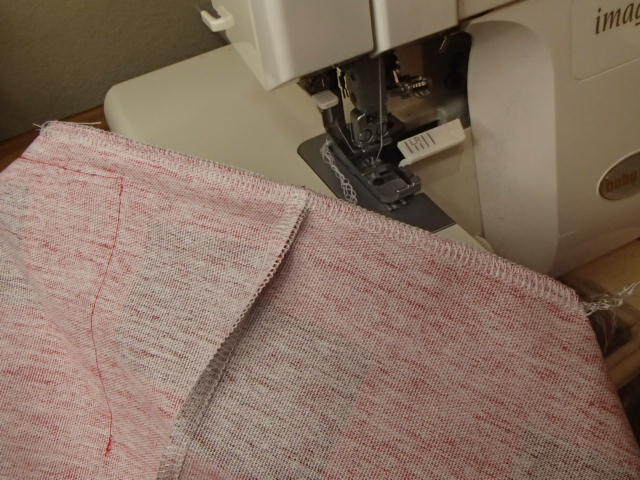
Next we are going to sew up the bottom. Line up the seam with the fold of the bottom and serge across.
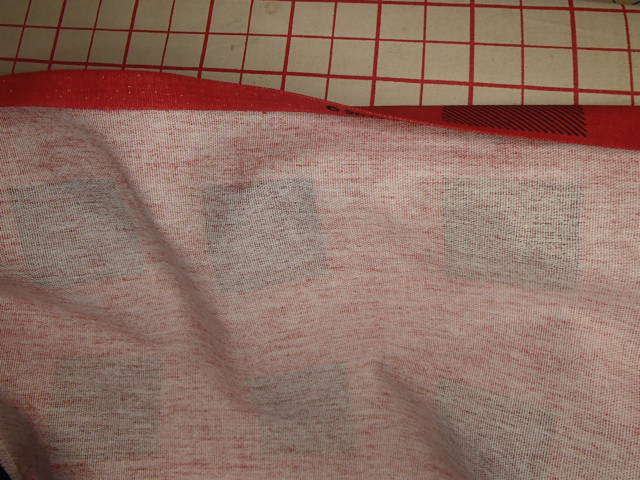
Now it is time to finish the top edge. Since I used my entire length provided by the bolt my top edge is a salvage edge. Therefore I did not serge the edge but I will be doing a turn-turn hem. Using a hem gauge, an iron, and pins I prepped the top for hemming.
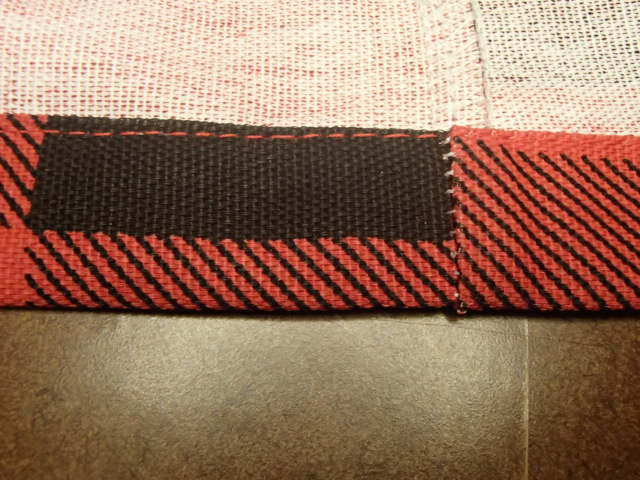
Next, topstitch around the top of the bag to complete the hem.
Adding on the handles
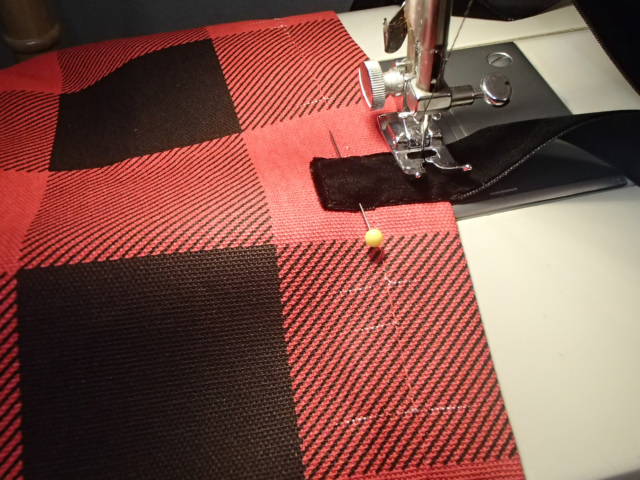
Next, I prefer longer handles to easily get the bag on and off my shoulder. My handles measure 28 inches. Depending on what you are using for your handles finish off the edge either with a little flame or like in my case a turn under. Pin the handles on and stitch securely down.
Now that your reusable bag with EL-wire writing is done it is time to plug in your battery and turn on the EL-wire! This battery has three different settings on, slow flashing, and fast flashing. I hope this bag can bring extra joy to everyone while you are out.
Final Pictures of the Reusable bag with EL-wire writing
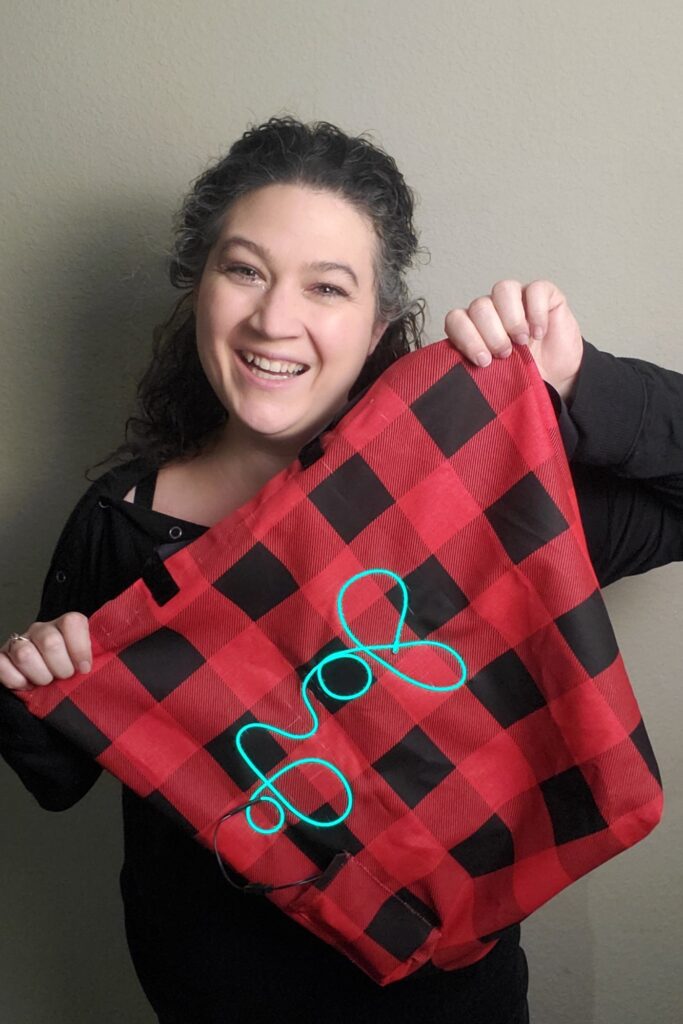
I hope this bag brings a smile to many people!!! Make sure to check back tomorrow for more 25 Days of Fun!!! As well as See some of the fun projects that have already been created like these fun Cherry Cheek Santa Earrings or the crowd favorite Light-up Santa Hat!!!!
