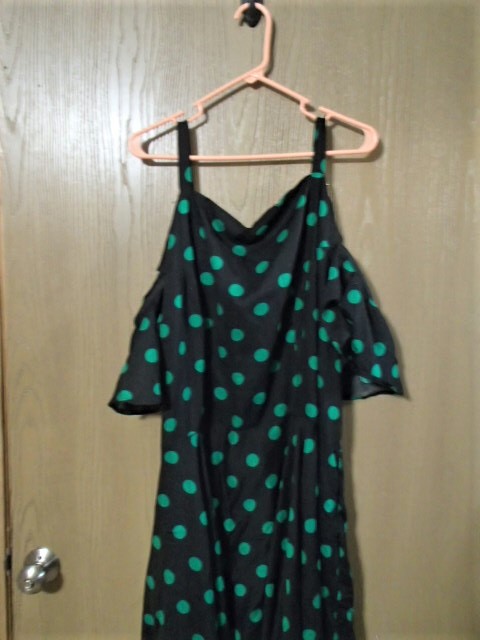
Now that I have my Polka-dot dress patterned and printing it is time to build my spring polka-dot dress. I love to make my own clothes so that I get the dress I want in the fabric I want with the fit I desire. Fitting yourself is a challenge so I sometimes get my husband to help me fit my new outfit. That is always a fun and entertaining experience but we always have a laugh about it later!!!
Gather your materials
- Dres’s pattern
- Tape
- Fabric
- Scissors
- Chalk or fabric pen
- Ruler
- Sewing Machine
- Serger
- Thread
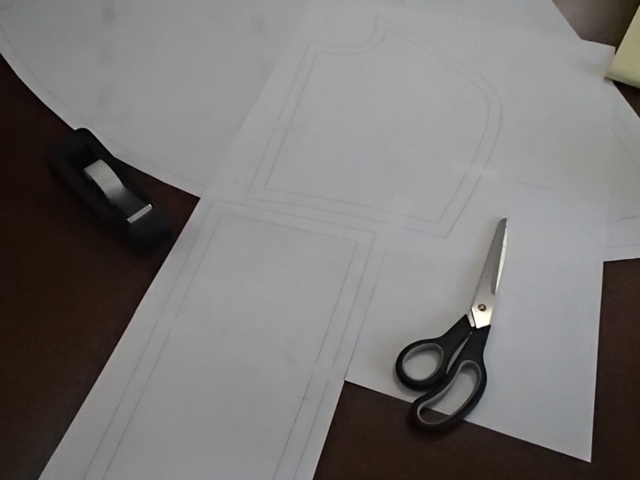
Prepping the pattern
First we need to tape the pattern together and then cut out all the individual pieces.
Cutting out the pattern
Before cutting out the pattern pieces it is always a good idea to wash and dry the fabric in the same way you are planning to wash the garment. After washing I also give the fabric an ironing so that it is easier to work with and has not hidden crinkles.
Next, lay out the fabric and place your pattern piece on top. Make sure that you are aligning the grain lines with the salvage edge! I pre-added the seam allowance and will be sewing edge to edge instead of stitch line to stitch line.
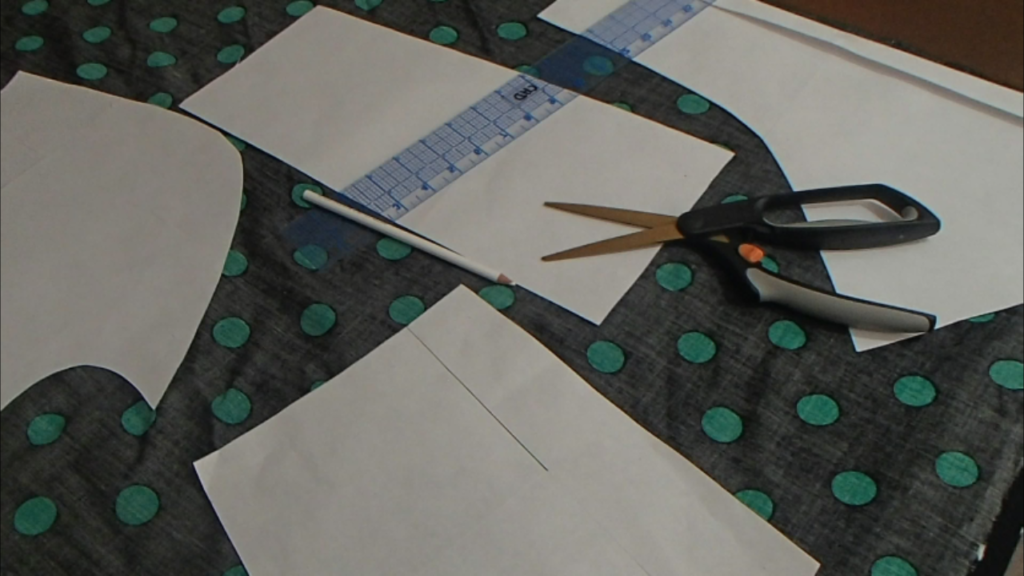
Begin cutting out all the pattern pieces. Double-check that all hash marks have been transferred onto the fabric. This way you have the guidelines to put the dress together.
Building the Polka-dot Dress

The first thing I am going to do is serge around all pieces. This will help maintain the dress for a longer time. It is especially important because I will only do a facing on the neckline of the dress, not a full lining.

Sew the center front to the side fronts and give the seam a firm press. I like to press the seam open and then towards the side seam.

Sew the center back to the side back and press the seams open and towards the side seam. Next, sew the center back seam together. Press the center back seam open.

Attach the skirt pieces to both the front and back bodice pieces.
Sewing the Pockets
It is time to add the pockets!!! Whenever possible I add pockets to my garments because I love pockets and pockets mean power!!!
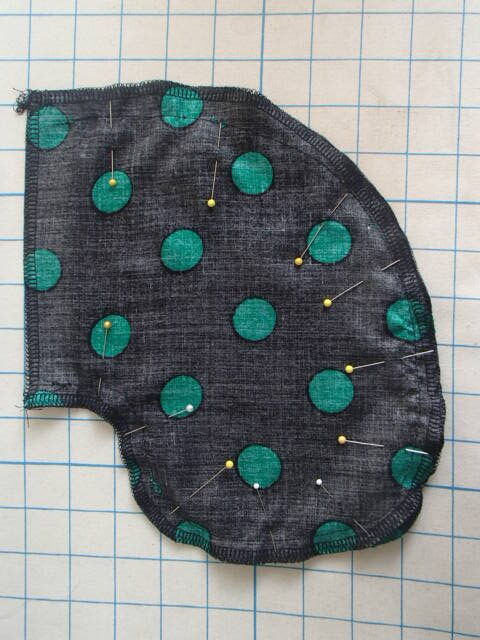
Begin by stitching the actual pocket stopping 5/8 from the opening. This is essential to easily attach the pocket to the dress.

On the Left side of the dress line up the placement mark on the front skirt pattern piece with the pocket and stitch the short distance from pocket top to pocket bottom. Repeat with the back skirt. Now you should have the front and back attach by only the pocket on one side. Press open the two seam

Pin the side seam together. Starting at the top and based the first 14 inches of the seam. This will be where we will put in the zipper. Backstitch then change the stitch length to your regular length and continue down to the top of the pocket and backstitch. Move to the bottom of the pocket and finish sewing up the left side seam. Press open the seam.
Insert the zipper
Time to insert the zipper. I really enjoy inserting zippers and I will tell you my secret to inserting a zipper fast. I do all the steps and pin and basted when necessary. This way I only have to put it in once and no seam ripping is required. Lapped zippers are my favorite so that is how I will be inserting this zipper. See this video on how to insert a lapped zipper.

Now that the zipper is in sew up the other side of the dress.
Creating the Sleeves
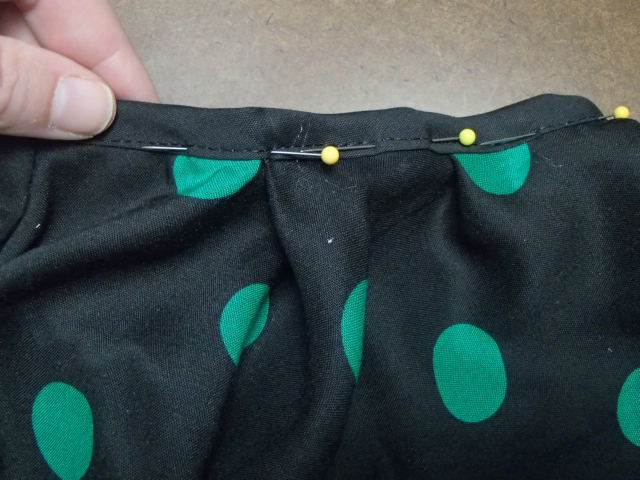
When I patterned the sleeves I added extra fullness in them to be gathered down. While building this dress I changed my mind and decided to add three pleats instead of a gathering look. I began by dividing the double fold bias tape into thirds as well as the sleeve. Next, I lined up the pins knowing that is where my three pleats will be placed. I started on one side and pinned the double fold bias tape across the sleeve and added the extra fabric at each pin for the pleat. By matching the two thrids ensuring that each pleat would be similar in size.
Next, I sewed up the sleeve seam and did a turn turn hemming around the sleeve.

Finally, it is time to add the sleeves to the dress. Lining up the under seam that the endpoints of the sleeve stitch on the sleeve and press open the seam.
Sewing on the straps and the facing
Begin by sewing the straps together and turning them right side out and press firmly. Line up the edge of the strap with the front top edge of the dress at the marked placement. Based the strap in place. Make sure the strap is not twisted and line up the back placement of the strap. Based in place. Repeat on the other side.

Sew the center back facing together and press open all seams. Line up all the seams and sewing 5/8 inch seam allowance sew from armscye to armscye. Ensure that the strap is placed inside the facing. Repeat with the front-facing. Press the seams open and the back creating a crisp line. Then either do an understitch or a topstitch to finish and keep the facing where desired.
Fitting and Hemming
Since I had drafted a circle skirt hem I decided to let the hem hang for a couple of days. This will ensure that I have an even hem marked when I fit the dress. Enlisting the help of my husband I make the hem even around. Next, I cut off an inch longer than my mark so that I have enough room to do a 1/2 inch turn turn hem.

I pin around the hem of my dress and then sew the hem in. Finally giving it a good press as well as a press everywhere else to crisp up the garment.
Finished Dress
I am so excited to wear this fun dress around!!!


Make sure to grab my Key commands and Useful Charts to get started on your own journey of Digital Apparel Patterning!!!
If you miss how I patterned this dress check it out here at How to Pattern A Spring Polka-dot Dress in Illustrator