Day 10
Having a Programmable LED Matrix Necklace that can change with the theme of the month is such an exciting idea. I love jewelry that lights up and changes how you are programming them! It’s easy using NeoPixels for these kinds of projects, making it even more fun than before!! Let’s get Started
Gather your Materials
- NeoPixel Matrix board (4×8)
- Feather Basic Proto
- Wires
- Switch
- Lipo Battery
- Soldering Iron and solder
- Third arm
- Pin Headers (4)
- Computer
- Necklace Jewelry Chain
- Lobster Claws (2)
Designing the Programmable LED Matrix Necklace
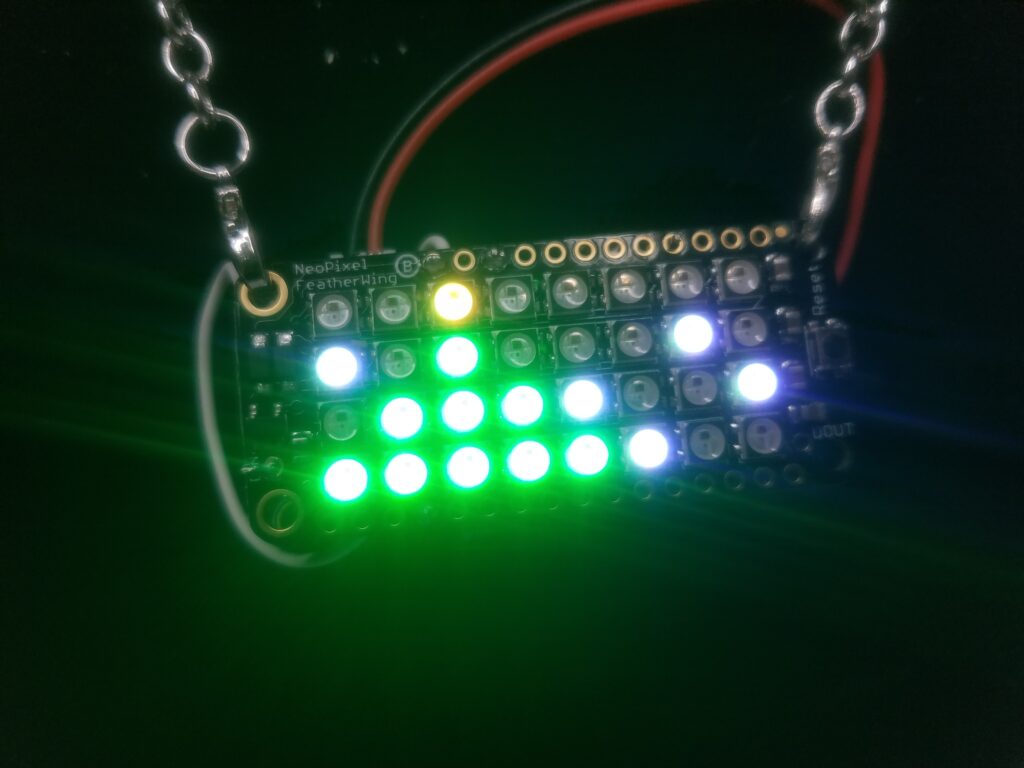
When I found the NeoPixel 4×8 Matrix in the store, I had many different ideas to incorporate the board into jewelry. I finally settled on a simple necklace that can easily convert from being worn landscape to portrait.
Soldering the Programmable LED Matrix Necklace
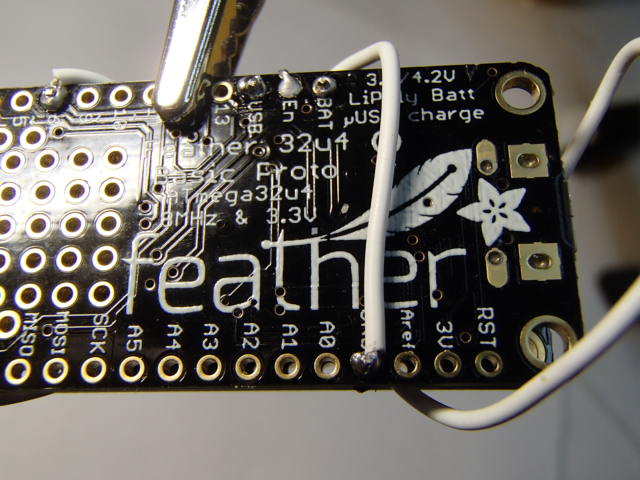
Start with soldering a length of wire into the EN port. Next, solder a wire and a pin header into the ground port. Bring the two wires together and around and trim them to be the same length.
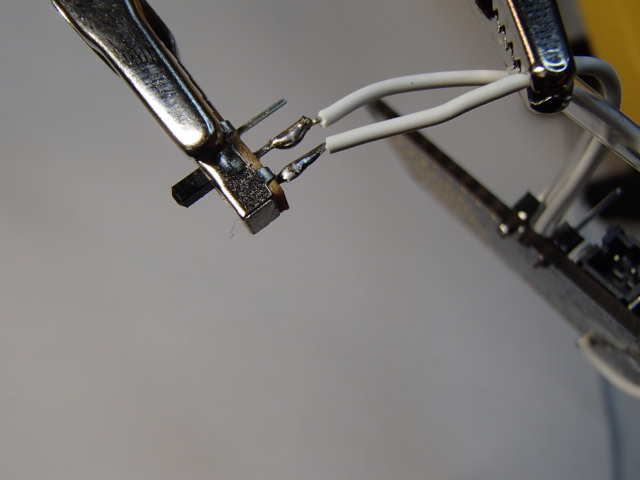
Solder these two wires to the switch. Don’t forget to add the heat shrink before you solder.
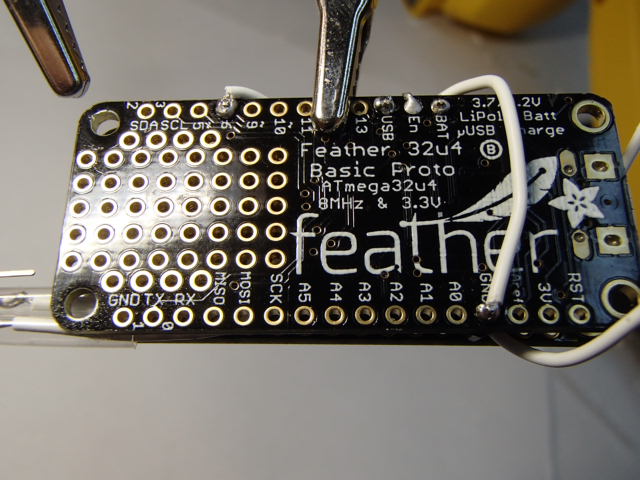
In port 6, we are also going to solder a pinhead and a wire. This will be the port we will be controlling our Matrix. Solder pinheads in the Bat and USB ports as well.
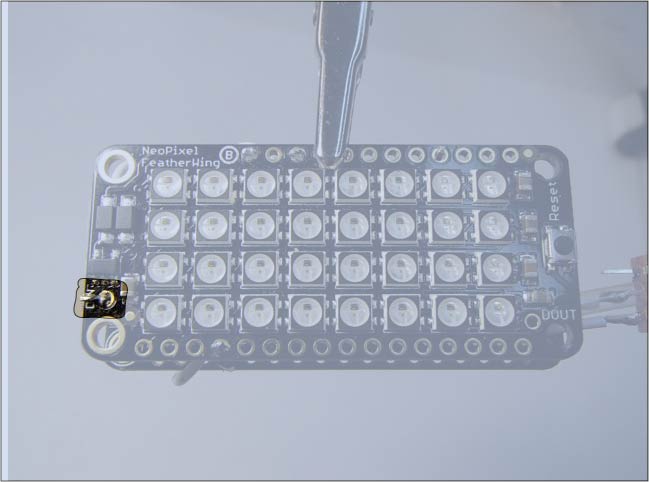
Now it is time to solder everything to the NeoPixel Matrix board. I started with the wire coming from port 6. Solder it to the Data in port on the left side of the matrix.
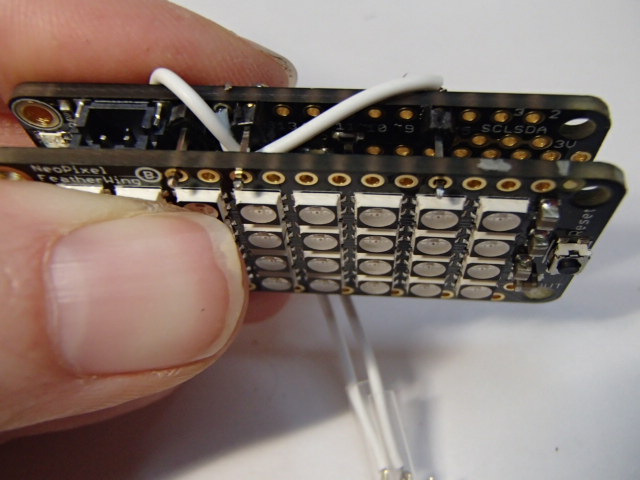
Lay the Matrix on top of the Feather board so that the pin on the top left next to the B lines up with the Battery port on the feather. Then skip a port, and the next port will line up the is USB.
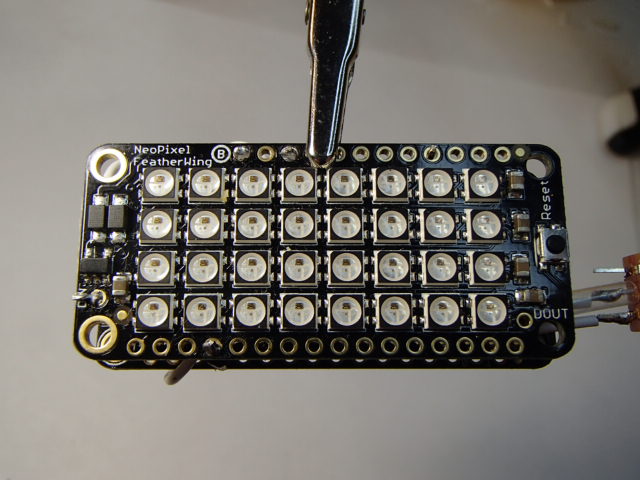
On the bottom row, the 4th port from the left should be the one that lines up with the ground.
Creating and Adding the code
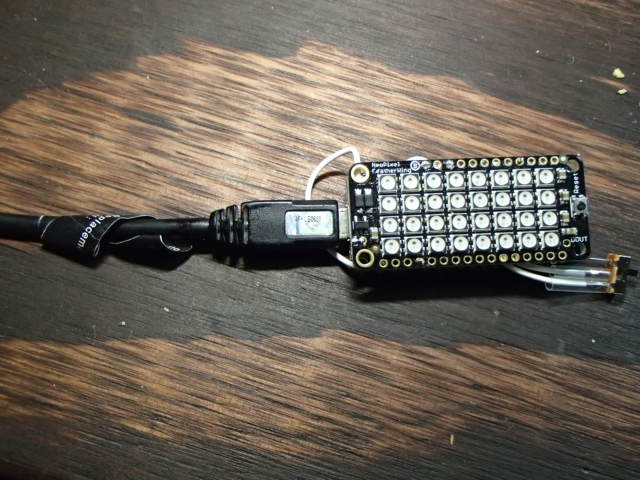
It is time to plug in the Necklace and make sure that all the solder points are working. I uploaded an example code to test that all my solder points were good.
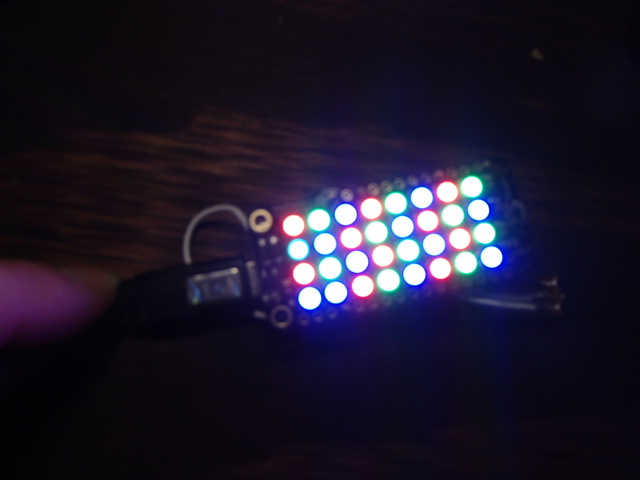
Now that I know all solder points are solid I can really start playing around with the code. I thought a Tree with snow falling around it would be a fun scene to portray.
Pixel Map the tree in word
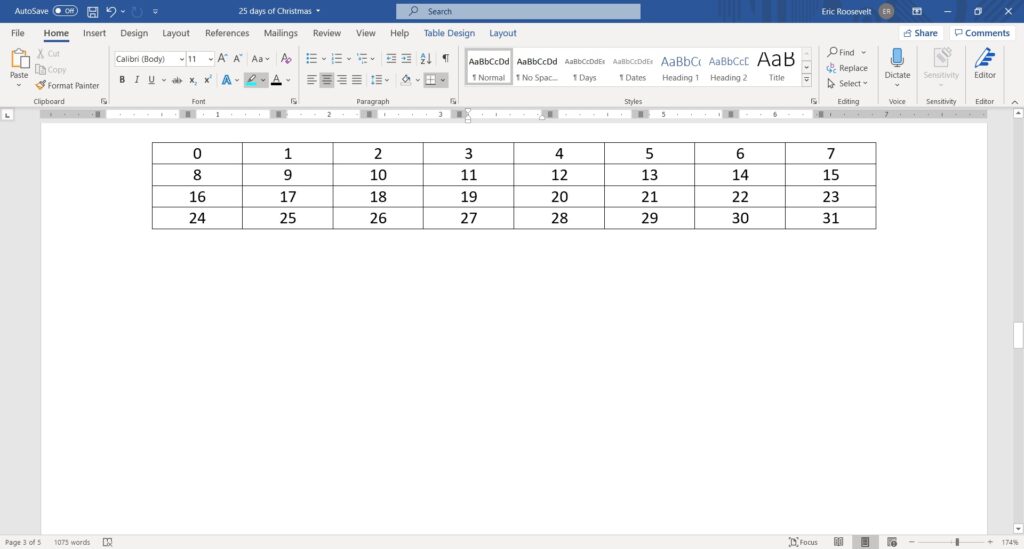
I knew that I would need to create a pixel map to help me create this code. So in Word, I inserted a chart that was the same size as my NeoPixel Matrix and labeled each square with the appropriate number of NeoPixel. Copy and paste this chart multiple times and label each one for reference later.
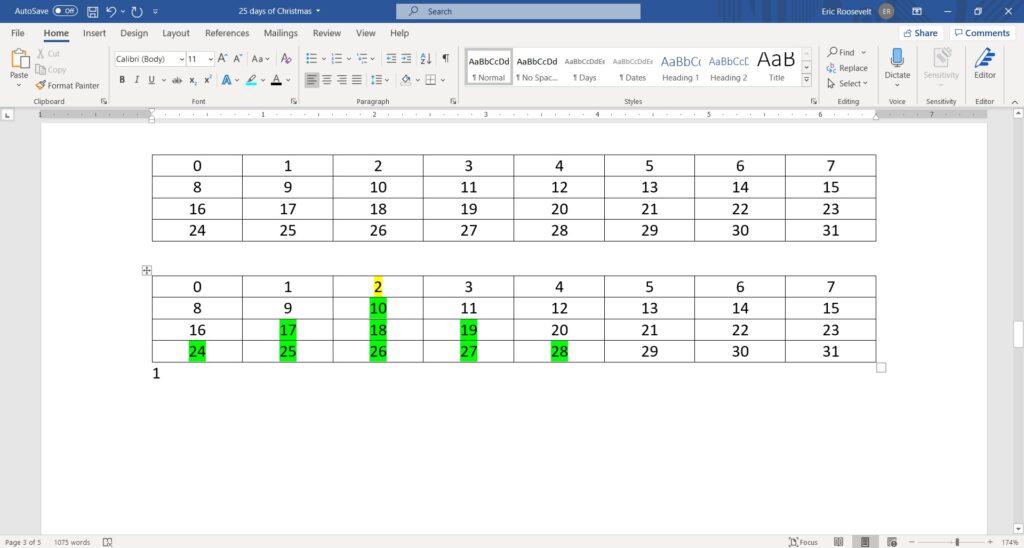
Next, I colored each square for the tree using the highlighter, and the others I would want the snow to start on.
Translating Pixel Map Tree to Arduino Code
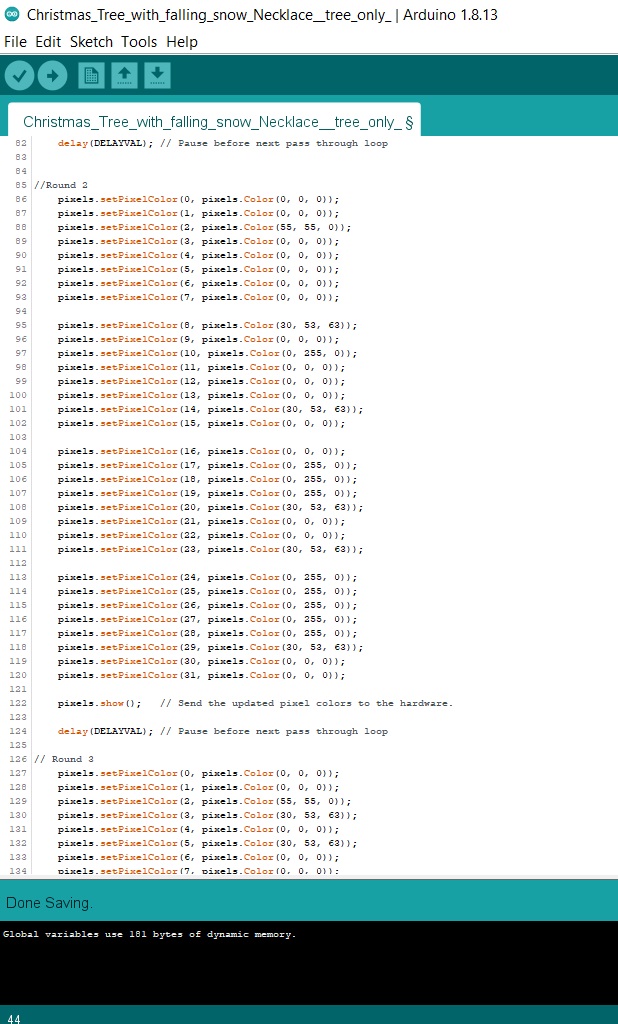
Time to translate the first Matrix into code. I started by adding the code – pixels.setPixelColor(0, pixels.Color(0, 0, 0)); – 32 times with the number 0-31. I spaced out each row so that I could easily and quickly see the next row. I finished the code with the command to show and a small delay.
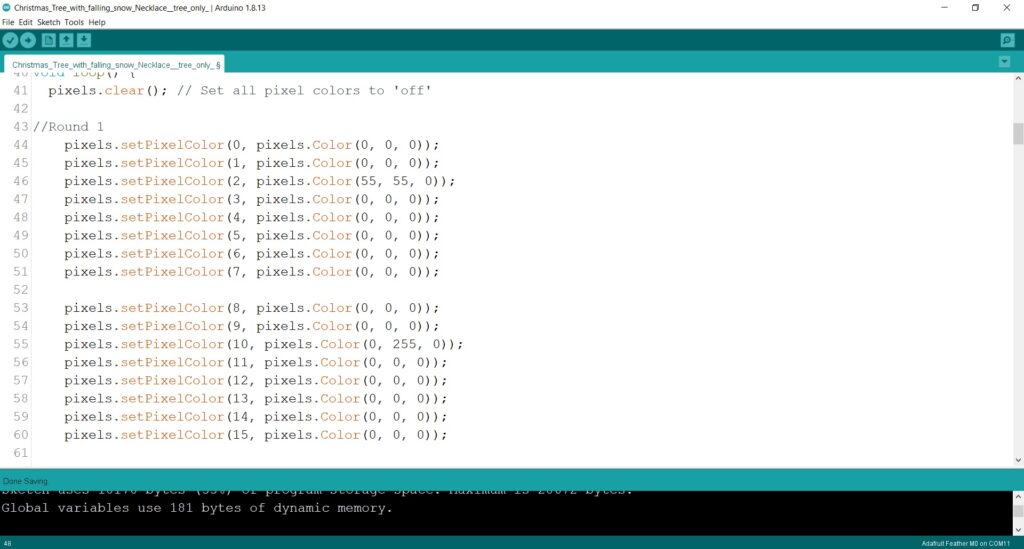
The tree will be staying the same in all of the scenes, making it easy to copy and paste the code the same amount of times as I did in my word document and label each round.
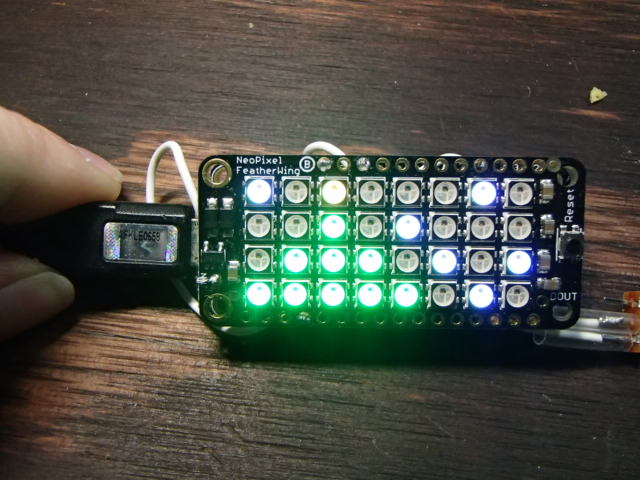
Base Code without any movement.
Pixel Map the snow falling in word
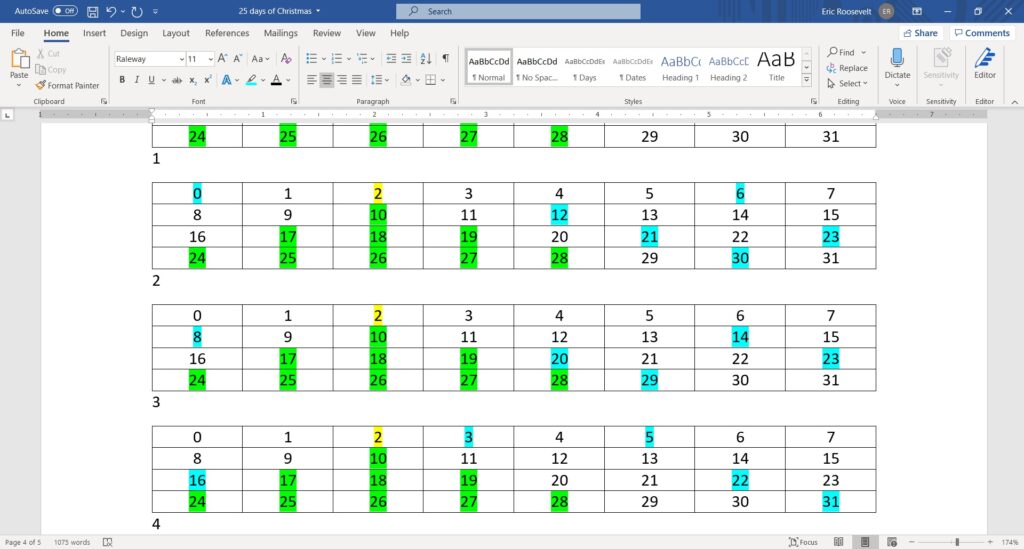
Using the highlighter in Word, I created the snowflakes falling in a few different ways and then ended with all the snowflake LEDs above the first round.
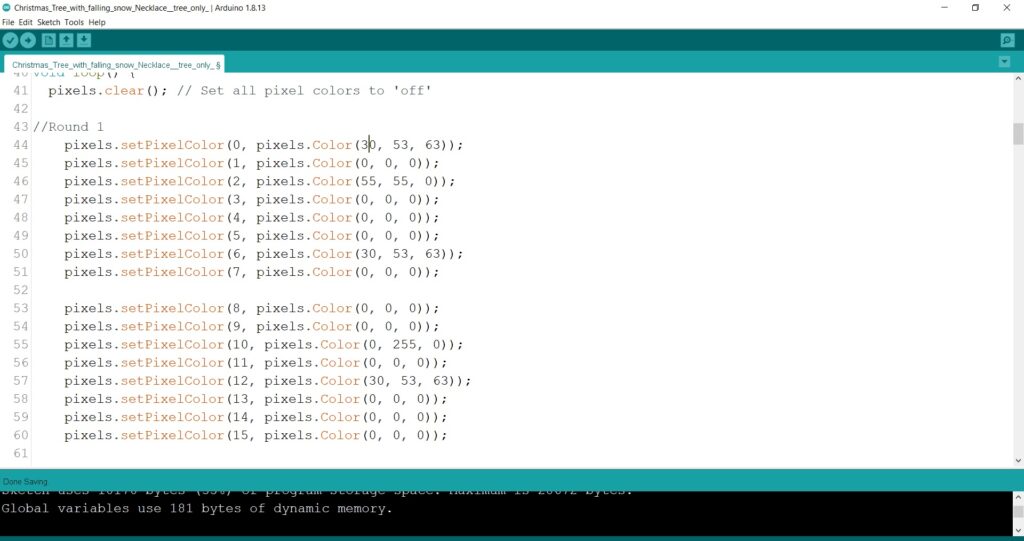
This will then easily create the loop of falling snow, and there will not be a jump in the code.
Up load the code and see the final result!!! You can change and refine the code that the possibilities are truly endless!!!
Adding the Necklace Chain
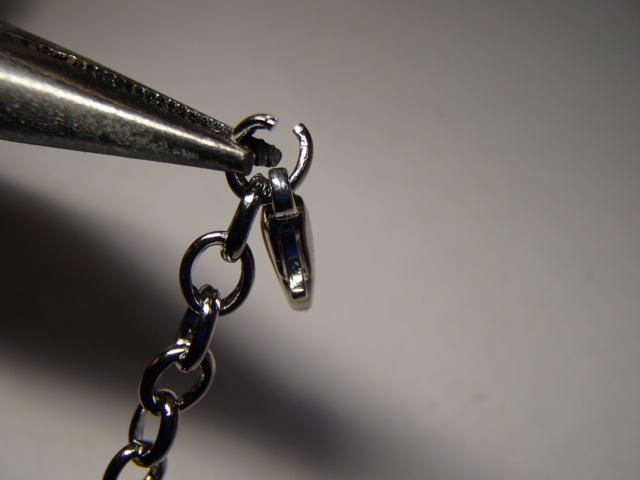
I wanted to easily change my necklace from landscape to horizontal because there are so many ways I can change my code. Therefore I made a chain that had a lobster claw on either end. Each claw will clip to a different hole depending on which way the necklace will need to hang.
Final Pictures of the Programmable LED Matrix Necklace
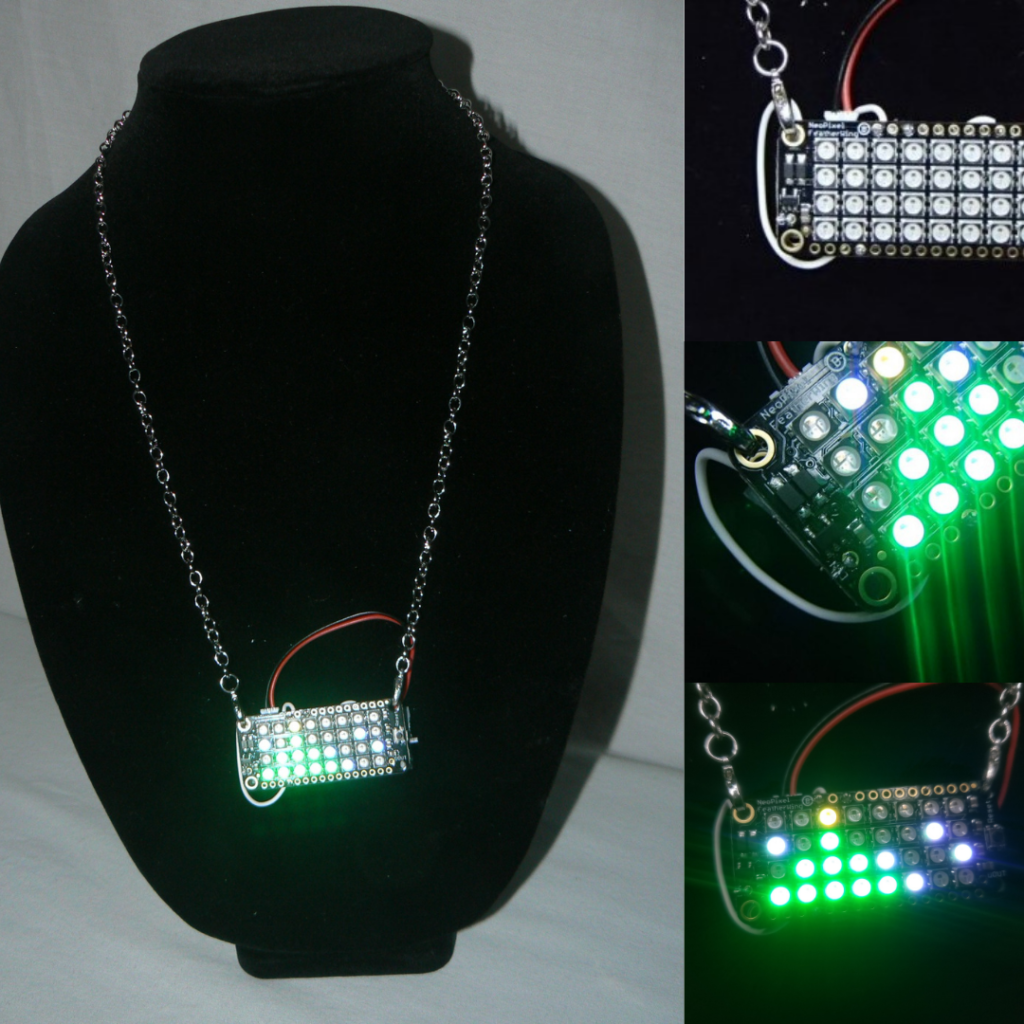
Have you missed some of the other fun projects that have come out??? Make sure to check them out and see if any of them spark your own creativity!!!! Be sure to check out the crowd favorites of Reusable Christmas Wrapping and Light-up Santa Hat!!!! Or one of my Favorites is the Cherry Cheek Light-up Santa Earrings!!!!
I hope you are finding some fun projects to inspire and encourage you!!! Check back often as I will have many more projects coming to life in the near future!!! Check out the 25 Days of Christmas 2021 Page to see all the projects!!
