When the weather begin to get better I always start dreaming of a new fun dress. I found this polka-dot fabric a while ago and always thought it would make a great dress. Now I finally have some time to make it!!! Lets get patterning a Spring Polka-Dot Dress!!!
Gather your Materials
- Inspiration photo or design
- Computer
- Adobe Illustrator Program
- Your Measurements
- My key Commands and Useful Chart (grab it here if you have not already!)
Patterning the Skirt
Began by patterning the skirt because it would be quick draft. I wanted a basic circle skirt. Use the equation C=2(3.14)r to calculate the waist measurement. Once the radius of the waist is known it is easy to add the length of the skirt desired.
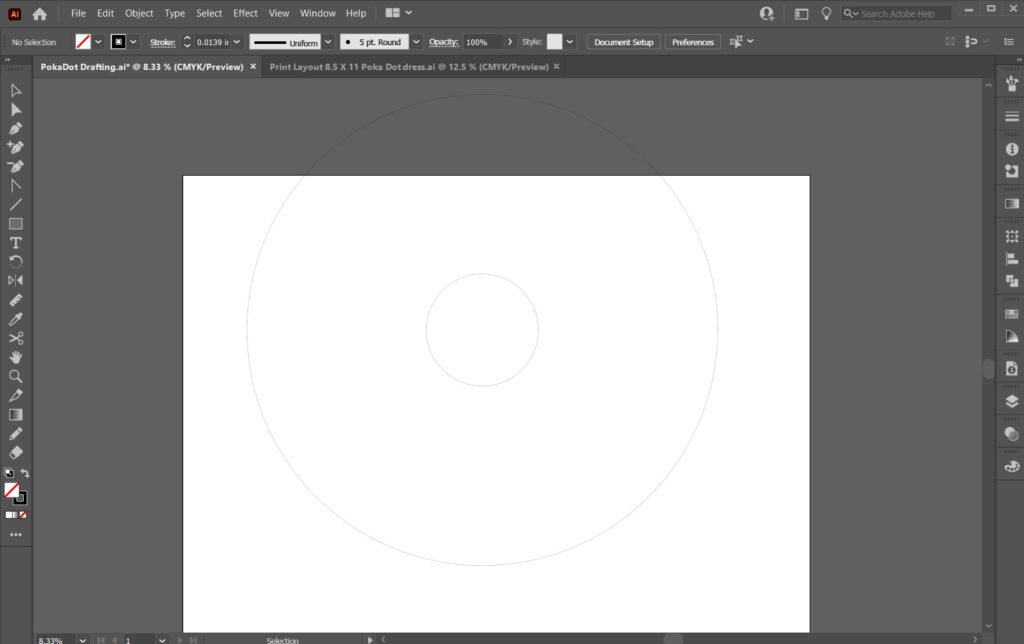
Create two circles, one that equaled the waist and a second one that would be the skirt hem. Also add a square that was the same as the diameter of the larger circle. This would ensure I could easily cut the circle into quarters. Alighn all shapes to the center
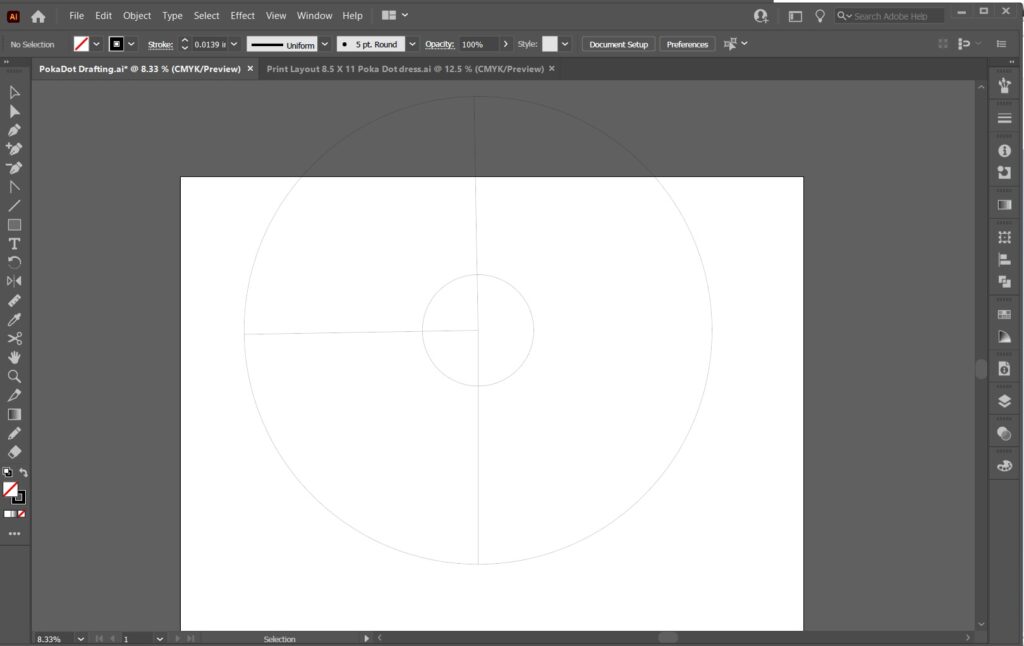
Cut the square in half in both directions cutting the circle into quadrants. Now the outline of the pattern is in a more printable size.
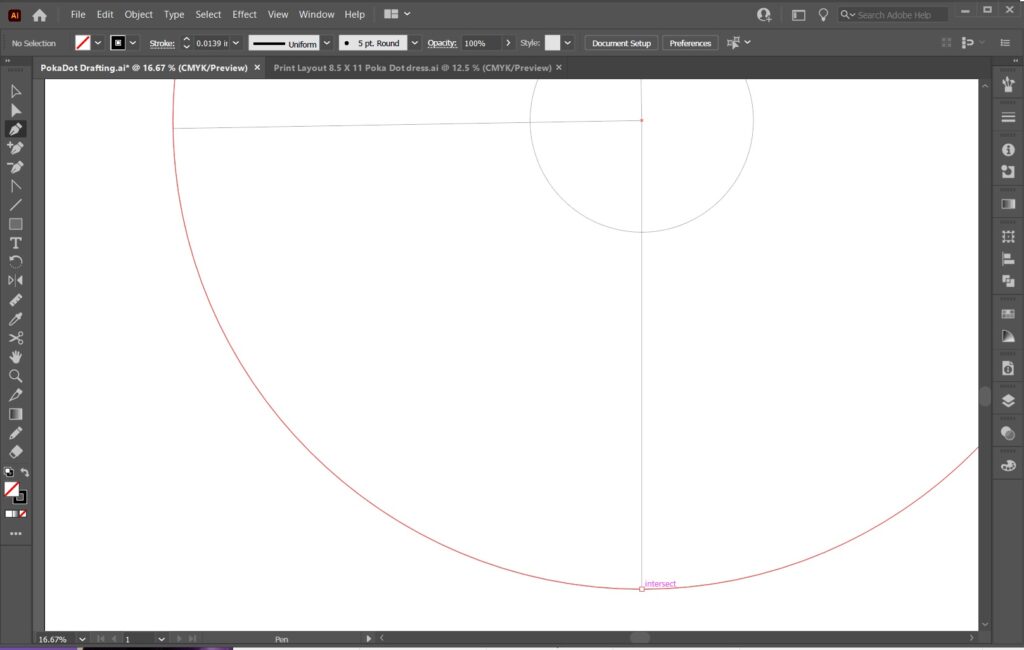
Traced on top of the skirt pattern and hide the drafting layer underneath from view.
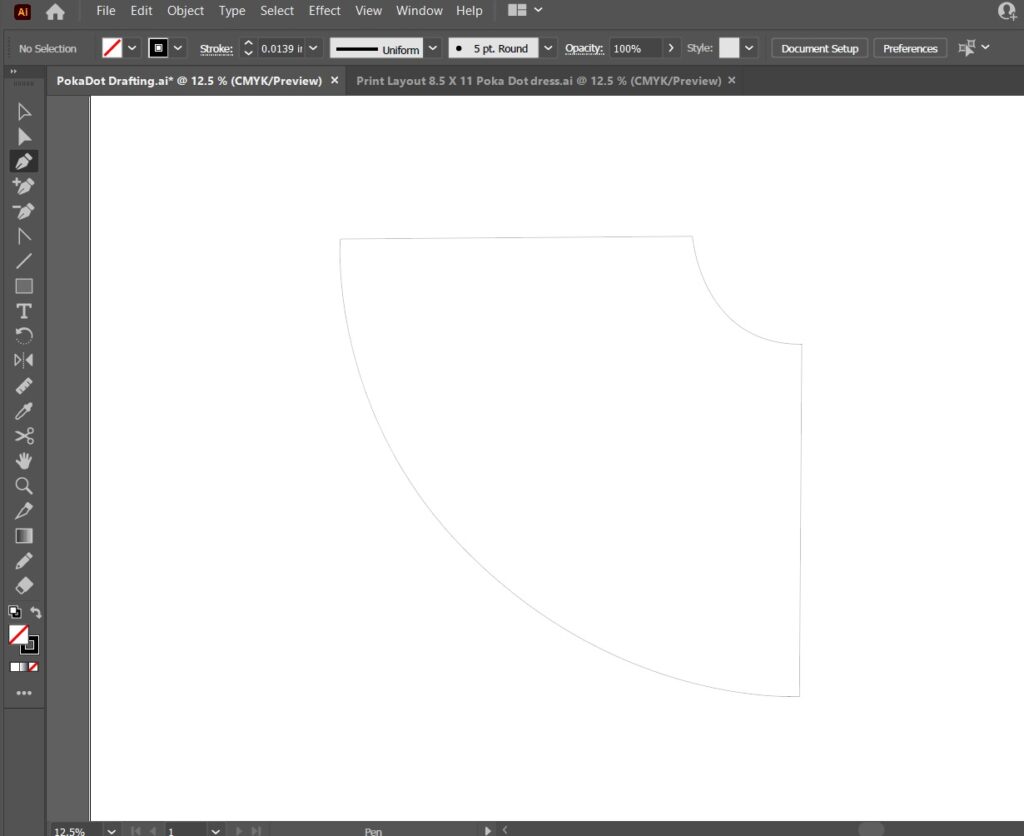
To double-check the wais length I cut the pattern apart and highlighted the waist seam and noted that measurement. This way when I was later truing the pattern to the bodice I would already know the lengths.
If you are planning to use circle skirts often save this pattern as its own pattern so that you do not have to re draft the pattern later!!! We can copy and paste the skirt pattern into the bodice drafting later.
Altering the Bodice of the Polka-dot Dress
Begin by saving your sloper as a different file name so you always have your original sloper to go back to.
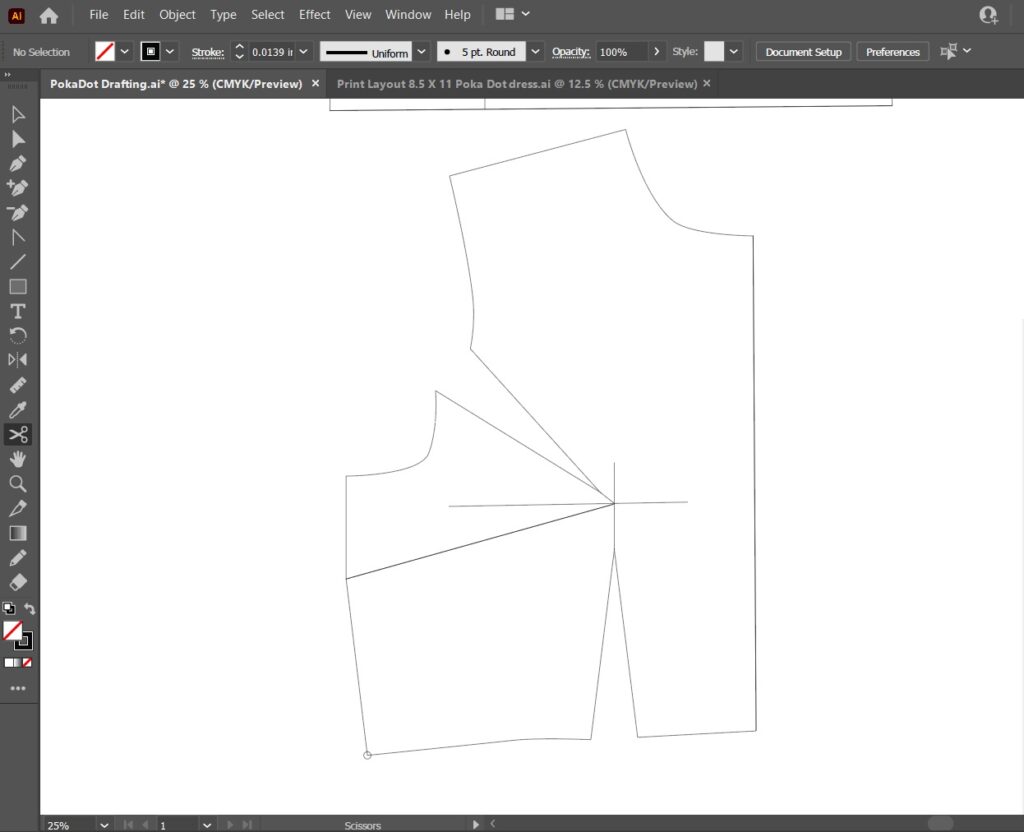
I like to start by adding in the style line from the armscye and pivoting the single dart bodice to be a double dart bodice. This is particularly important when the desired bodice will become a princess seamed bodice.
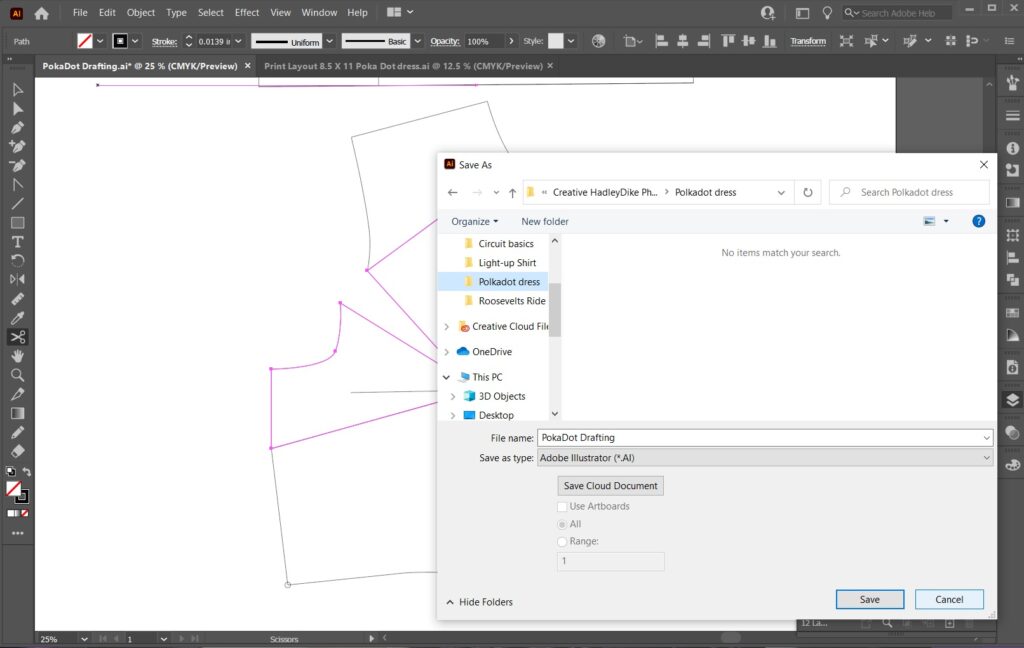
This is another great time to save the bodice in this formation so that next time this is where the darts are desired to be you can start here!!!
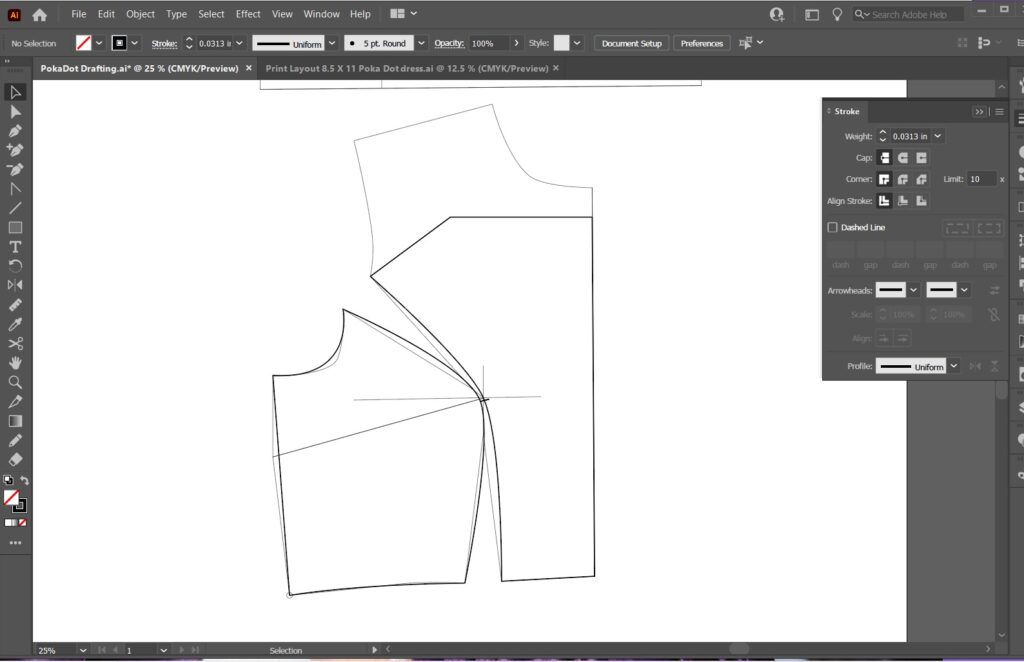
Now I am going to cut the bodice front pattern pieces apart. This will create the center front piece and side front piece.
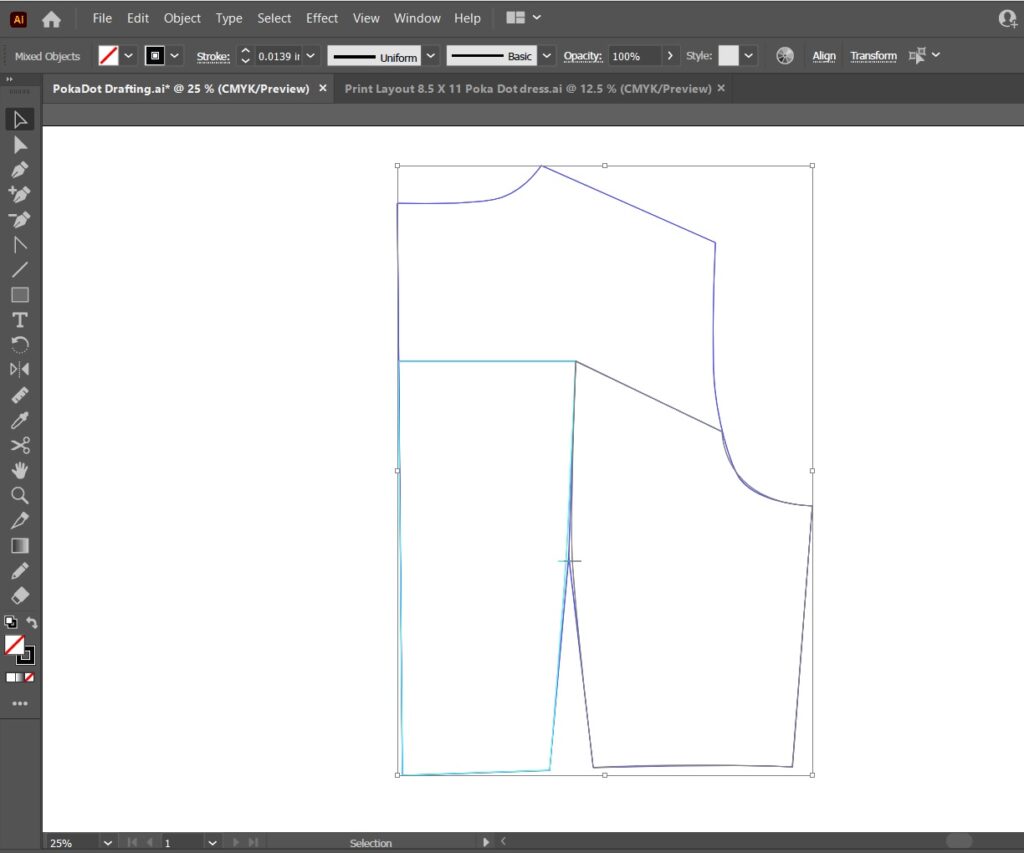
Next I will do the same to the back.
Truing the Pattern Pieces
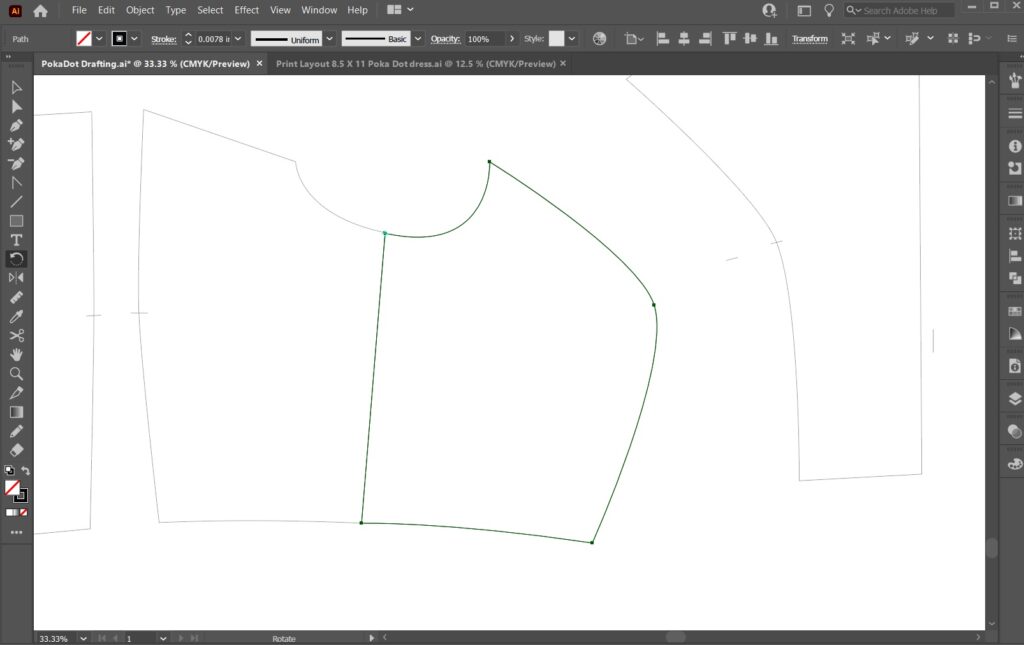
Next it is important to make sure that the pattern pieces are true. This means that when to bodice pieces are put together they will perfectly match up with the skirt pieces that was drafted earlier.
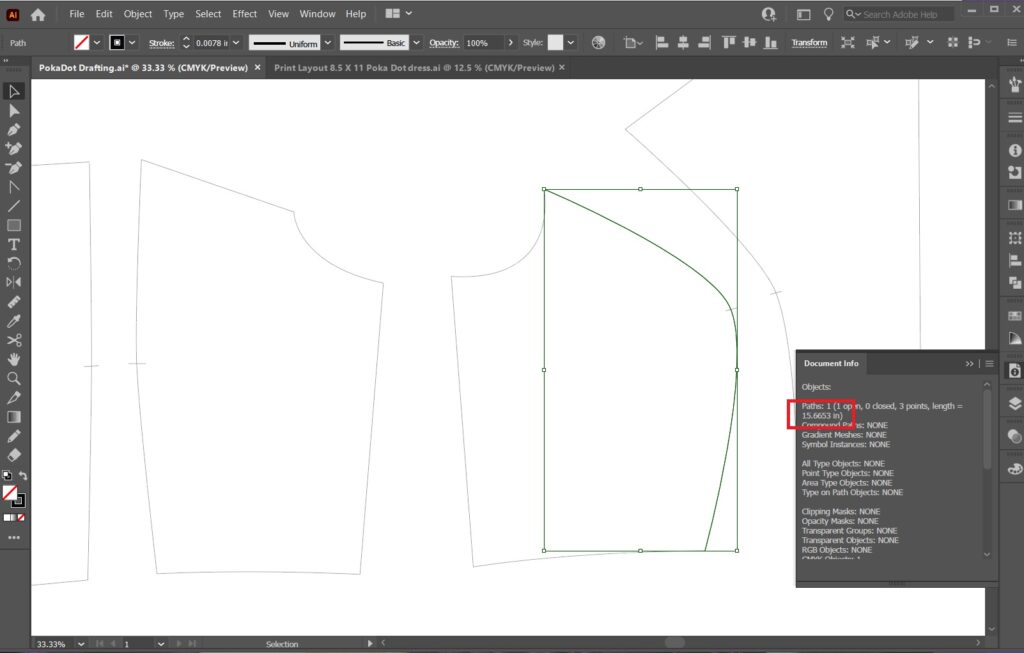
To check my pattern pieces I cut them apart and see that the lengths match up. This means for the front I will add the center front piece and side front piece lengths together. As long as this number matches the skirt waist length I know that my patterns are true.
Drafting the sleeve of the Polka-dot Dress
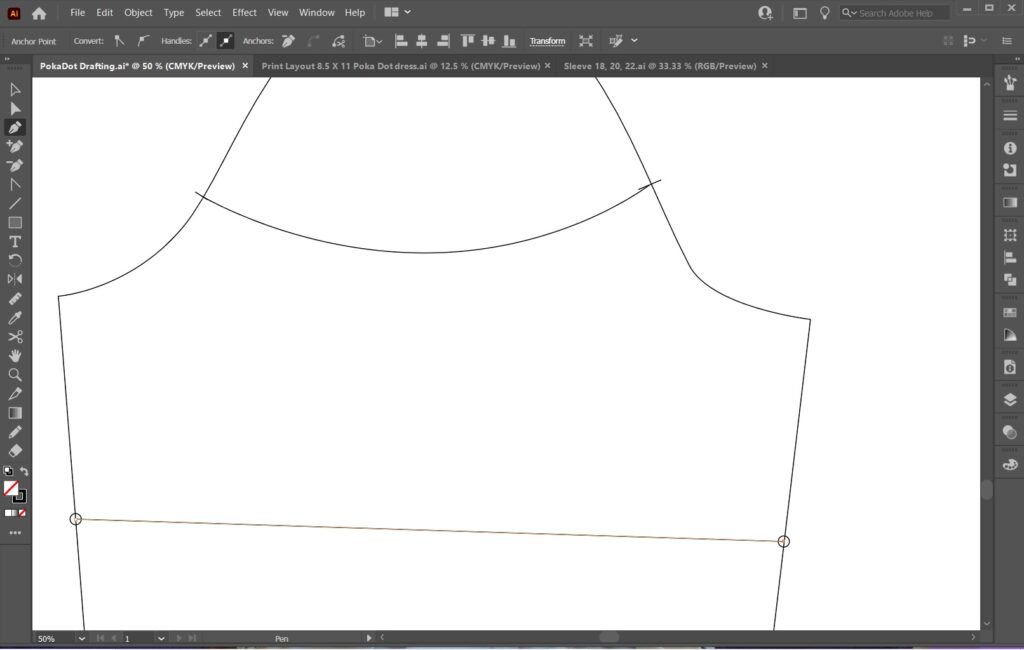
Next is creating the sleeve. I will be doing a basic slash and spread on the sleeve to create the look I want. First I cut the top part of the sleeve off matching the front and back armescye on my bodice patterns. This will ensure that the sleeve will sit exactly where patterned.
I wanted a short sleeve with some fullness so I next decided the length of the sleeve.
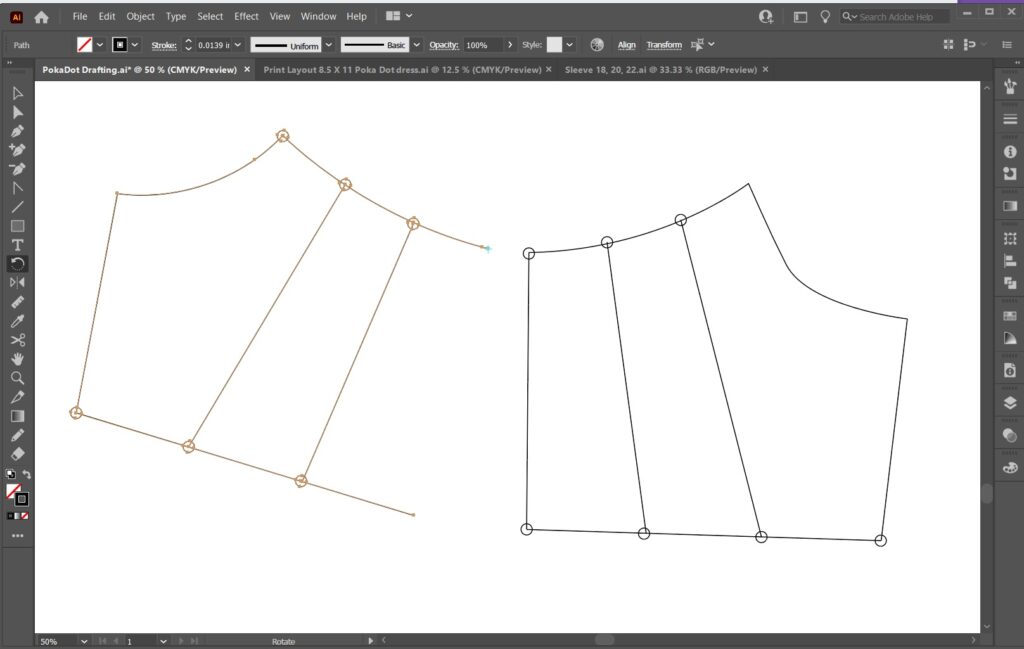
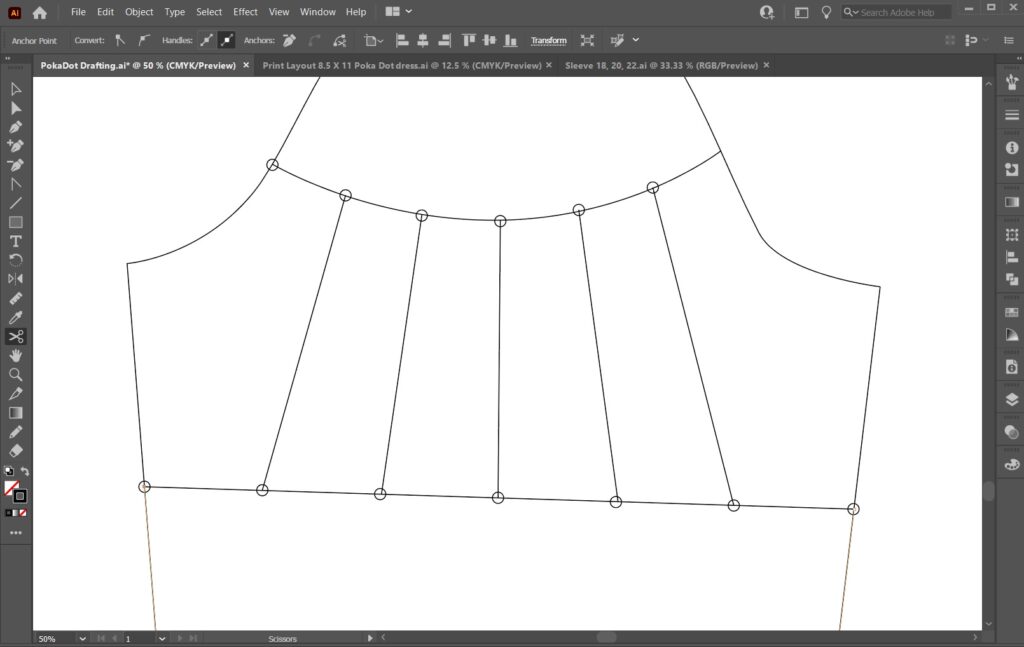
Time to slash and spread sleeve pattern to get the desired fullness. The easiest way to do this is to divide the sleeve evenly and then working from the center out cut apart the pattern and rotate. I use the line tool to provide guide lines to know how far to move and rotate the section of the pattern.
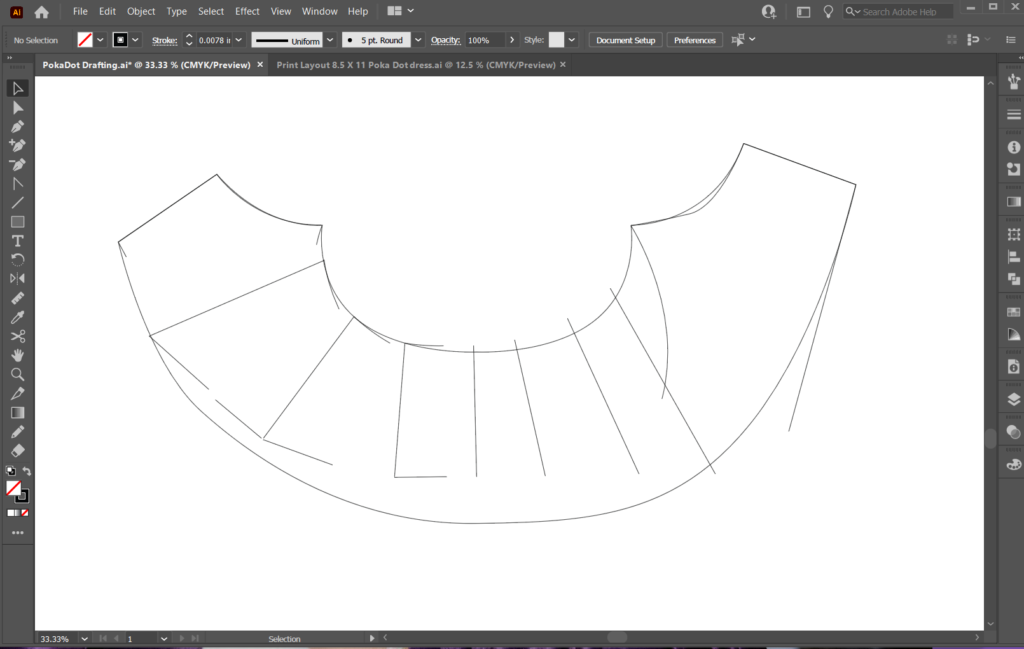
Once I have the pattern slashed and spread select the pen tool and trace the new sleeve pattern piece.
Finishing the Pattern of the Polka-dot Dress
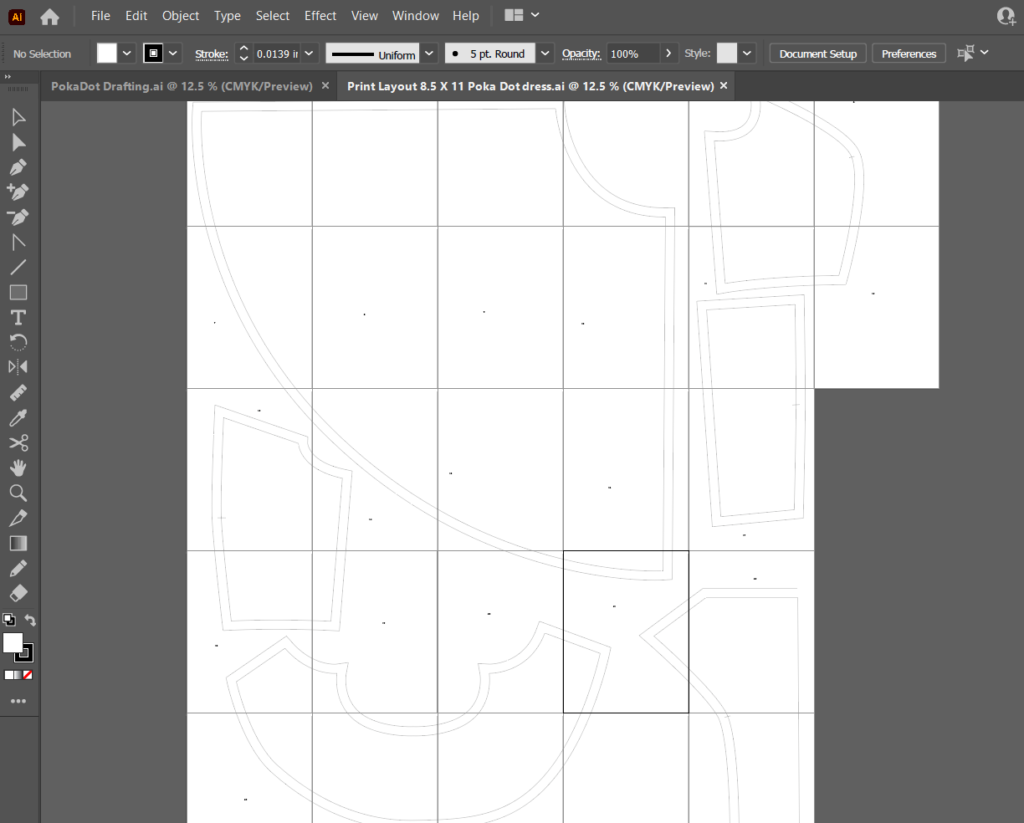
The last thing to do is lay the pattern out on the print board and print it out!!!
Make sure to check back for how I put together this fun Polka-dot dress!!!!
