Day 13
Wearing a light-up snowflake hat on our nightly walks around the neighborhood Keeps my ears warm as well as shows off my style. I have received many compliments on my festive hat. Using a lily pad twinkle board gives the lights some character by making them twinkle without me having to program anything. Let get making!!!
Gather your Materials
- Polar Fleece
- Snowflake LED’s
- Lily Pad Twinkle Board
- Button Battery Case
- Thread
- Sewing Machine / Serger
- Soldering Iron and Solder
- Third arm
- Extra wire
Designing the Light-up Snowflake Hat
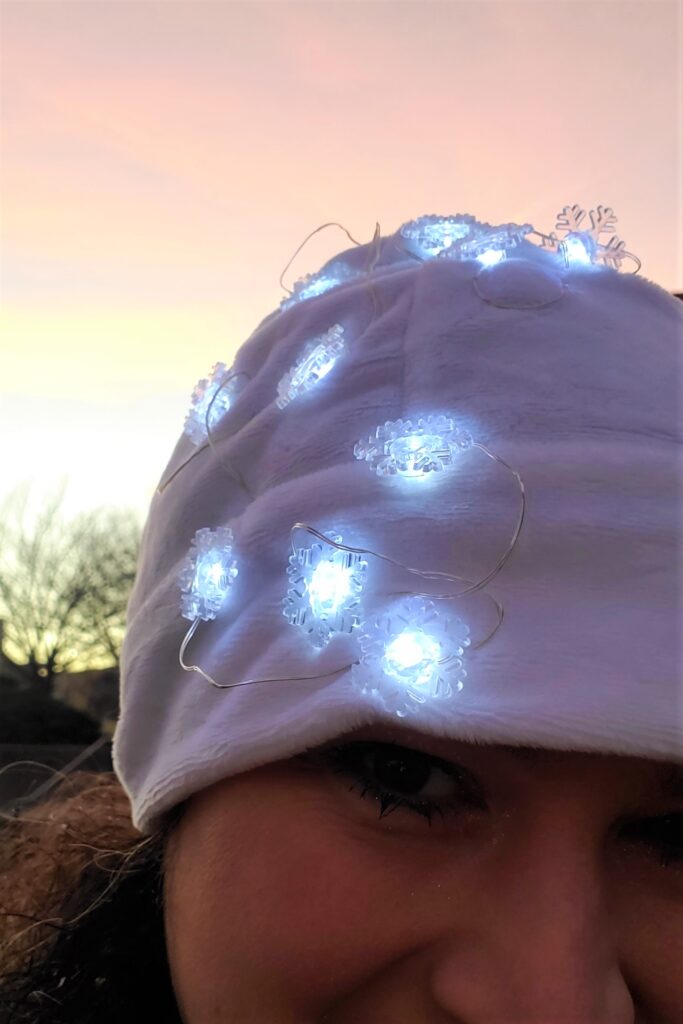
When I started designing, I was considering attaching the snowflake all around the base of the hat. When I laid the snowflakes in that way, I was not too fond of that design. After trying a few different layouts, I found that I like having all the snowflakes on one side of the hat best.
Making the Light-up Snowflake Hat
Cutting the Pattern
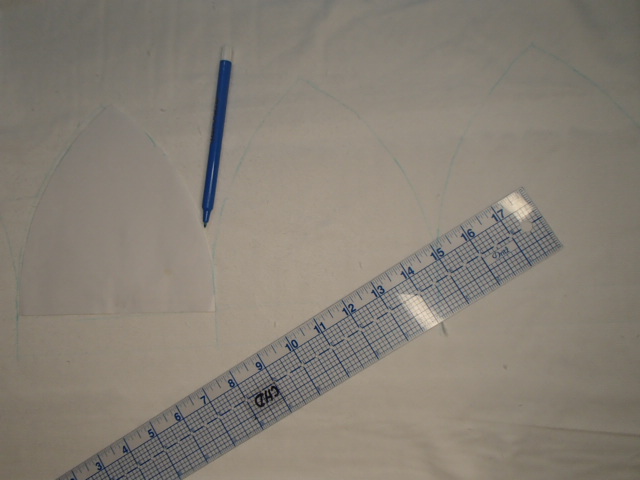
I began by laying out my pattern on my fabric and tracing out the hat pattern pieces.
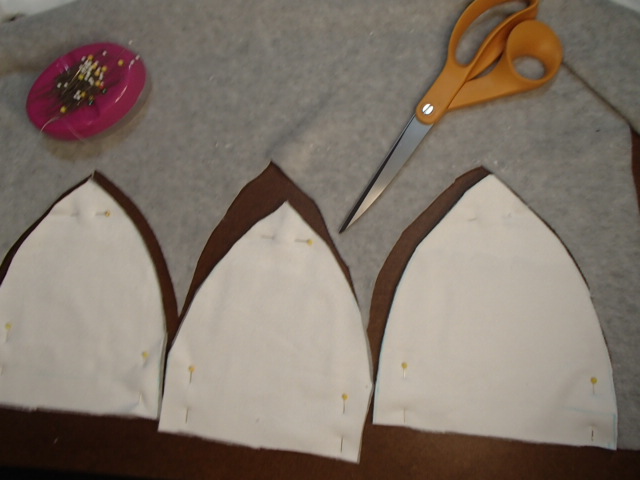
Next, I transferred the four top traced patterned pieces to the polar fleece and pinned the two fabrics together. This way, they can be cut out together simultaneously, and since I already included seam allowance in the pattern, I cut directly on my tracing line.
Sewing the crown pattern pieces together
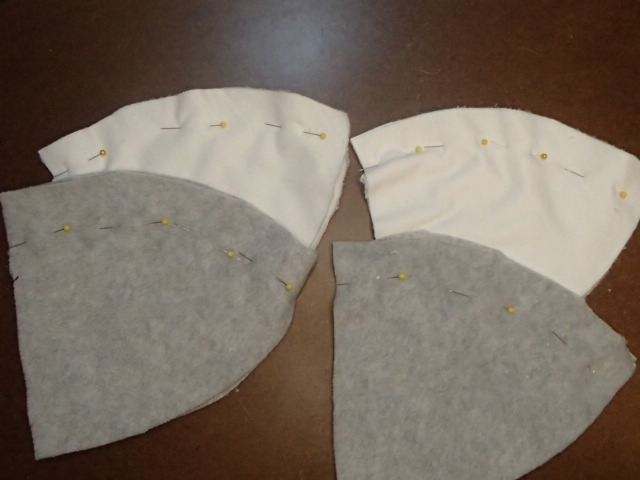
Start by pinning the right sides together of the top hat pattern pieces together. Continue until all 8 pieces are pinned in groups of two.
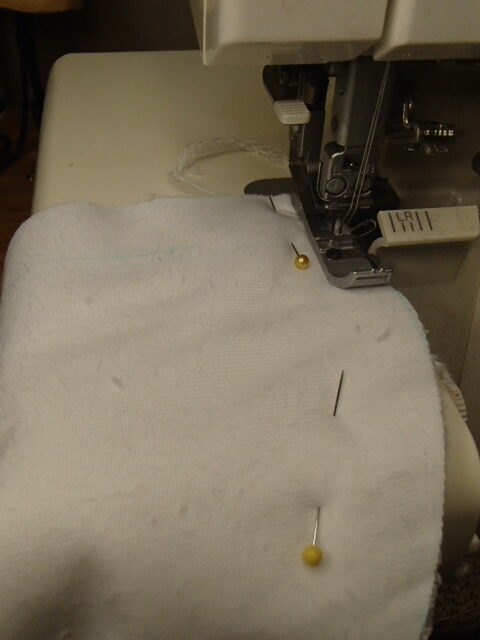
Serge the pieces together that are pinned.
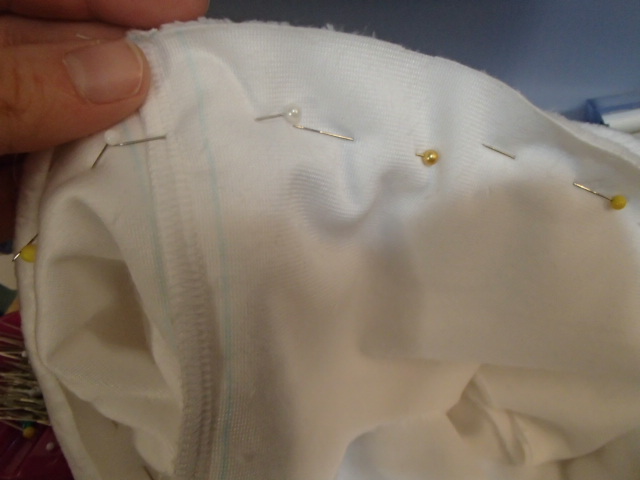
Open up the pieces and with right sides together pin the long the final long curved edge. On the outside fabric serge from edge to edge.
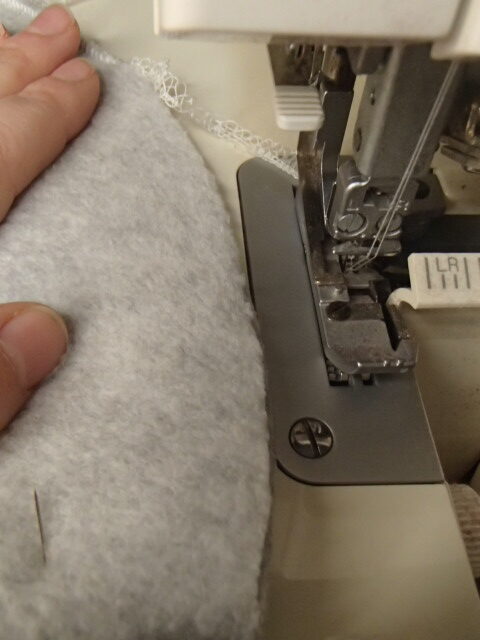
On the lining fabric, serge for three inches, then move off the fabric for another three inches. Ensure the serger’s needles are in the up position, place the seam back under the needles, and continue the seam to the other end. This will create the opening that will eventually turn the hat right-side-out from encasing all the seams.
Sewing the band onto the crown
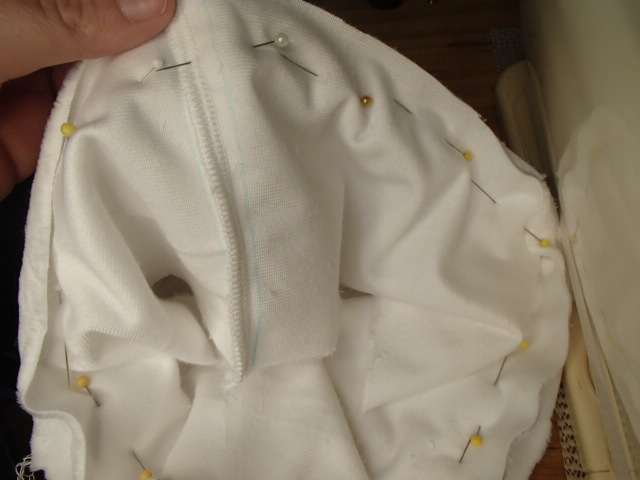
Start by lining up one edge of the band to the Crown. Pin parallel with the edge and about an inch away from the edge. This way you will be able to leave the pins in while you are serging.
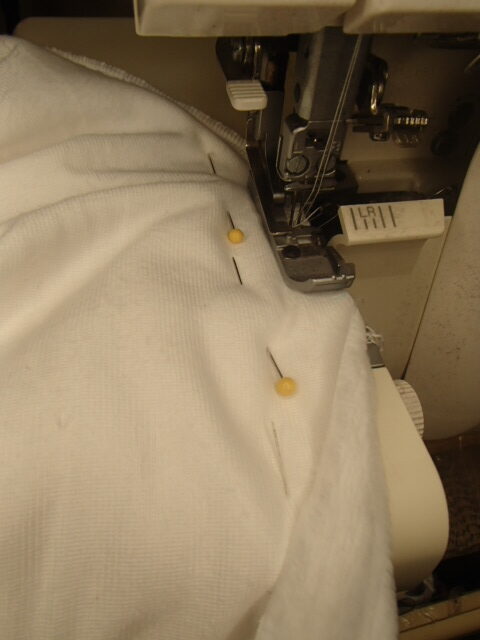
Serge around the band. Before we attach the lining crown to the other side of the band, we will want to attach the snowflakes to the hat.
Testing the Circuit Light-up Snowflake Hat
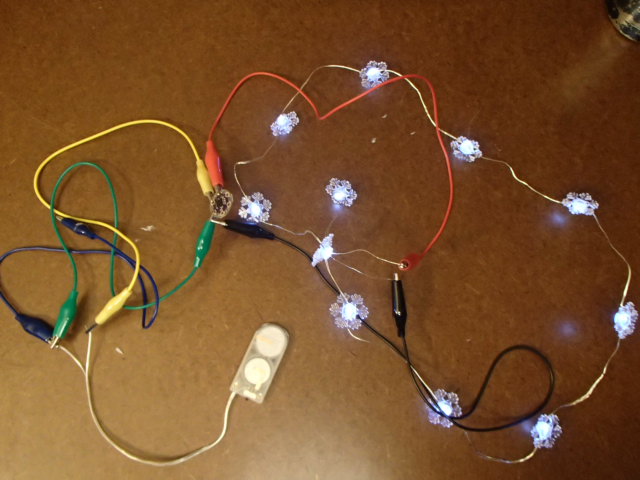
I always like to use alligator clips and make sure that the circuit will work and the final look I desire will be achieved.
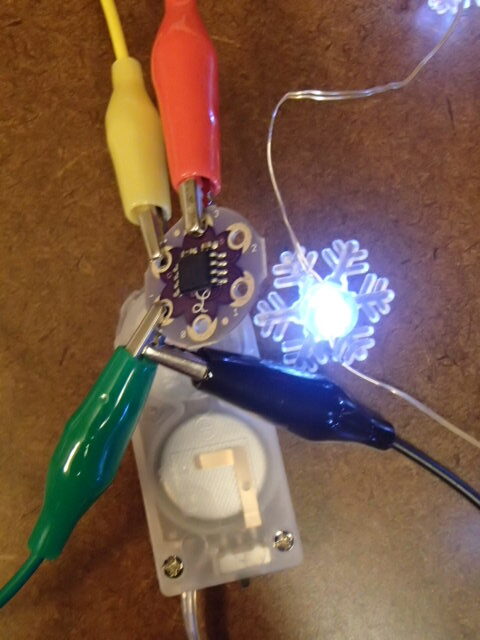
Using alligator clips, I can quickly and easily hook the entire circuit up to test.
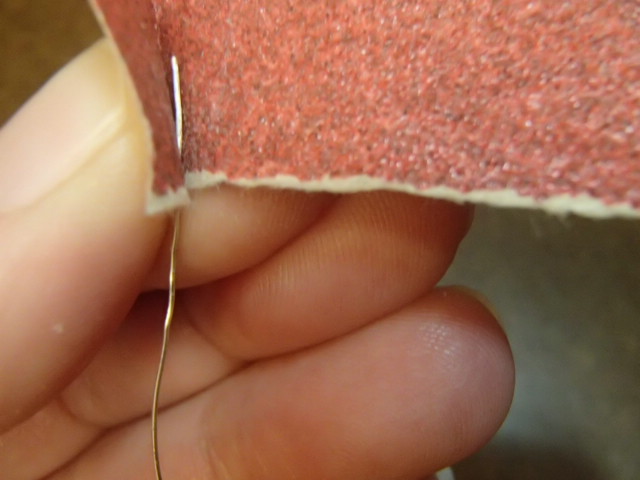
Sometimes, when store-bought fairy lights are being used, a coating will not allow the circuit connection to connect easily. Using sandpaper, rough up the endpoint to help create a solid connection. Mark the negative connections so that later they are easily found and attached.
Attaching the Snowflakes to the Hat
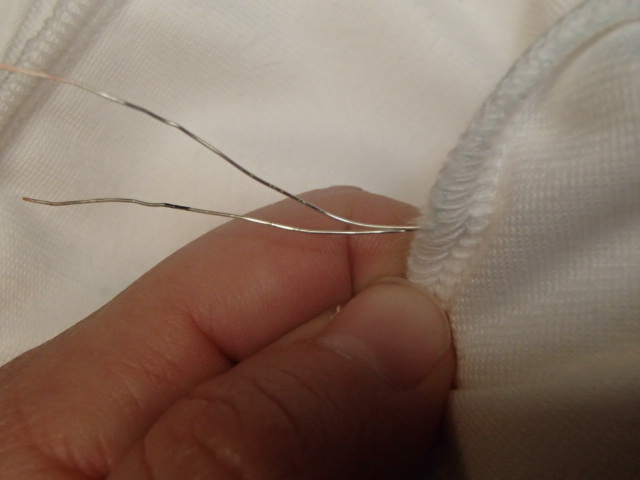
Pick the seam that the wires will be fed through and feed the wire through.
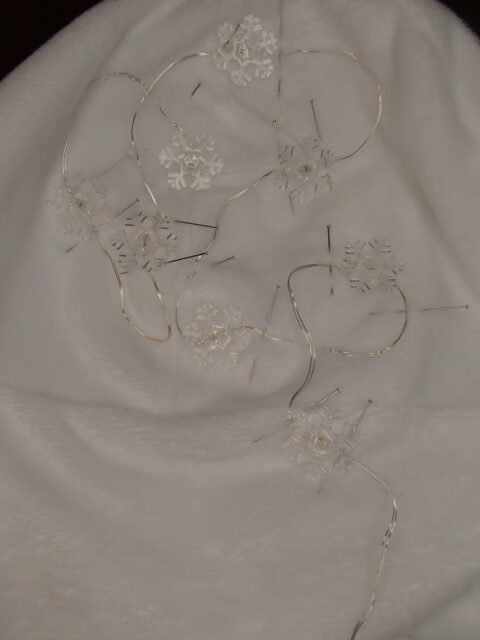
Begin pinning the snowflakes on the hat where you designed them to lay. Pinning on either side of the snowflake was the easiest way I found to make sure the snowflake did not move while I was pinning them in place.
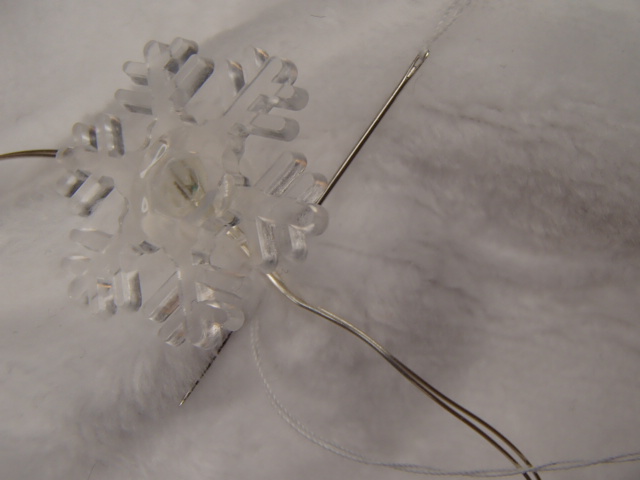
There are many different ways to attach the snowflakes to the hat. Whipstitch on either side of every snowflake anchoring each one to the hat. I figured if the snowflakes were anchored and the wire is as stiff as it is, I don’t have to worry too much about it falling out of place. I left the last four not stitch down because I wanted the snowflakes to end at the bottom of the band.
Soldering the Circuit for the Light-up Snowflake Hat
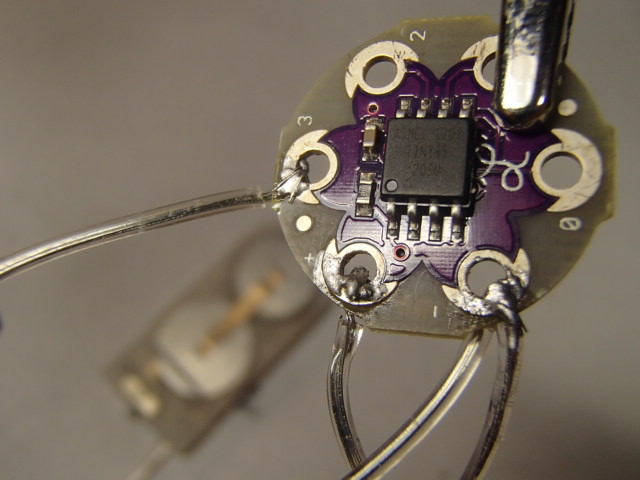
Time to solder all the connections to make the snowflake light up!!! Start with soldering the wires to the Lily Pad Twinkle Board. Make sure to have an extra wire coming off of the negative port and a wire not connected to anything coming off of port 3. The LilyPad Twinkle board is a pre-programmed board and each port will provide a different code.
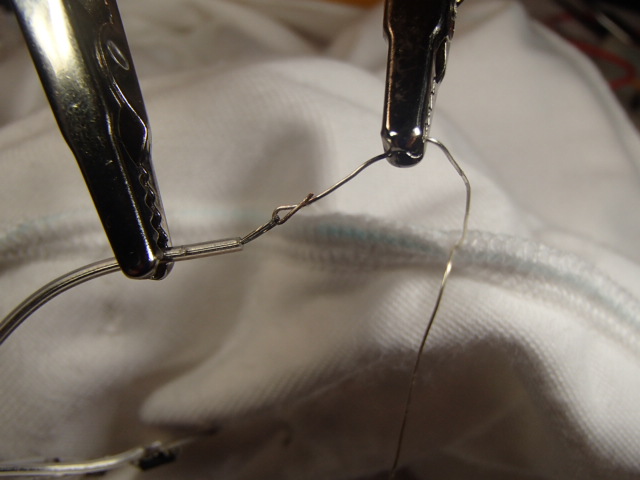
Add the heat shrink and attach the snowflakes’ positive wire to the wire connected to port 3. I like to have both connections formed into a hook, loop them on each other, and pinch down. This makes it easier to get a great connection.
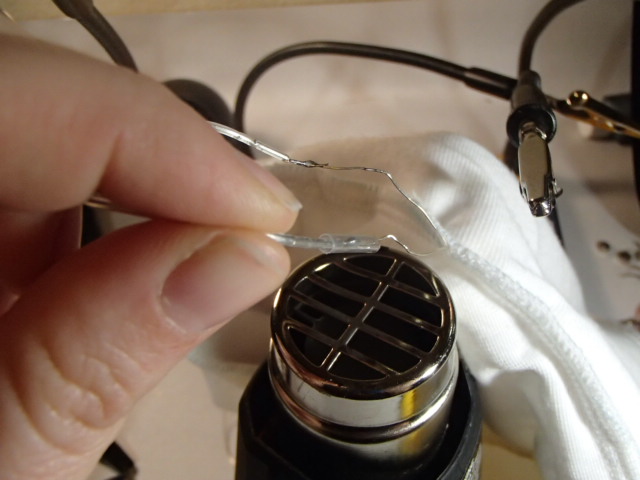
Solder the connections and test the circuit before heat shrinking the sold points.
Attaching the lining
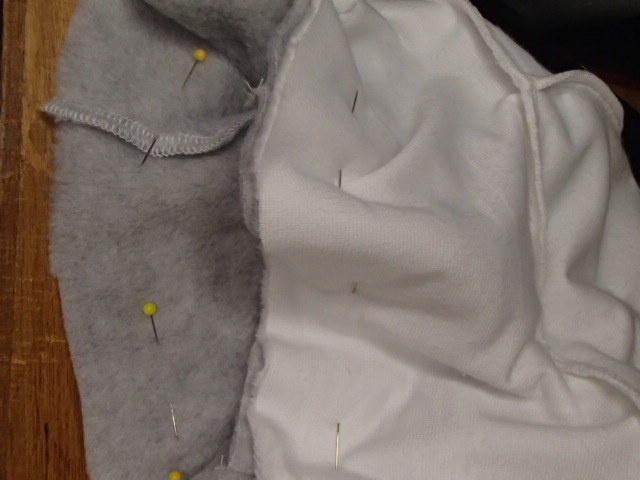
To add the lining to the hat, start by placing the right sides together and lining up the edges. Pin parallel and about an inch away from the edge. Now stitch the seam using the serger.
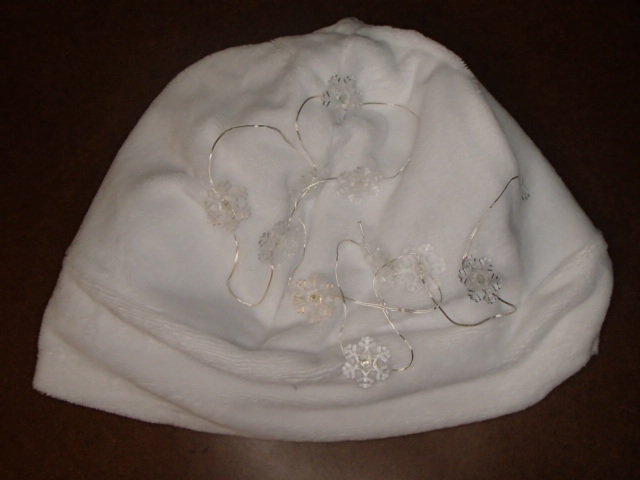
Flip the hat right side out through the opening left in the lining layer.
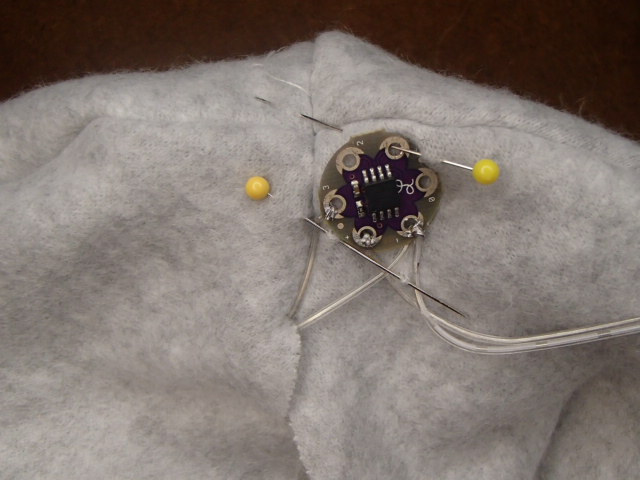
Ensure that the board and battery pack come out through the opening. Using pins, I pin the board where I plan to stitch it down to. Then I whip stitch through 2 of the porthole to securely attach the board to the lining.
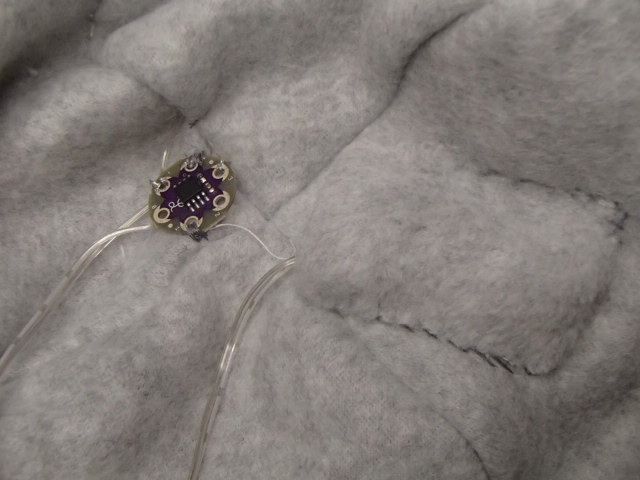
With a small rectangle of Polar fleece create a pocket at the top of the lining for the battery pack to slip into.
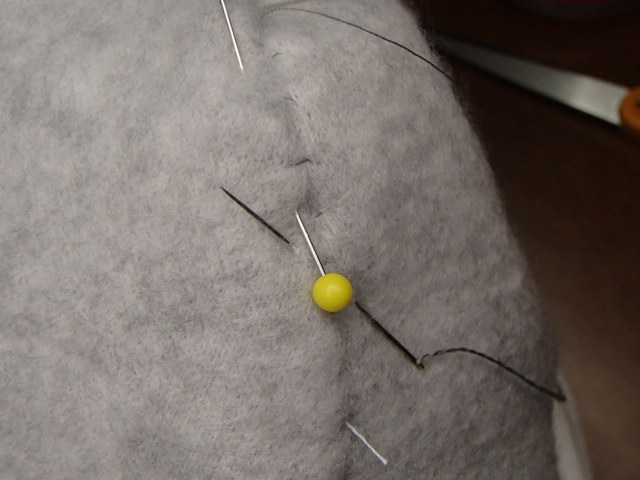
Pin closed the opening and slip stitch
Finishing the Light-up Snowflake Hat
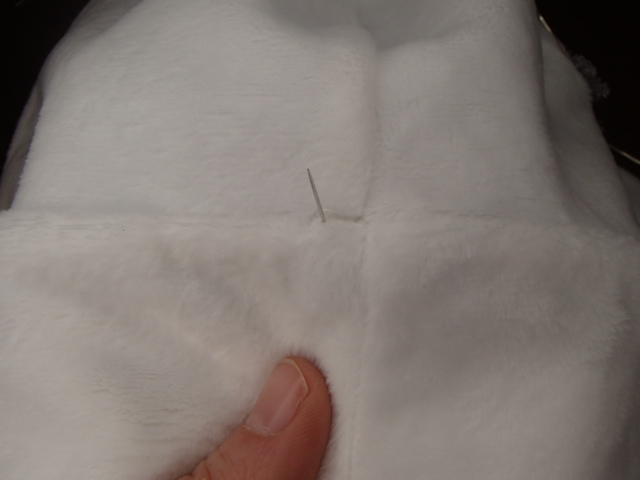
Pin the band seam line together and use a hand stitch tack in place at each seam. This will keep the lining in place and the band from rolling.
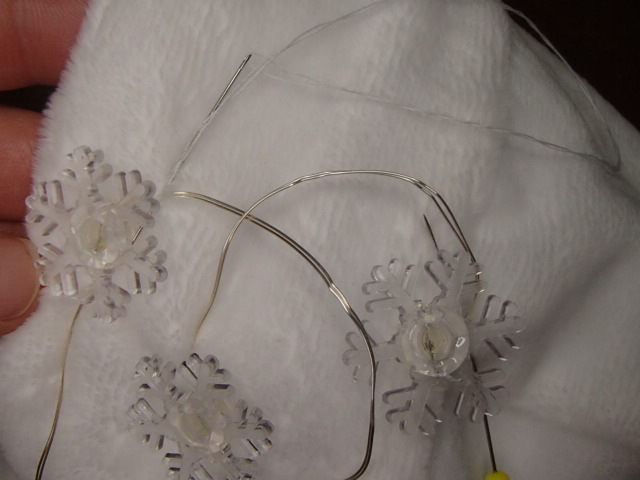
Tack in place the last four snowflakes.
Final Pictures of the Light-up Snowflake Hat
Turn on the battery pack and try on your new Light-up Snowflake Hat!!!

Did you miss this past weekend’s post? Check out the Matching Christmas PJs for Him and Her!! Make sure to return tomorrow for Day 22!!!
