Day 11
A Light-up COVID mask will bring a smile to everyone’s face!!! With having to constantly wear a face covering while out and about, I prefer to make them fun!!! I am so excited to have one with LED’s and a removal battery for washing. Let’s get making!!!
Gather your Materials
- Fabric (1/4 yard)
- Elastic (14 inches)
- Fairy LED’s
- PCB Board
- Three prong switch
- JST connector
- Li-Poly Battery
- Thread
- Scissors
- Pins
- Soldering Iron and Solder
- Third hand
- Dremel (Cutting and Sanding)
Making the Mask
Designing the circuit
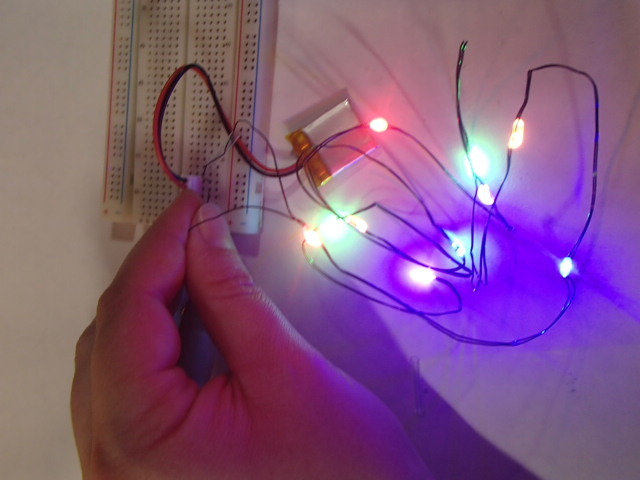
I started with a basic bread board to know the final circuit I would be incorporating into my mask.
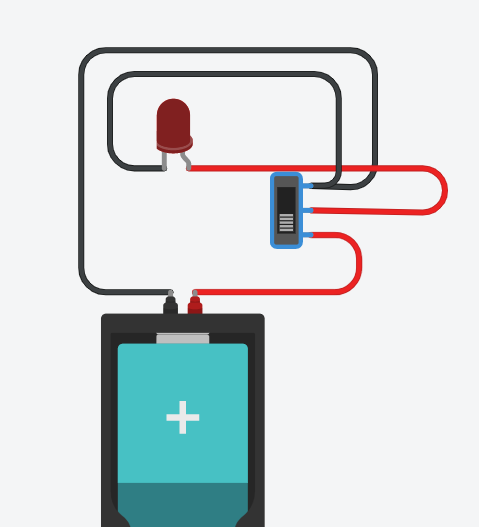
The final basic circuit.
Building the Circuit

First you will need to cut your PCB board to the size you want. I did this by using a Dremel. Once the Board is the size I want I smoothed the corners out with a sanding bit on the Dremel.

Next bend your negative prong of the JST connector so that the prongs line up with the outer two prongs of the switch.

Insert the switch onto the PCB board and bend the prongs down to help keep the switch in place. Add the positive wire of the fairy lights. Feed the wire through the hole adjacent to the center prong on the switch.
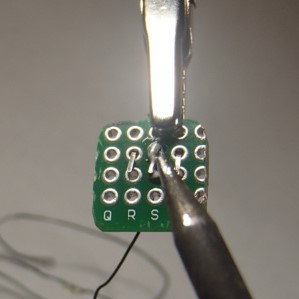
Solder those two together.
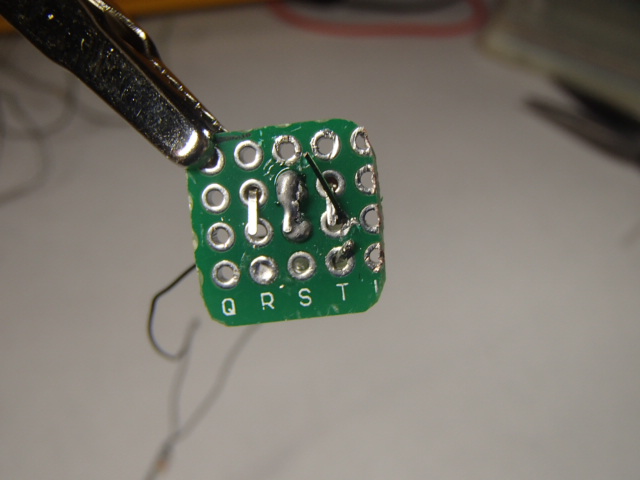
Next feed the negative wire through the hold adjacent to the negative of the JST prong. Bend the wire over so that it is over lapping with the switch prong. Solder all three holes together, switch to the LED wire to the JST prong. Finally solder the positive prong of the JST connector to the third prong of the switch.
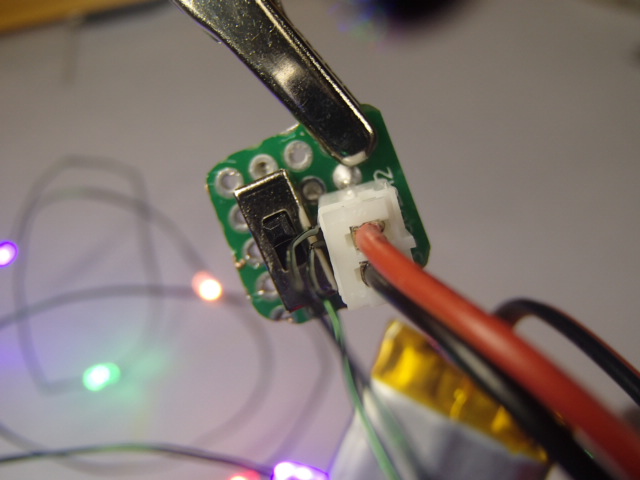
Plug in your battery and make sure everything is working.
Cutting out the Pattern
I prefer to have two different fabrics on either side of my mask. This way I always know which way I have been wearing the mask that day. For this mask I added a third layer of muslin that the fairy lights will be stitch down to. I have attach the pattern I used below.
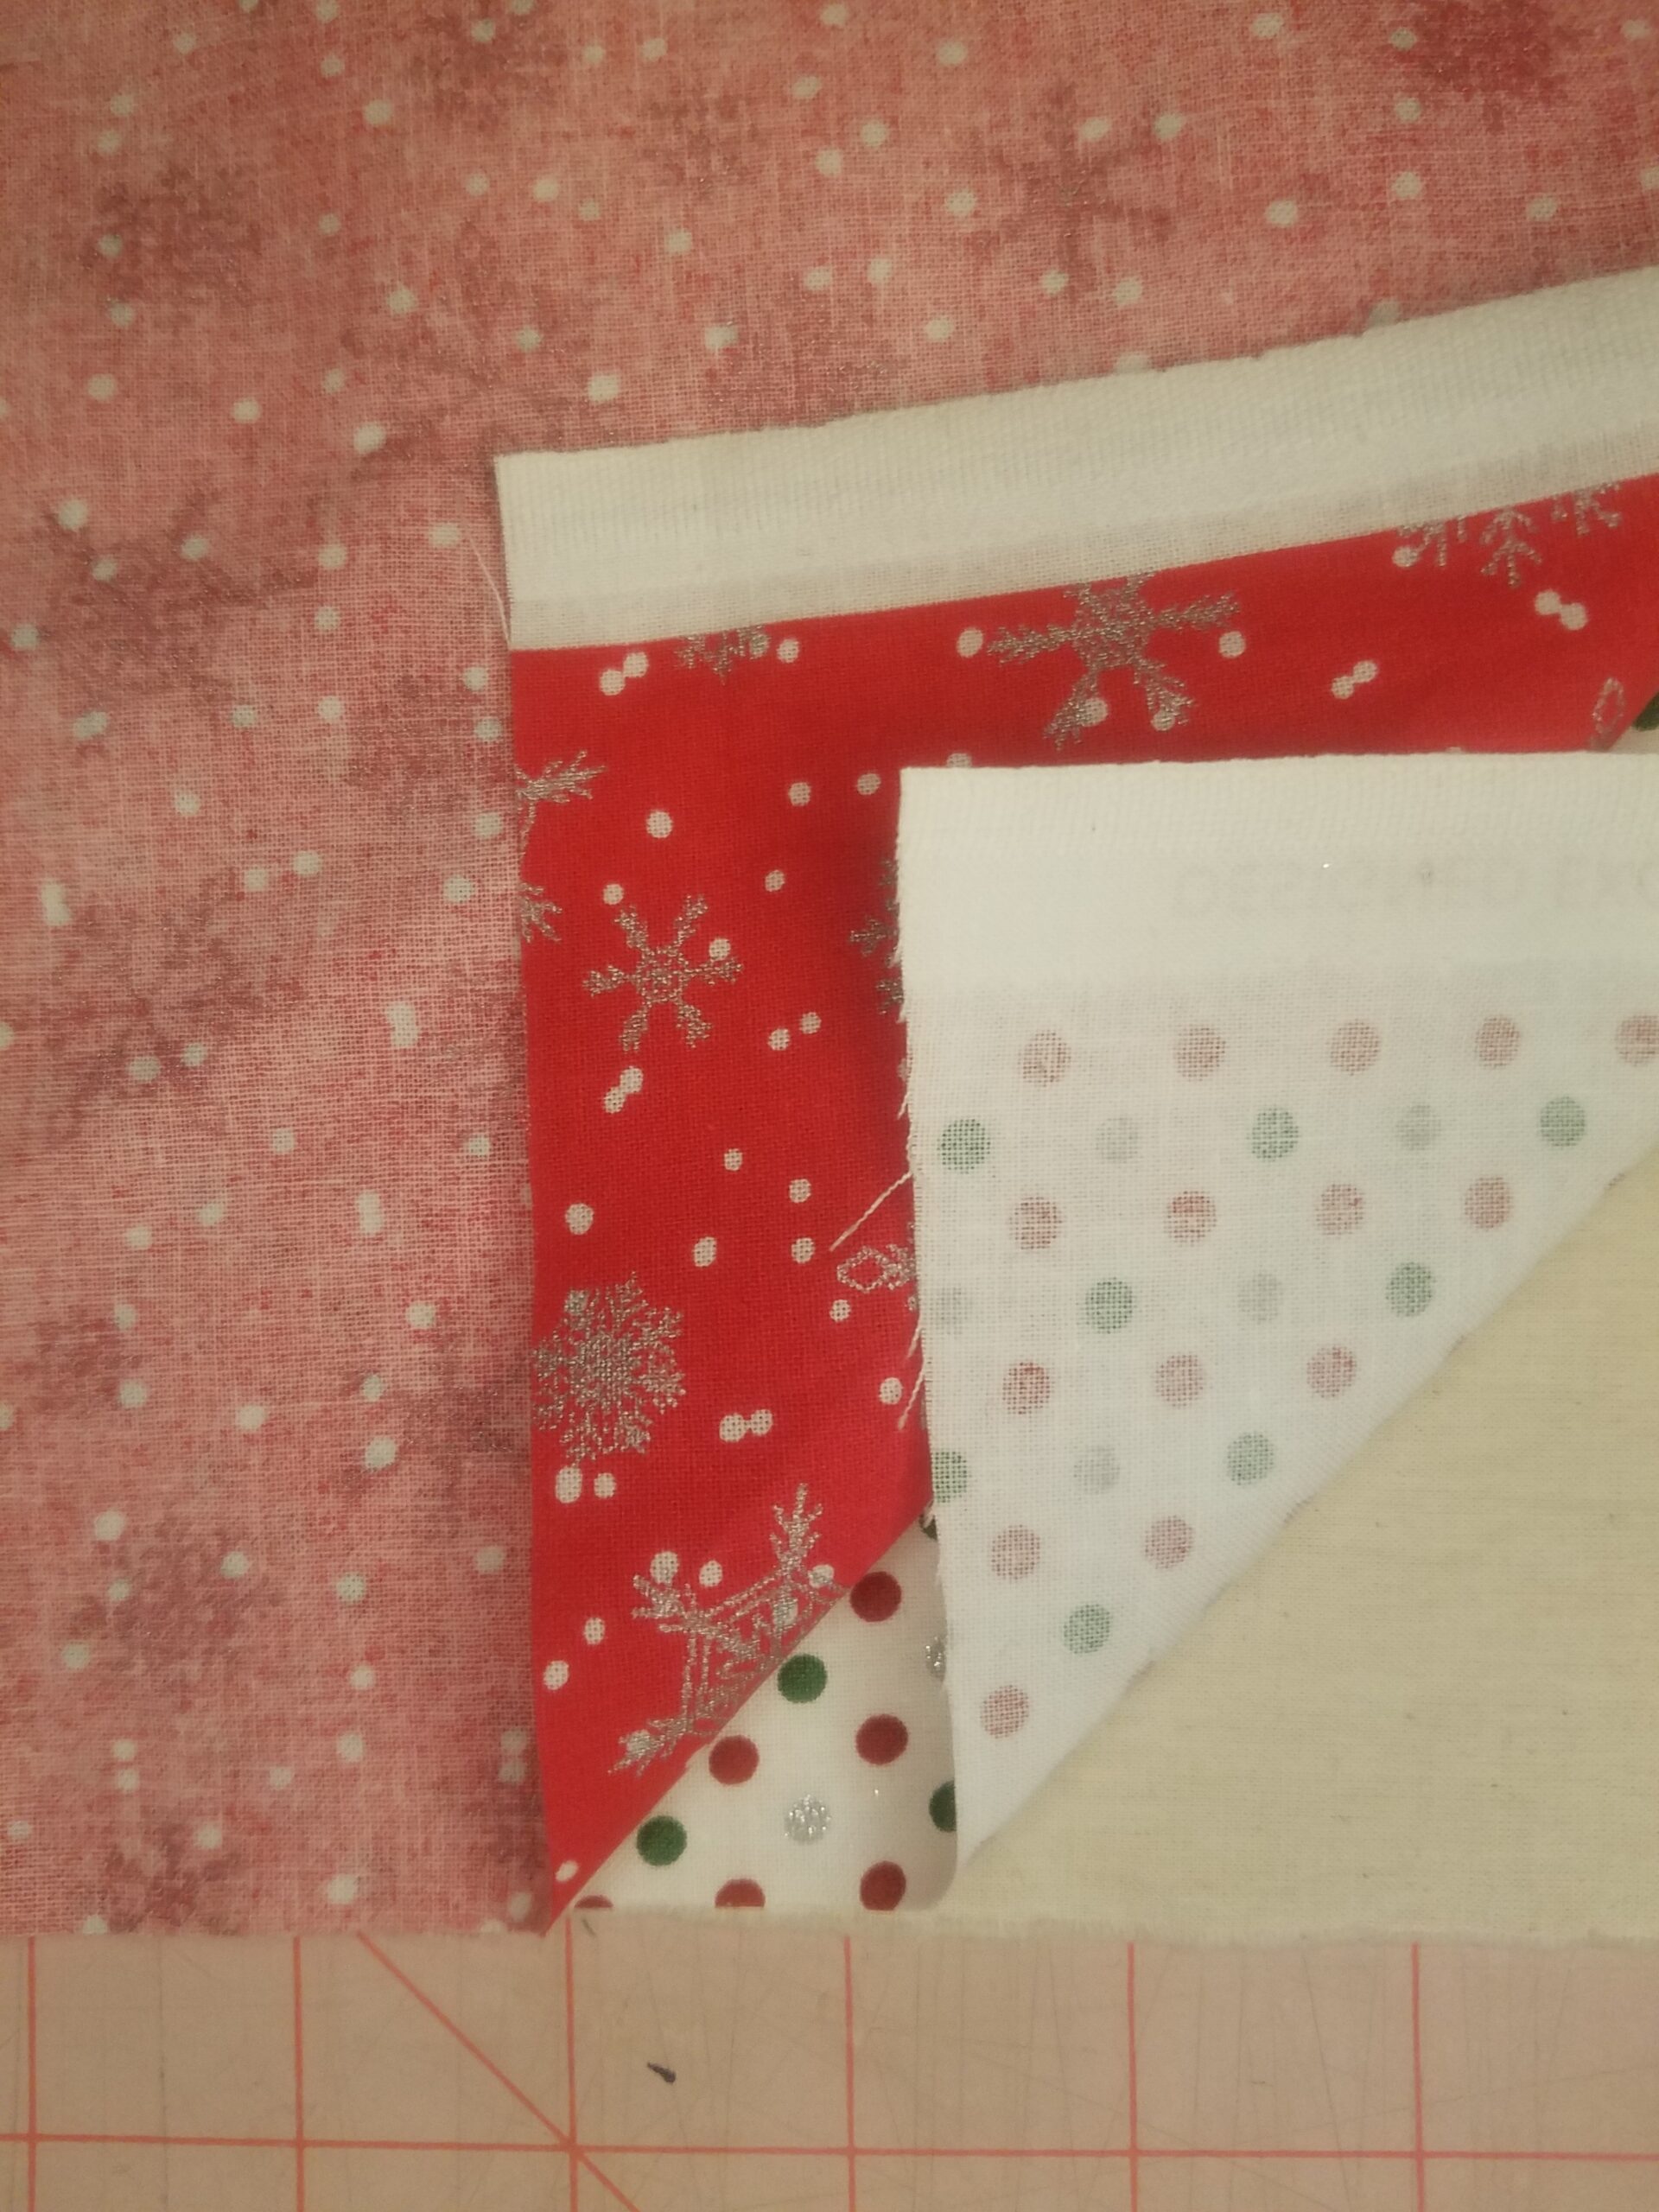
I started by laying the muslin down then adding my first Fashion Fabric face up and finally my second fashion fabric face down.
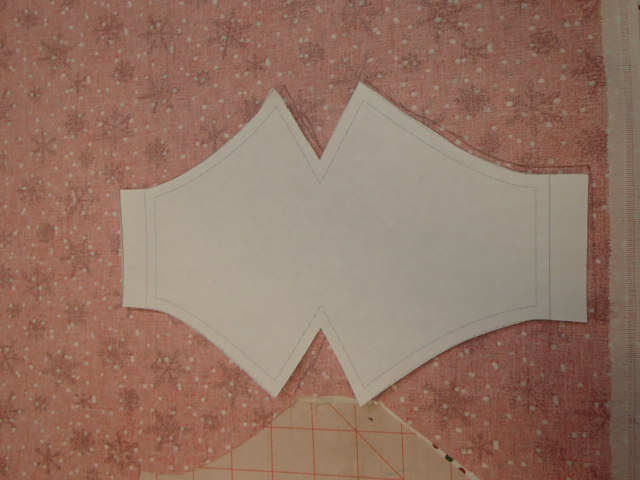
Next I traced around the pattern. I have already incorporated seam allowance so I do not need to add any.

I pin all three layer together and then cut them all out at the same time.
Sewing the LED’s onto the Muslin
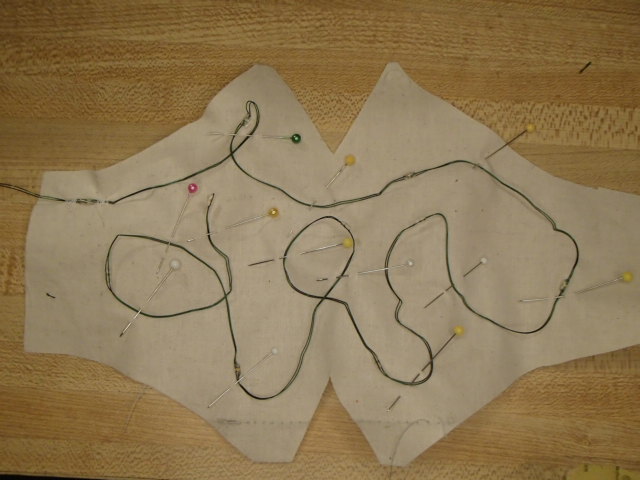
Tack down the first LED in the chain. Lay the LED’s around the muslin pinning them in place. Make sure not to add the light too close to any seam allowance. Know that the LED’s will move and change some while sewing down. Having a general idea of where each LED will go helps when sewing.
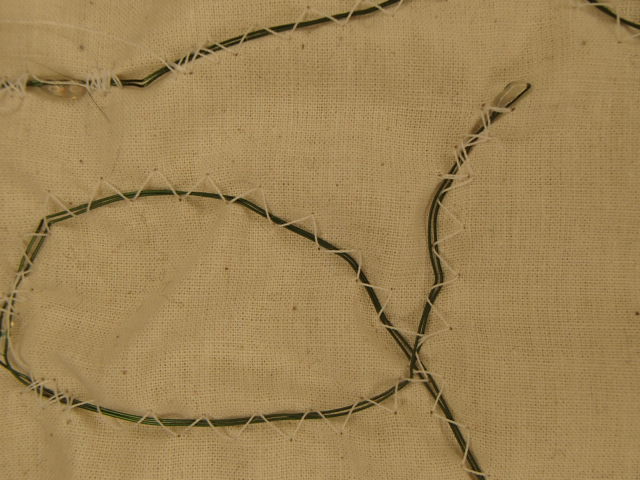
Time to sew the LED’s onto the muslin. I used a wide zig-zag stitch and back stitch before and after each LED to stabilize it in place.
Sewing the Light-up COVID Mask
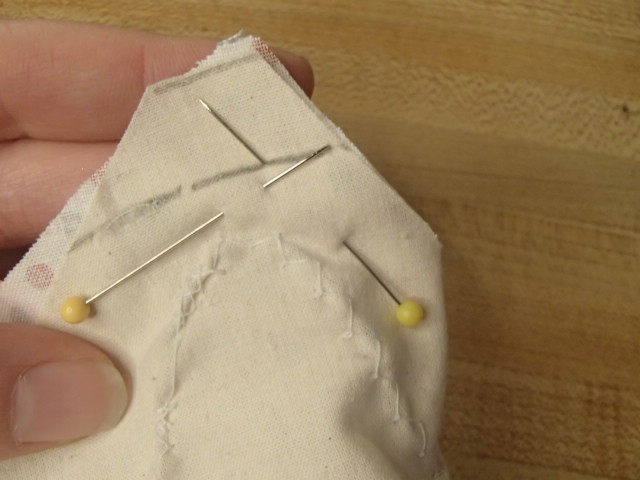
Fold both, muslin and one of the fashion fabrics, in half and pin. the using 1/4 inch seam allowance sew your dart. Repeat on the other dart.

Fold the other fashion fabric in half and sew the final two darts.

Time to put the two sides together. With right sides together line up the edges and pin. At the dart seams make sure that the extra fabric is going in opposite directions. I also prefer to sew with the LED facing up to make sure none of them are to close to the edge or accidentally get hit.

Sew only the two long edges. We will be flipping the right side out through the short edges.

Now that it is sewn together gently turn the mask so that the two fashion fabrics are right side out.
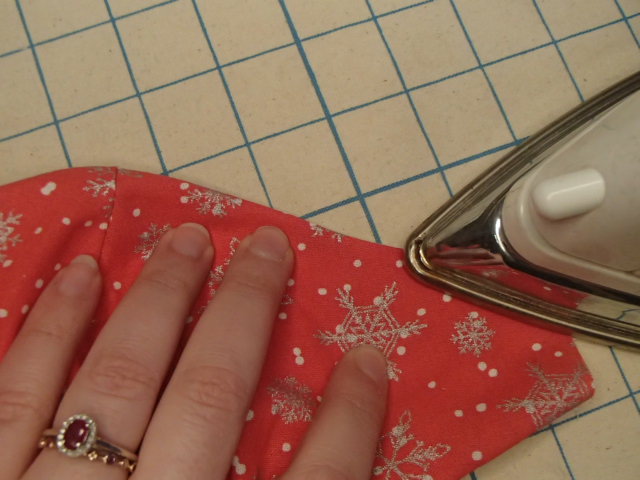
Press the edges to achieve a crisp look.

Fold in the short edges and add the elastic to the top and bottom. This creates the loop for the ear.
Finishing the Light-up COVID Mask

Next sew the small board onto the front of the mask. I sewed it at the four corners.

Lastly a pocket is needed for the small battery to power the Light-up COVID Mask. Create a square of fabric and hand stitch it onto the mask.
It is finally time to plug in your mask flip the switch and bring some holiday cheer while you are out and about.
Final Pictures of the Light-up COVID Mask


Don’t forget to come back tomorrow for another fun post of Day 12!!! Did you miss yesterdays post? Check out Light-up Snowflake Earrings here.