Day 10
Last week we made a light-up Snowflake Necklace. This week I am excited to add a matching pair of Light-up Snowflake Earrings!!!! Lets get started.
Gather your Materials
- Snowflake LED’s (2)
- Button Battery Case
- Switch
- Wire
- Earring base
- Chain
- Decorative Chain
- Soldering Iron and Solder
- Third Arm
- Glue
Making your Light-up Snowflake Earrings
Designing you Earings
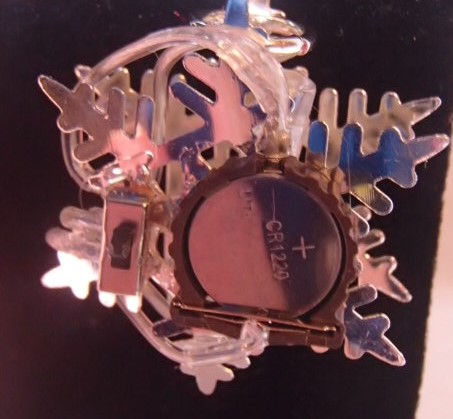
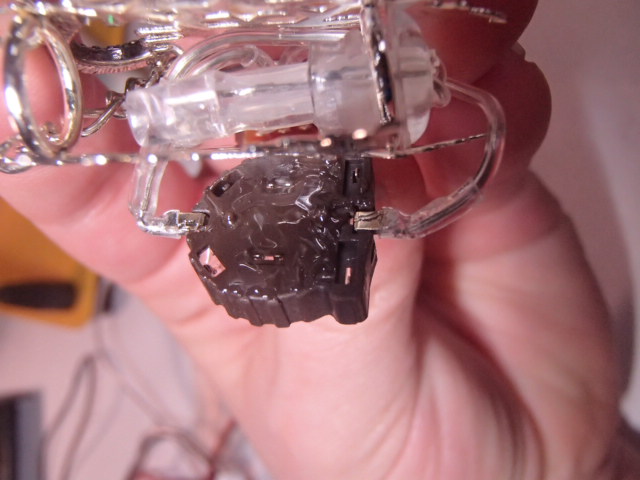
It was important to me to have the battery and switch on the back of the earring. I thought that being able to hide the earring on the backside of the earring would be better then closer to the earlobe.
Wiring the Light-up Snowflake Earrings
Breadboarding
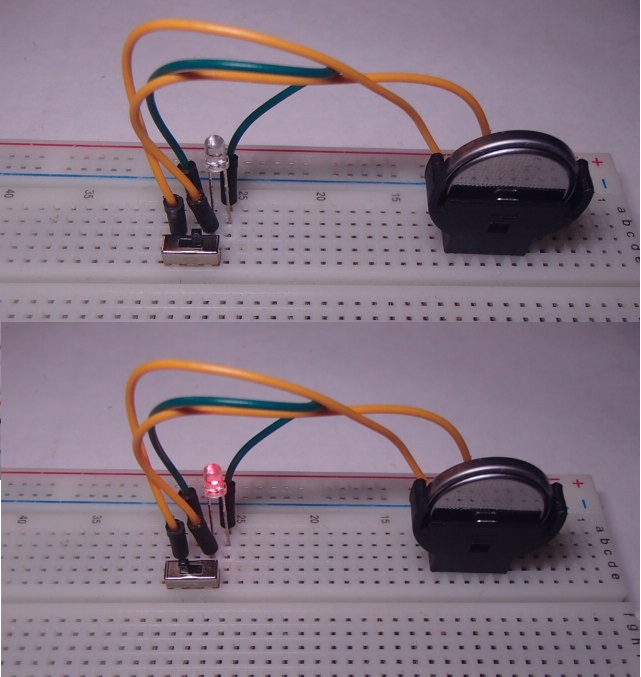
I started with breadboarding my circuit. I like to do this to make sure that everything is going to work out the way I want. This also helps me design and double check my soldering points.
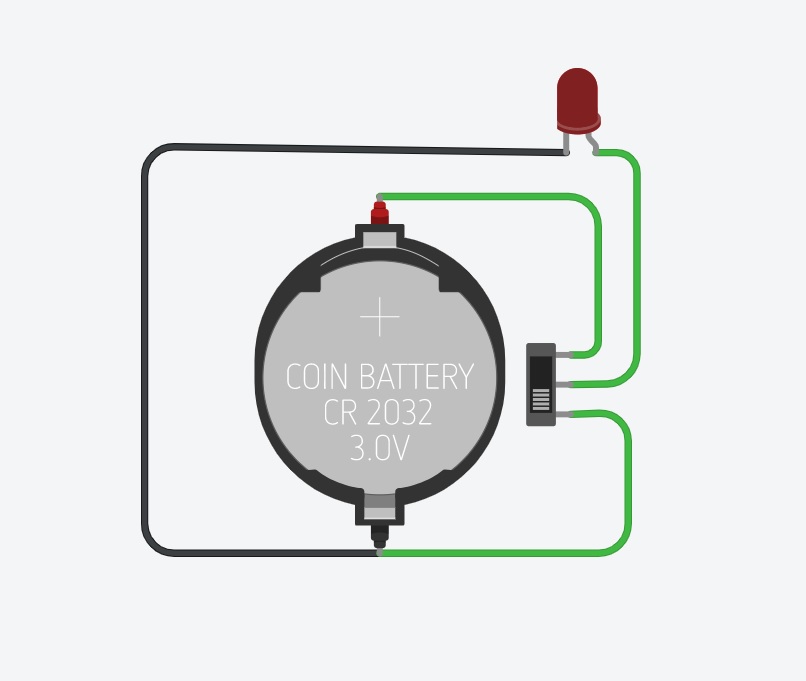
Here is the diagram I followed to soldering my Light-up Snowflake Earrings.
Placement
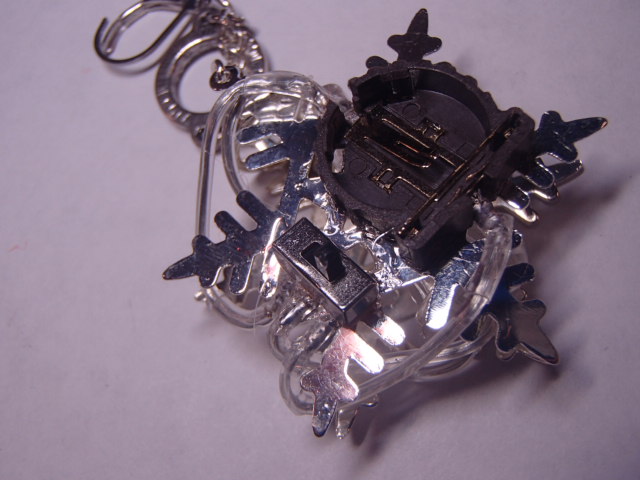
Next I figure out the placement of all the hardware on the back. We do not want any extra wires hanging or sticking out!!!
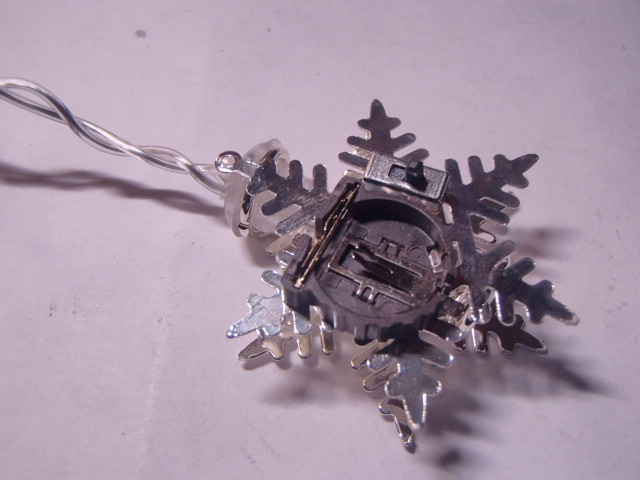
Soldering
It is time to start soldering!!! I would measure the wire from origin to solder point and cut the wire a smidge longer then strip the wire. Make sure to to put your heat shrink on!!!
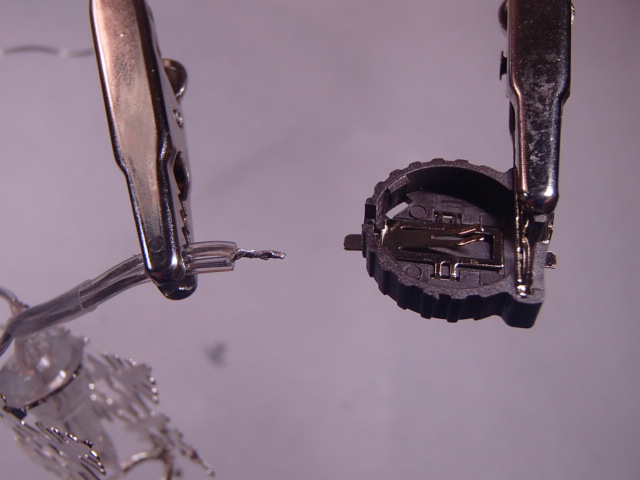
Since we are soldering a wire to a flat surface I find it helps to tin the wire. To tin the wire means to add a little solder into each side before trying to attach them together. Then when you are soldering them together the solder that is already on the two side will help adhere to each other faster.
Once everything is solder I do a final check to make sire everything is working before I heat shrink all the solder points.
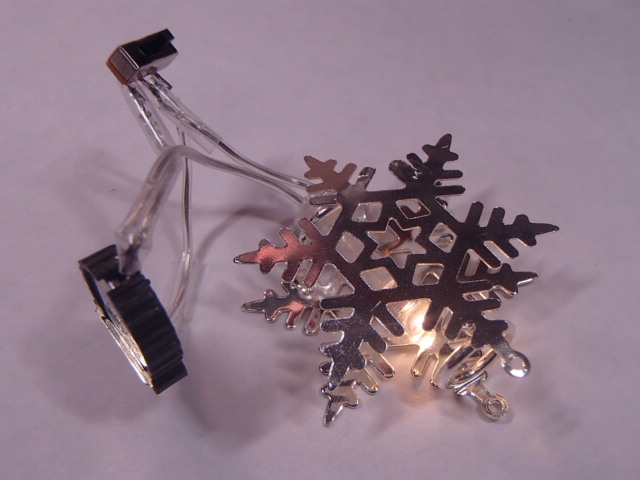
Adding the Chain and Earring Hook
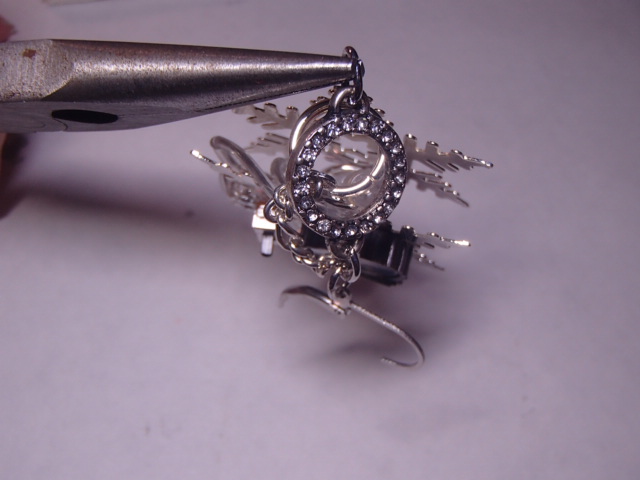
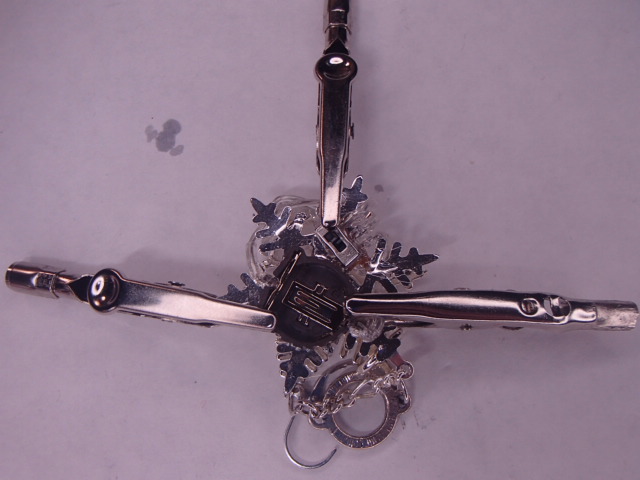
I chose to use a single decorative circle that I also used on the necklace. This way the earring did not hang down too far. Using two pillars and two other chain links I attached the decorative chain to both the snowflake and the earring hook.
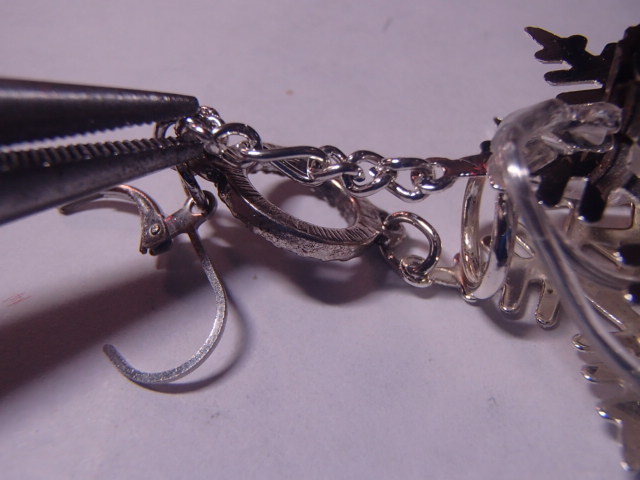
I added a 7 links of chain connection from the back of the snowflake to the base of the hook to help with stability.
Finishing steps for the Light-up Snowflake Earrings
Now it is time to glue everything in place. Make sure the wires are placed where they were designed to go. Add a little glue to the back of the battery pack and switch.
I used alligator clips to hold everything in place as it dried.
Once dried remove the alligator clips and test them out!!!
Final Pictures of Light-up Snowflake Earrings

Make sure to come back tomorrow for Day 11!!! Did you miss yesterday’s post? Make sure to Check out the Unique Reindeer Shirt with added lights!!!