Day 3
Let’s get making your very own Mrs. Claus apron! This is not just any old Santa suit, but rather one that will have all the kids in tow at Christmas time. I’ve seen adults wear them too – they’re not only fun to dance around while wearing it during the season of cheer and merriment…but also make great costume pieces year-round if you want people to know what kind of person lives inside their house or office building on December 25th
Let’s get making
Gather you materials
- Red Fabric (about 1.5 yds)
- Muslin Stabilizer
- Fur (either trim or fabric about
- Black Velvet trim for Waistband
- Buttons X3 (I chose to 3-D print mine)
- Apron Pattern
- Belt Buckle
- Thread
- Sewing Machine and Serger
We are going to wash and dry our fabric. Once it is out of the dryer make sure to give it a really good press and get out all the wrinkles. Now we are ready to start.
Layout and Cutting your pattern
I started by laying out the front upper pattern piece on muslin and marking out my stitch and cut lines. Next, I laid out the skirt pattern piece and marked out the stitch and cut lines. I decided to use half an inch at the waist seam and one inch all the way around the skirt pattern. I used a half-in-inch seam allowance all around all other pattern pieces. Then I lined the muslin pattern piece with the grain of the fabric and pinned the muslin to the red fabric. This keeps the grains aligned while not having to mark the same piece twice. Next, I flipped the upper pattern piece and traced out the stitch and cut line. Finally, I traced the 4 ties at the bottom.

Building the Apron
Constructing the Skirt
Now that I have all the pieces cut for the holiday Mrs. Claus’s apron, I serged around all edges of the skirt. I decided not to serge anything on the bodice part because it will be completely encased.
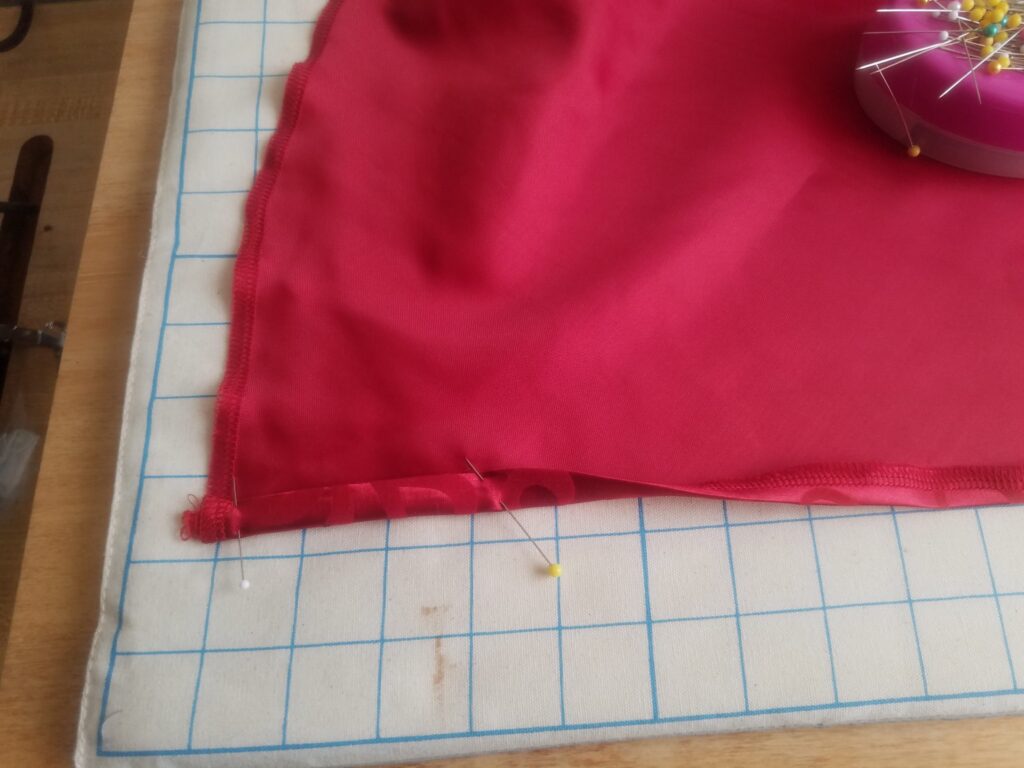
Next, we are going to finish the side edges of the skirt. I measured and pressed in a half in turn. Then I was able to use the original fold as a guide as I turned the edge one more time. Finally, I will topstitch both edges
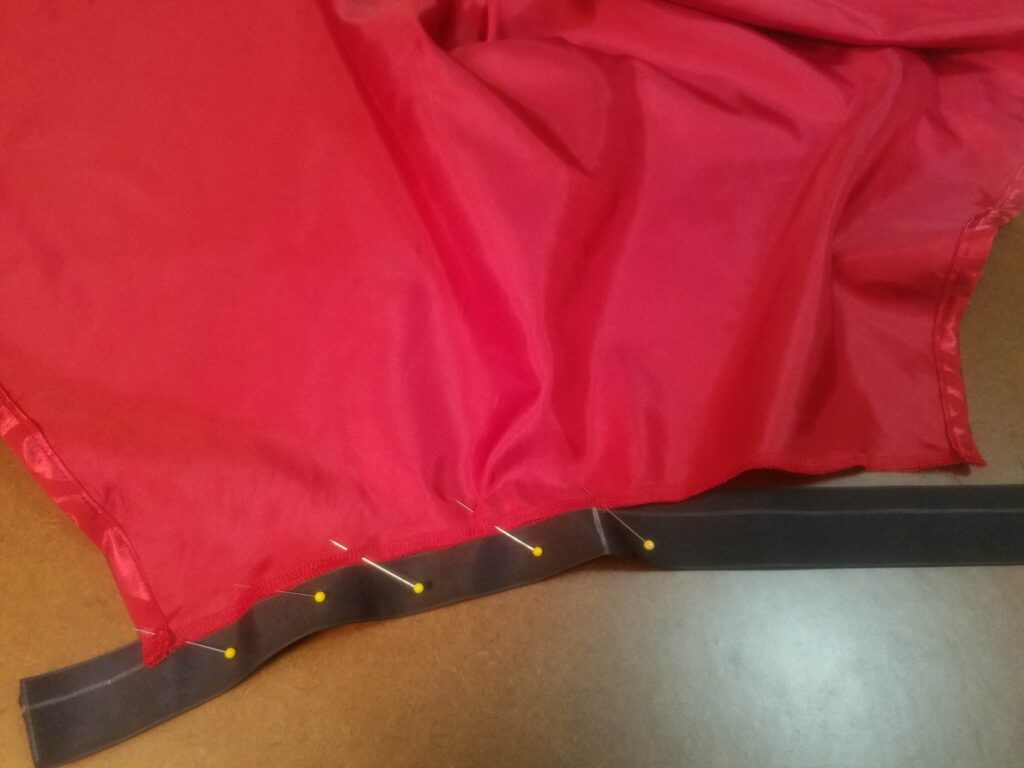
It is time to add on the waistband. I decided to use 1 1/2 velvet trim for the waistband instead of a pattern. I cut two lengths of 19 inches. Next, I marked a half-inch from one edge for me to use as a guideline when attaching the skirt. I lined up the center points of one waistband and skirt and pinned them from the center out.
Now we are going to line up the back waistband with the front waistband and pin them together. I prefer to pin parallel to my stitch line because it is easier for me to pull my pins as I sew. Next, sew the skirt on from the edge of the skirt to edge of skirt leaving the two sides and top open.
Constructing the ties for the Holiday Mrs. Claus apron
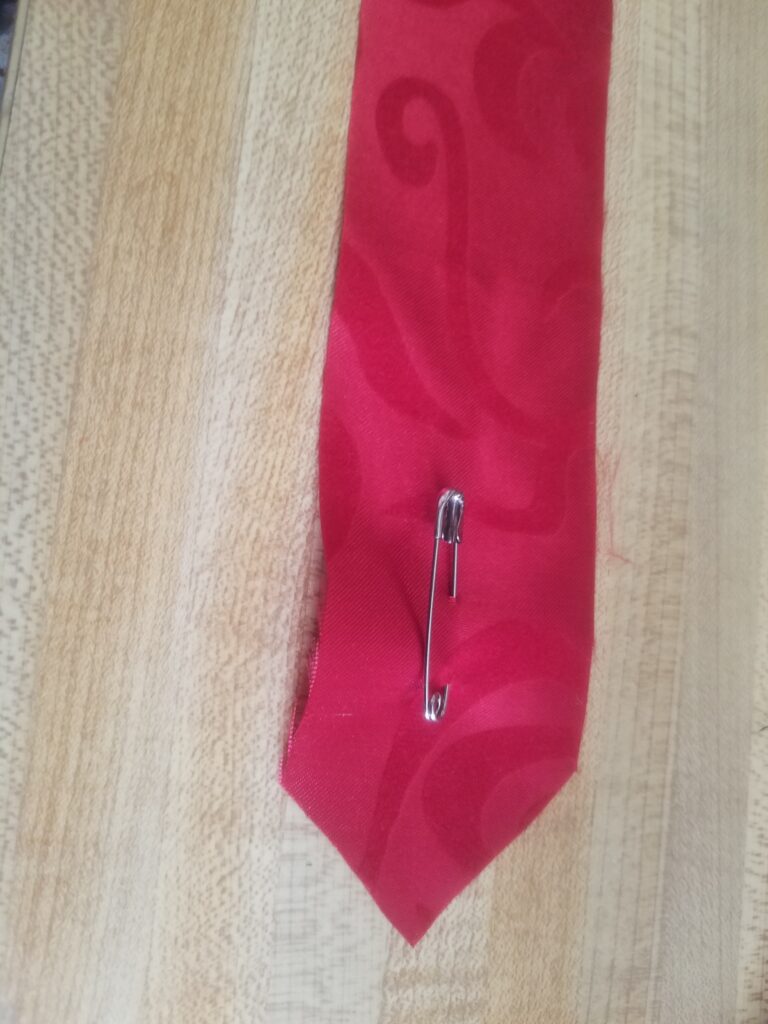
Before I Serged the ties together I inserted a safety pin at the pointed end. This will help me turn the tie right side out after it is sewn together.

Next, I folded the ties in half and serged the ties together.
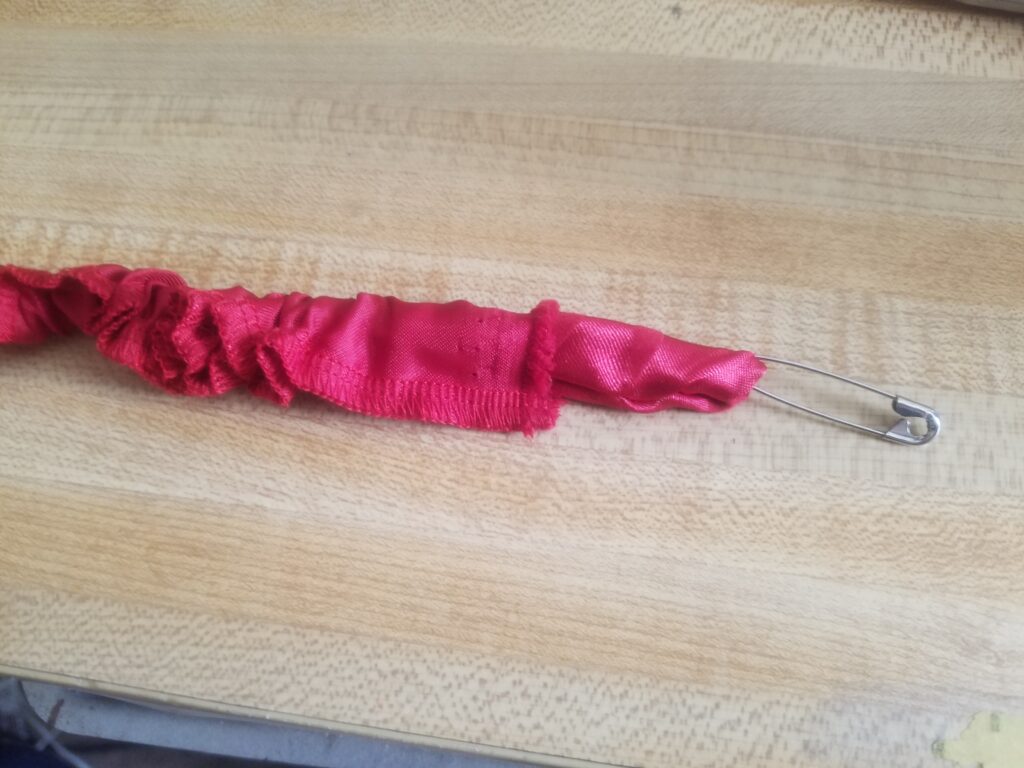
Now I can easily find the safety pin and start working it to turn the ties right side out.
Make sure to give the ties a really good press. I used a chopstick to help achieve the point I desired at each end.
Constructing the Top of the Holiday Mrs. Claus Apron
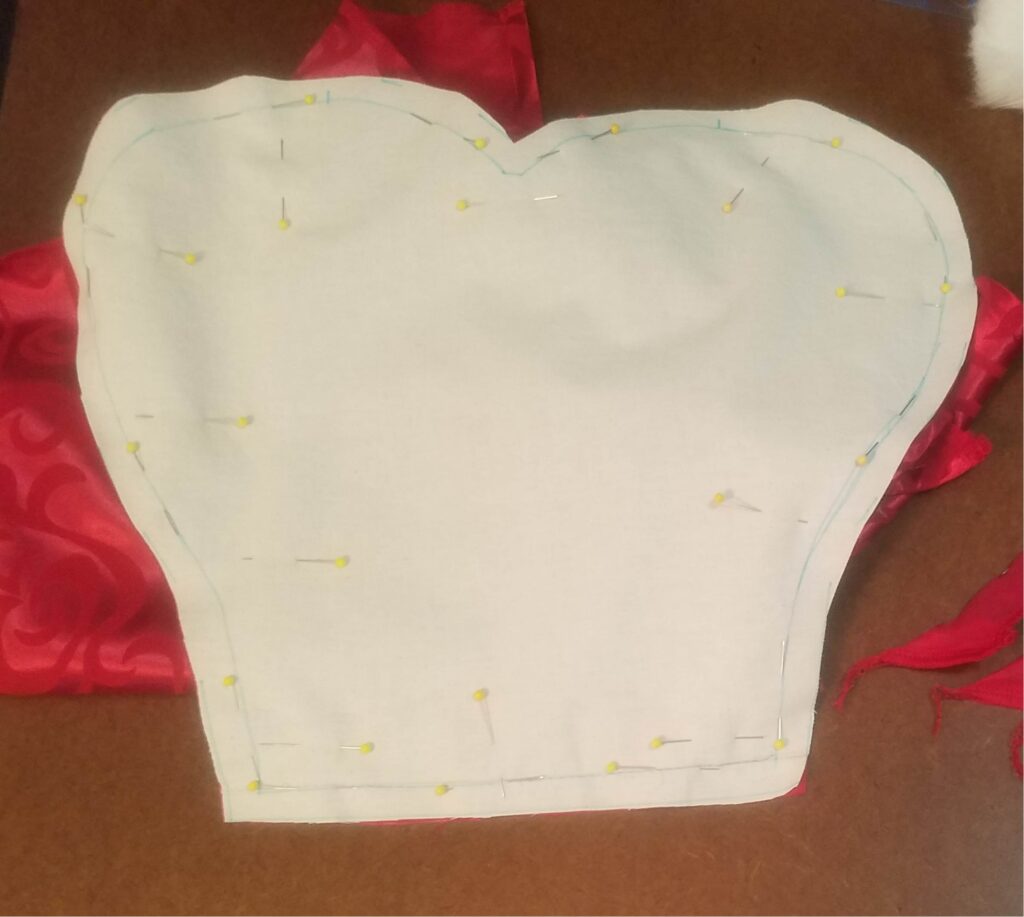
First, we will need to flatline the muslin to the fashion fabric to adhere them together. Next Line up the stitch lines with the right sides of the fabric facing each other and pin them together all the way around. I pinned both parallel and perpendicular to my stitch line to make sure the fabric would not walk against each other. Make sure to pin in your neckties at the point indicated so that the ties are securely attached to the apron. While I am sewing around I make sure to backstitch at the beginning and end of each tie to help secure it in place.
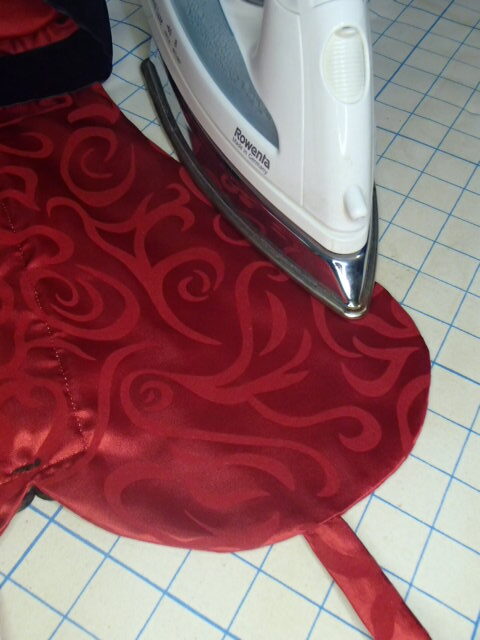
Once you have sewn the top pieces together it is time to clip the curves. If you do not clip the curves you will be fighting the garment to lay flat. Make sure to also clip in as close as possible at your top point. Now is the time to flip the garment right side out and press the seams down flat. if you want to topstitch your edge to help secure it more now is the time, I decided not to for my apron.

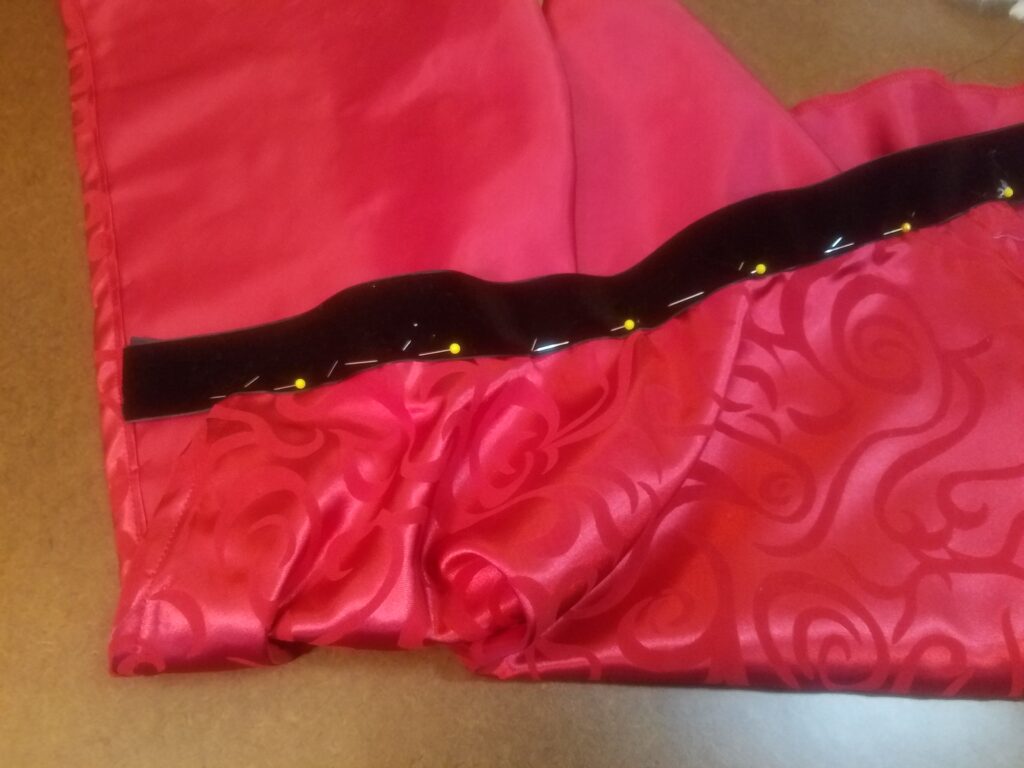
It is finally time to attach the top to the waistband. Note where your center is on the top and line it up with the center of the waistband. Pin through all layers, top waistband heart top and bottom waistband.
Heming the Apron
Here comes the fun decorating and finishing part of the apron-making process adding all the decorations to make it your Holiday Mrs. Claus Apron. I have a love-hate relationship with fur… I love the way it looks in completing winter clothing but absolutely hate the messes it makes while you are cutting and building with it. This year I found 4 inch trim fur that I was able to fold in half for the hem and easily cut in half for my top detailing with less mess than I expected.
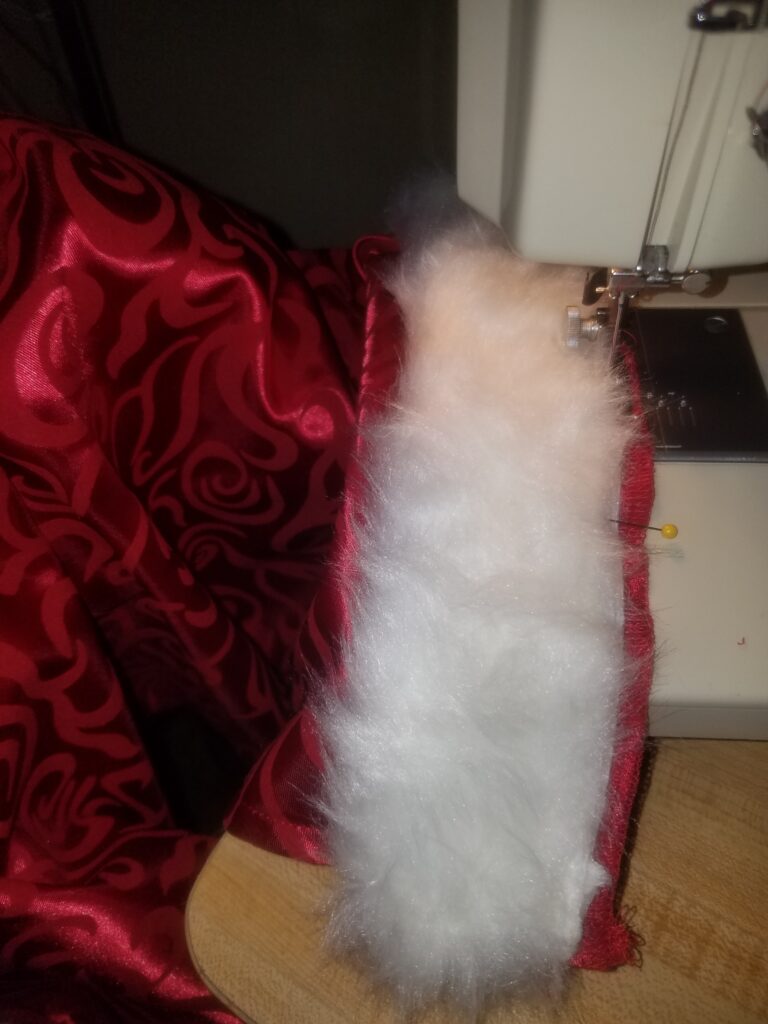
I started by folding the fur trim in half and pinning it together. Next, I folded in the edge to create a finished edge and began pinning the fur to my skirt hem. Then I started sewing the fur onto the hemstitching slowly to make sure I pulled all my pins as well as making sure the fur does not slip out from under the presser foot.

I wanted to make sure that my fur would easily hang down. So I added a top stitch to hold the extra seam allowance up forcing the fur trim down. I used the edge of my presser foot as a guide to creating an even stitch.
Adding on the detailing to the Holiday Mrs. Claus Apron

Next comes detailing the top part of the apron. After placing the fur in a few different configurations I decided on a simple vertical fur line with some buttons.

I did a simple top stitch on all four sides of the fur.
Belt Buckle

Next, it is time to put on the belt buckle. I cut a small piece of velvet trim that I will top apply. First I found the center of the velvet piece and poked a hole using an all tool. Next, I fed the prong through this hole. Then I folded back each edge and topstitched them down.
To help secure the belt buckle I zig-zag stitched in place by machine over the bar so that the buck would be more stable.
Buttons
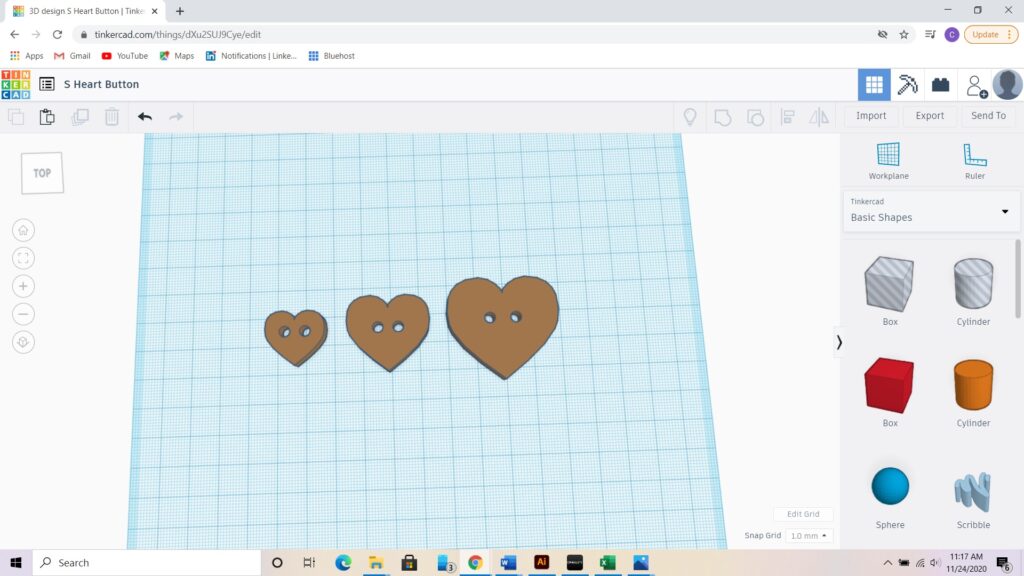
I did not have any buttons in my personal stock that struck my fancy so I decided to 3-D print some. Hearts as buttons down Ms. Clause’s front seems very fitting. I mocked three sizes of heart buttons up in tinker CAD and started my 3-D printer printing. Once they were printed out I was able to decide which and how many I wanted.
Final Photos of the Holiday Mrs. Claus Apron
Now it is time to put on my Holiday Mrs. Claus apron and dance around to the sounds of Christmas.


Make sure to check back tomorrow for Day 4!!! Make sure you didn’t miss yesterday’s post of Day 2!!!