Day 13
Having a matching Christmas Outfit for him and her for the season can be great fun!!! Taking pictures and going to parties feeling festive is a great way to get into the holiday spirit. I decided to create a dress and matching vest for these matching outfits. Let’s get building Her matching Christmas outfit!
Gather your Materials
- Fashion Fabric 3 yards
- Velvet 1/2 yard
- Back heavy Cotton 1/2 yard
- Heavy Muslin 1/2 yard
- Zipper 22 inch
- Pattern
- Thread
- Scissors
- Sewing Machine / Serger
- Tape Measure
Making Her matching Christmas outfit
Cutting the Pattern
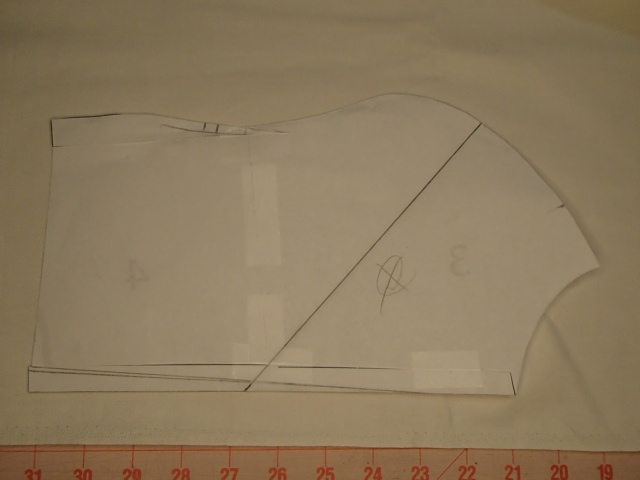
I wanted some extra structure in my dress bodices so I decided to flatline the fabric to heavier weight cotton. I also knew that I would be having my sides go at a 45-degree angle. Flatlining will also help with stabilization and bias stretch.
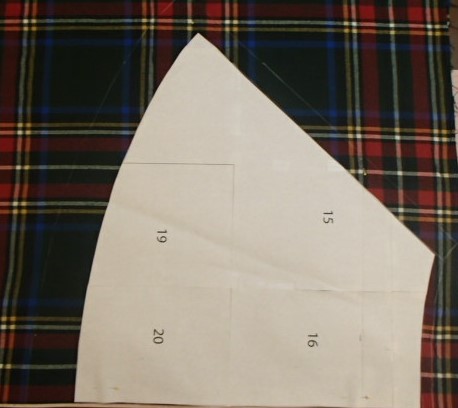
Next, I started with tracing out my front and back skirt pieces.
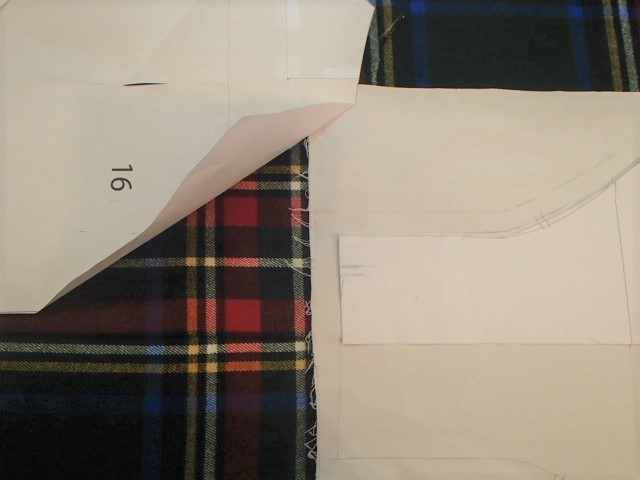
Before cutting out the pieces I matched up the stripes of the pattern so they would flow smoothly from bodice to skirt.
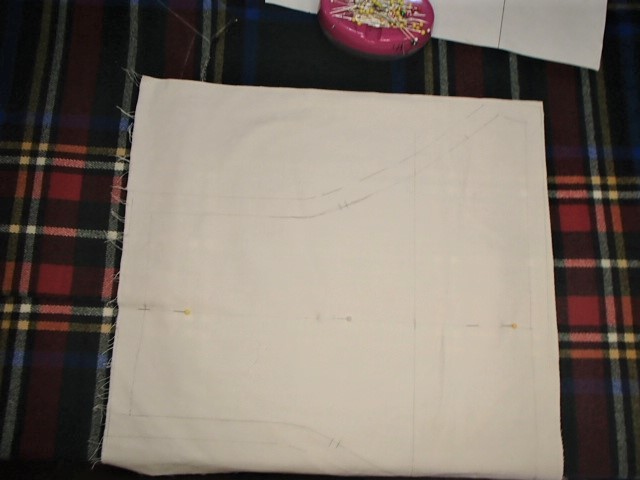
Next, I laid the flatlining of the center front bodice onto the fashion fabric. I started with the center front and back because they would be on grain.
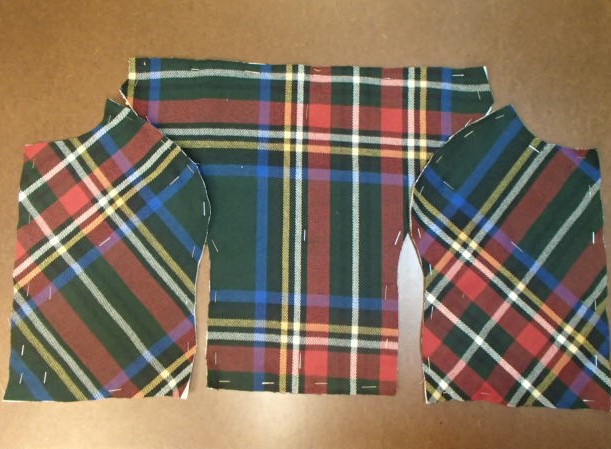
I knew the desired angle I wanted the side front to lay and I added a line across the cotton to help guide me. After matching up the pattern and double-checking the placement I cut out all three front pattern pieces.
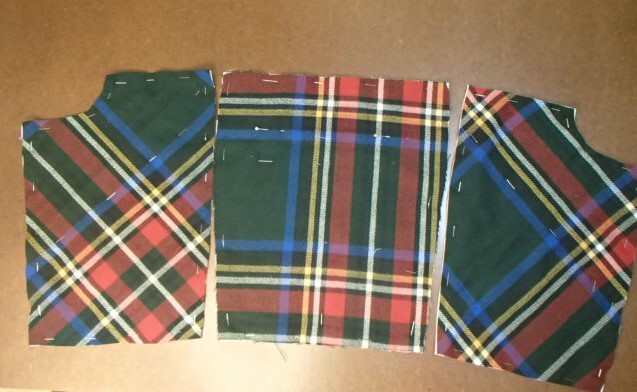
I repeated the steps for the back of the bodice.
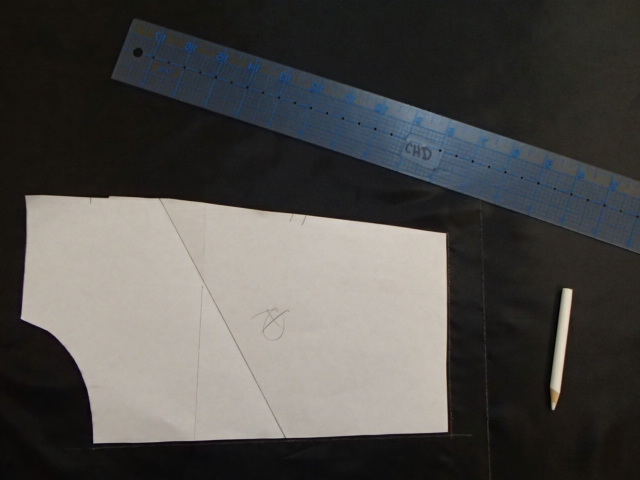
Last I cut out all my lining pieces and set them aside.
Flat lining and serging
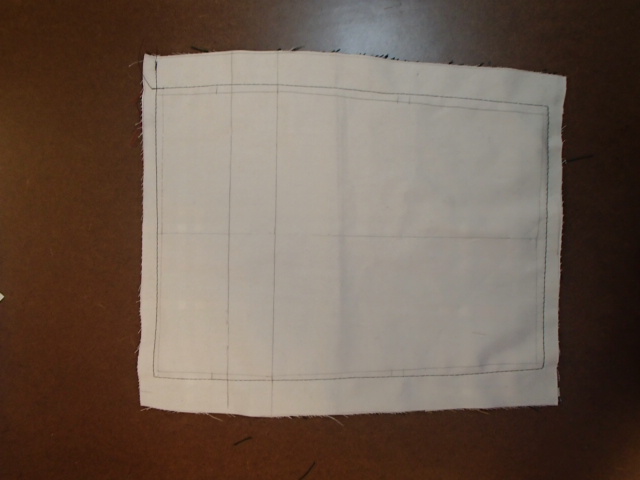
To flatline, two pieces of fabric together sew 1/4 in away from the stitch line. Then it is easier to treat these two pieces of fabric as one.
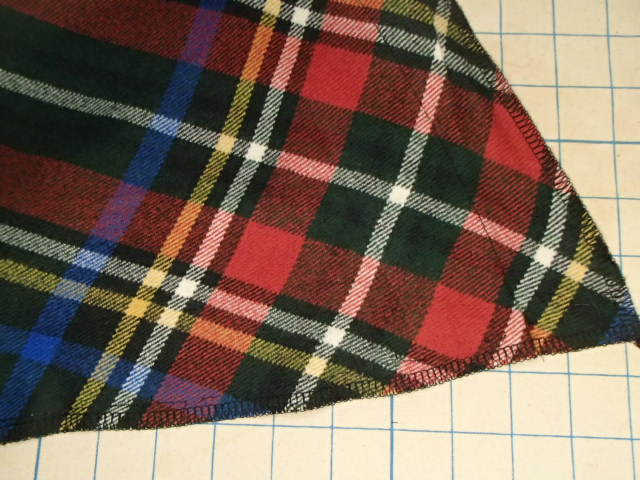
I decided to serge the side seams because I did not want them fraying away on me while I was setting in the zipper. The rest of the bodice would be fully lined by the end so to keep the bulk down I did not serge anywhere else. I did serge all around the skirt pieces to finish off their edges.
Sewing the bodice together
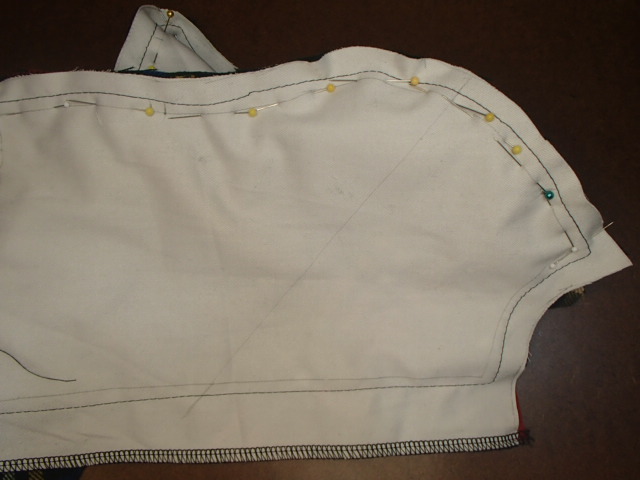
Pin the front bodices together. I find it helps to pin on the stitch line and be able to check that your pattern is matching up where you were planning for the pattern to match.
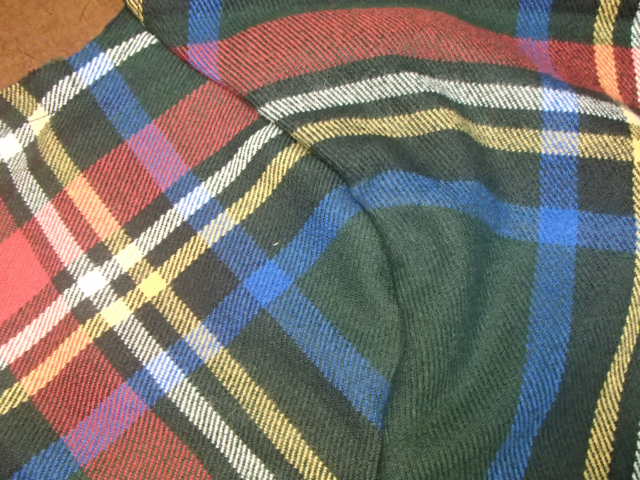
It is difficult to get pattern matching on curves. I pick a point that will match and work out from there.
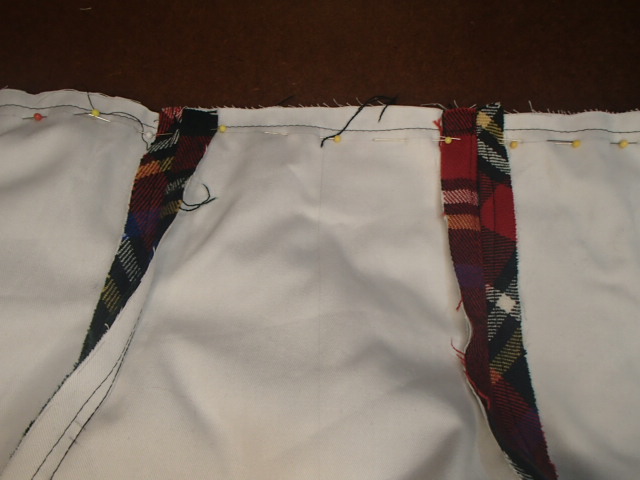
Sew up the princess seams. Clip the curves and press the seams open.
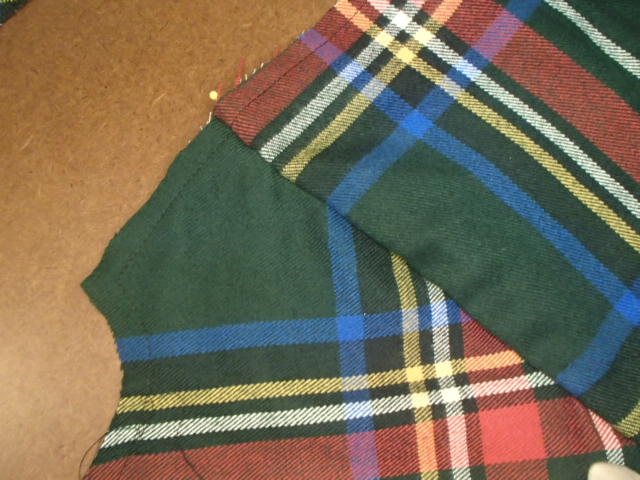
Repeat these steps on the back bodice pieces.
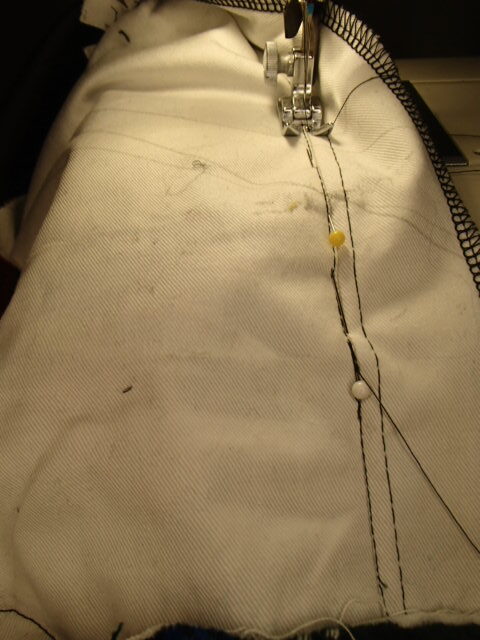
Finally, sew up the left side seam and leave the right side seam open. This is where we will be inserting the zipper.
Attaching the skirt to the bodice
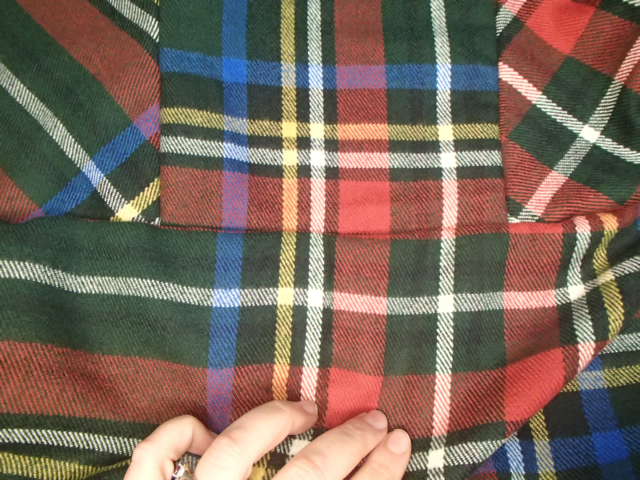
When I am working with pattern matching I always line up the pattern in the center and work my way out to the side seams. I also pin on my stitch line so that I can turn the garment right side out and double-check my matching before I sew the seams of Her matching Christmas outfit.
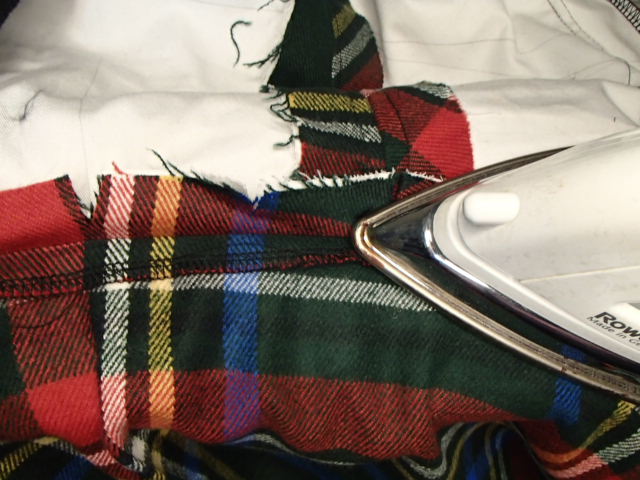
Press open the waist seam.
Making and Attaching the shoulder shawl
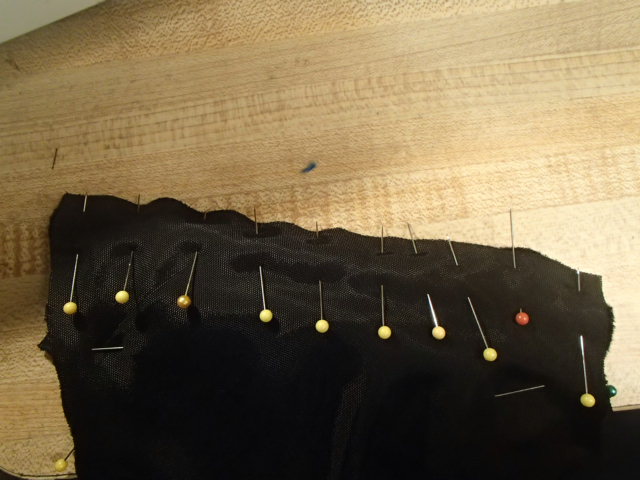
First, create one long shawl by sewing up one short shoulder side seam of both the velvet and the lining. I began by excessively pinning my seams. This is because velvet loves to walk. Meaning it will move around a lot and sometimes where you want your stitch line to be might not be where it ends up being.
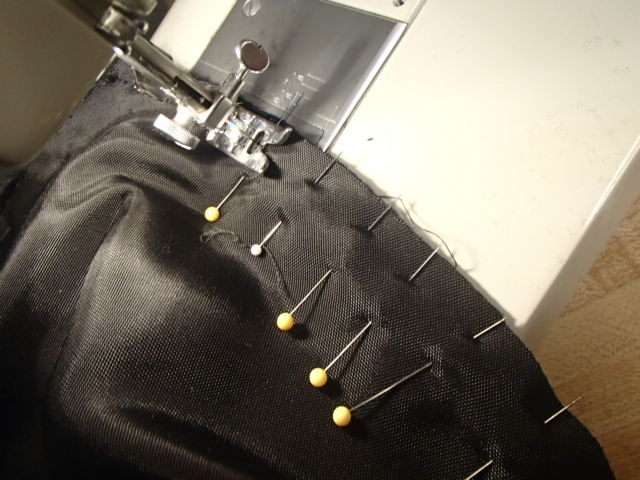
Next, sew up the bottom of the shawl and the top parts that will be finished. Again remember to pin excessively so your fabric walks as little as possible.
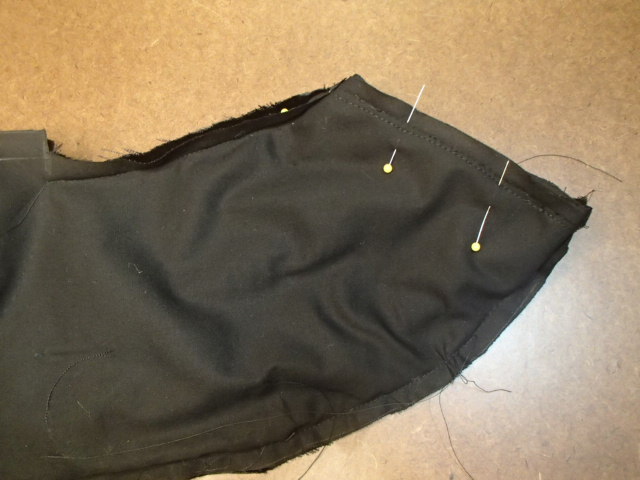
Turn the shawl halfway right side out and match up the open side seams. Sewing the second shoulder side seam like this will incase all seams for this shale for a clean final look. Double-check that there is no twist in the shawl before sewing.
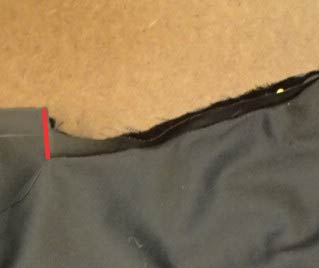
The last thing to do before turning right side out is to clip to the seam line at the edge of the four openings. This will make it possible for the seam allowance to lay flat inside the shawl while still being attached to the dress.
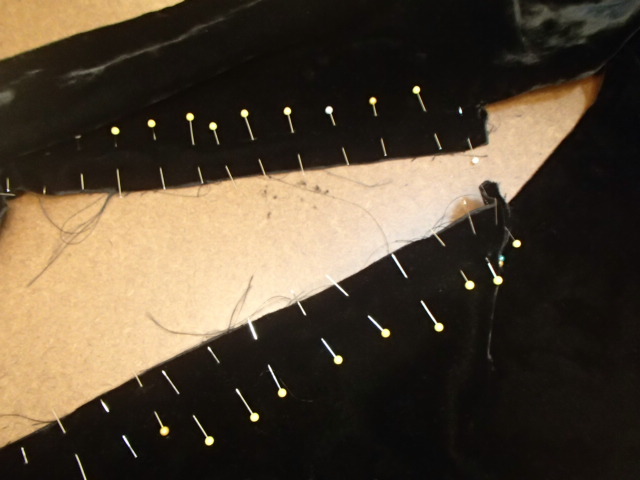
Turn the shawl completely right side out and begin pressing. I sadly do not have a velvet board so when I am pressing I use basically no pressure and a lot of steam. Maybe one day I will have the luxury of a velvet board!!! Time to based shut the two openings of the shawl. Again using an excessive amount of pins.
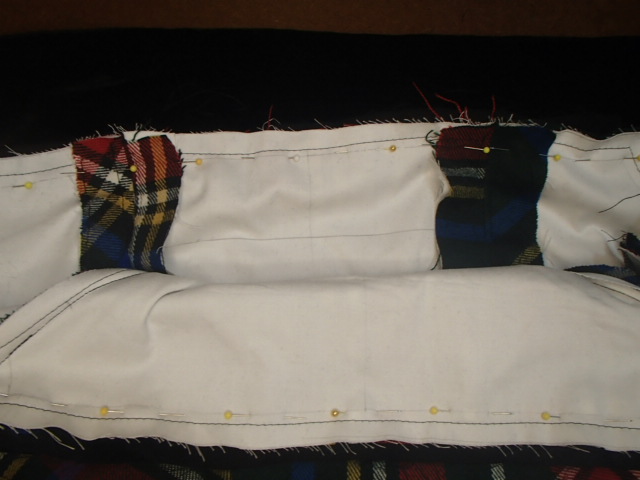
Next, we are going to line up the center front shawl and the center back shawl and stitch them onto the dress.
Setting in the Lapped Zipper for Her matching Christmas outfit
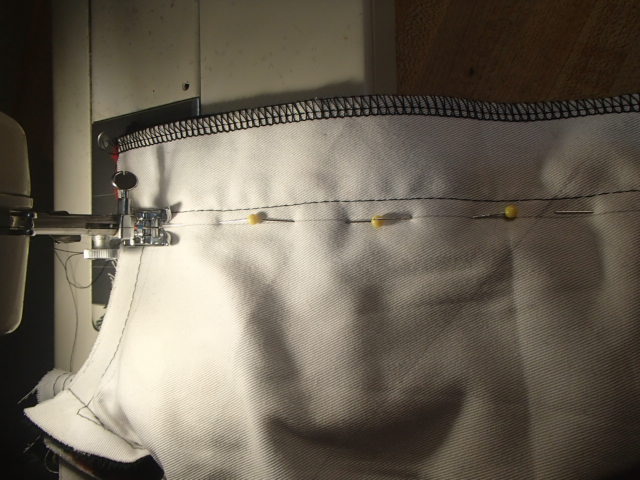
Start by basting closed the zipper opening and pressing the seam open.
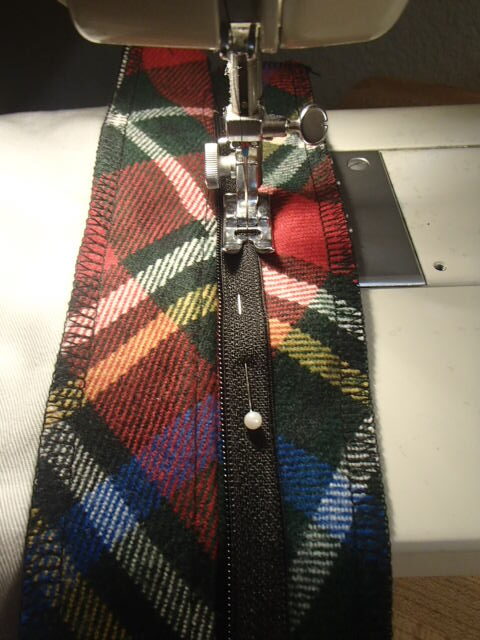
Open the zipper and line up the teeth of the right side. Stitch down the center of the zipper tape.
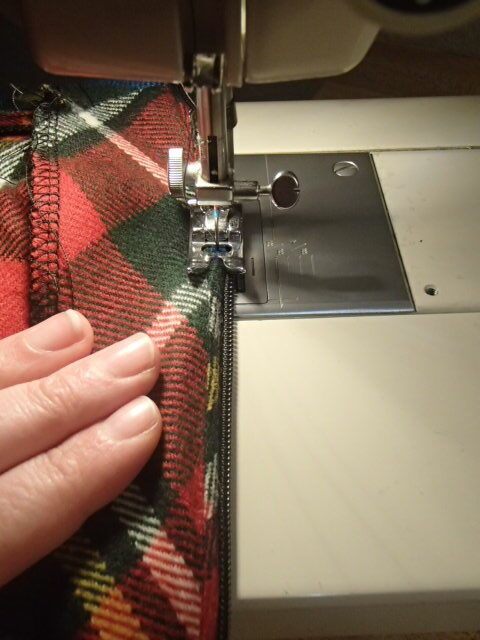
Flip the seam allowance over and do a second stitch down the same side of the zipper. You will be sewing through two layers of seam allowance and the zipper tape. This forces the zipper over past the stitch line so that when the zipper is completely in the zipper will never be seen.
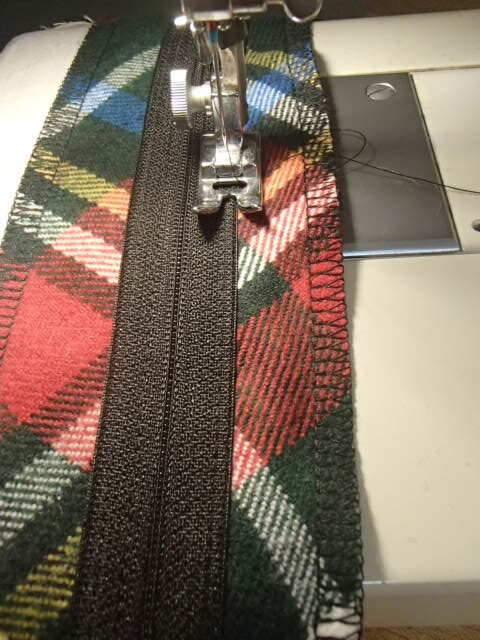
Next, close the zipper and lay flat on the seam allowance. Base through the other side of the zipper and seam allowance only to stabilize the zipper.
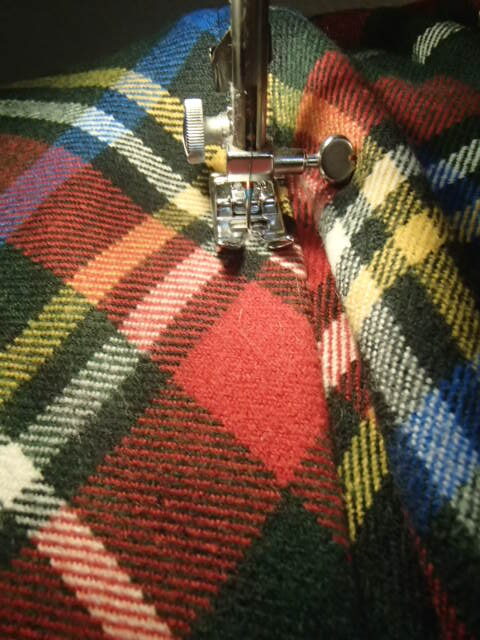
Now turn the garment right side out and sew the lap. I always make sure that the lap is facing towards the back of the garment is it is located on a side seam. This means if you are inserting the zipper on the left side instead of the right everything will be opposite.
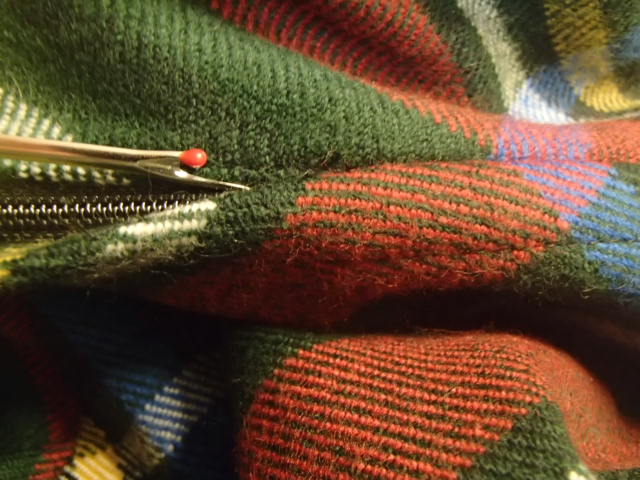
Time to open up the seam you bated closed and have a perfectly lapped zipper!!!
Adding the lining
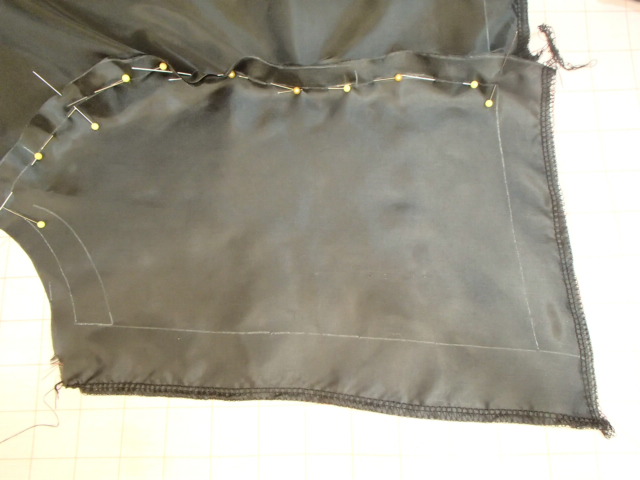
Start by serging the hem of every piece as well as the side seams that will connect to the zipper. I do only these seams because the other seams will be totally in cased however the zipper side seam will be handled a lot before finishing. Begin by sewing the three front pieces together and the three back pieces together. Next sew the side seam that will not be connected to the zipper.
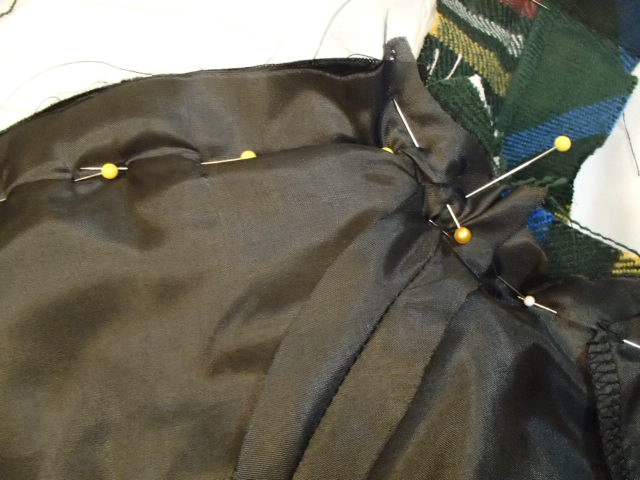
Next is attaching the lining to the bodice. This is where I love the fact that I have my stitch lines marked. I can easily see the corners and make sure everything is perfectly aligned. Start with matching up the center fronts and the corner of the front of the bodice. Make sure that none of the velvet shawl is caught in those corners. Then move on pinning the armscye. Again I recommend an excessive amount of pins!!!
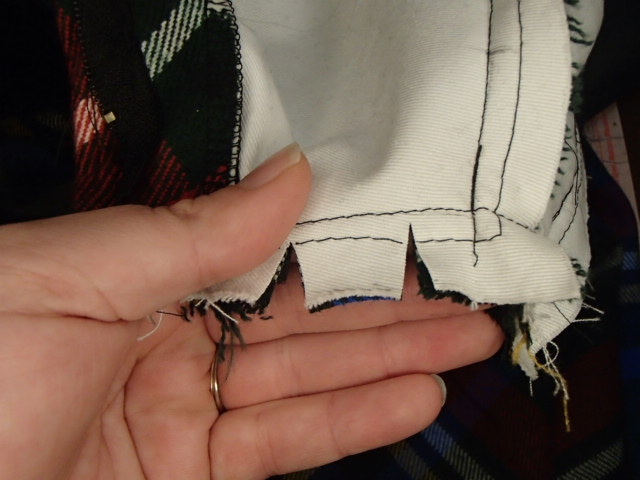
Clip the curves of the armscyes and press open the seams.
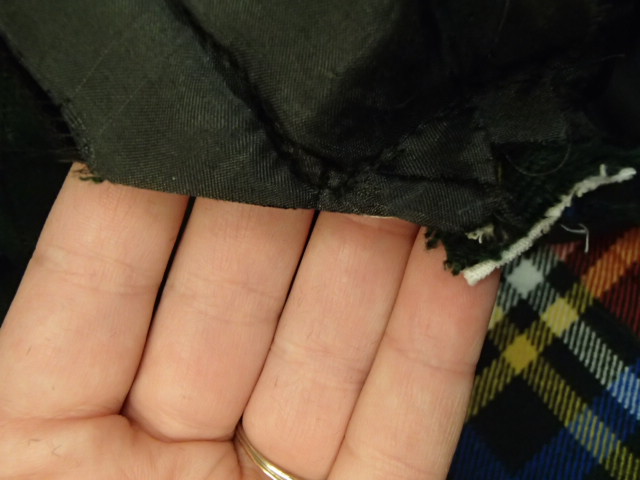
Clip the corners to get the excess fabric out of there so that you can create a crisp corner. Trim any other unwanted fabric as well. Turn the garment right side out and press again.
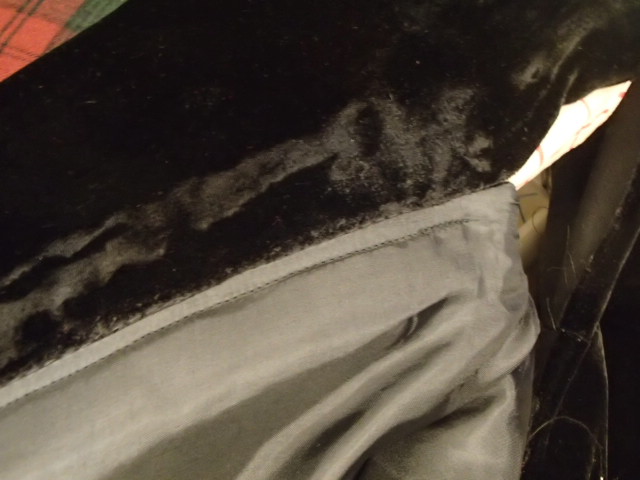
To make sure that the seams lay the way we desire and the lining dose not slip to the outside we are going to under stitch the front and back top seams. This stitch goes through the lining and all seam allowances and helps hold everything where you want it to lay.
Finishing the lining
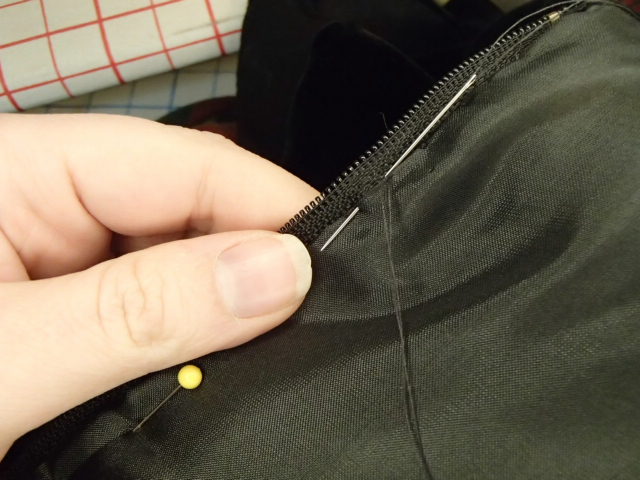
To finish the lining we are going to slip stitch it down to the zipper. I like to fold an extra 1/8 of an inch on either side to makes sure that the lining does not pull funny. Continue the slip stitch to the waist seam to fully encase all raw seams.
Hemming Her matching Christmas outfit
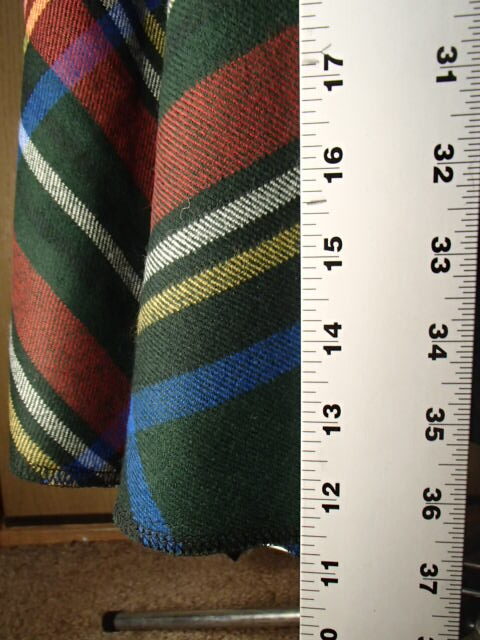
Before you go straight to hemming the dress you will need to make sure that the skirt has not stretch. Using a yard stick measure an inch higher than the highest point on the skirt hem.
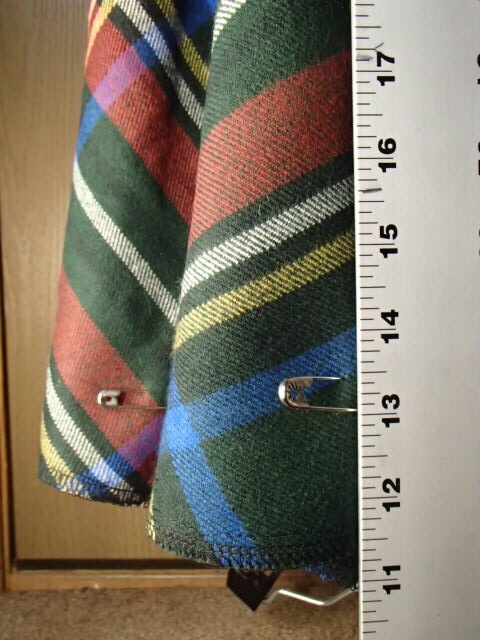
Move around the entire skirt marking the same point everywhere so you have an even line to hem to. My skirt did not stretch very much.
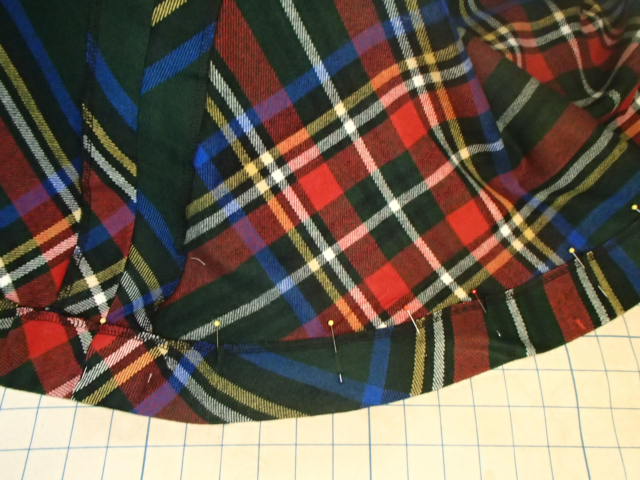
Press and pin up the hem on the line that you marked.
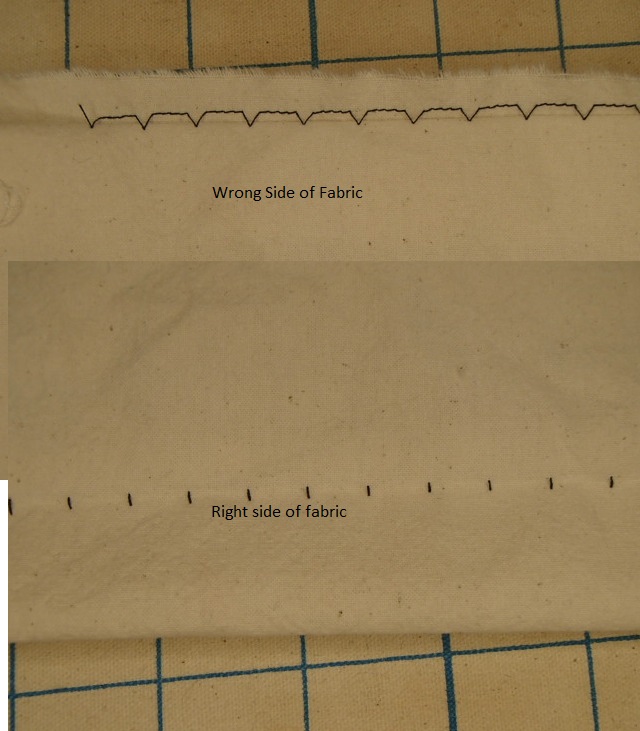
Now you have a choice on how you want to hem the dress. One option is to hand cross stitch the hem. A second option is to use a blind hem machine and blind hem the skirt hem. A third and the option I used was to use the hemming stitch on my machine. This stitch looks like 3 straight stitches with 1 zig-zag stitch.
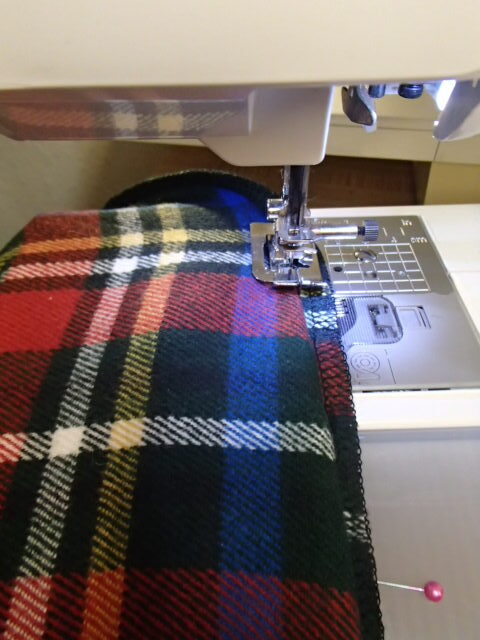
Using the blind hem foot on my machine I hemmed my dress. then i gave my entire dress a final press before putting it on and dancing around the kitchen with my husband in out matching outfits.
Final Pictures of Her matching Christmas outfit
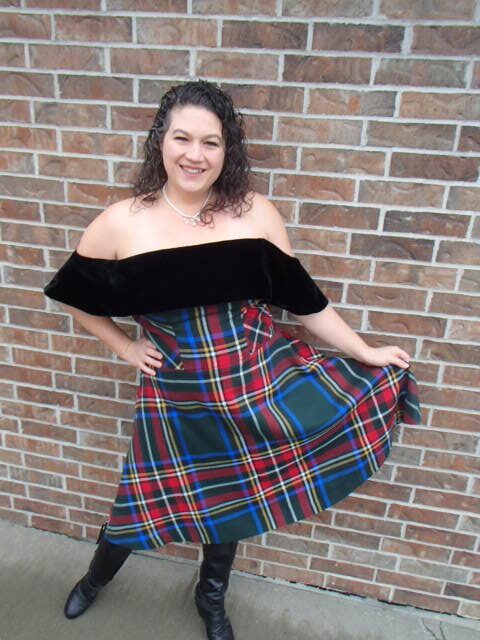
Make sure to check out His Matching Christmas Outfit Tomorrow!!! Also, Check out some of the other fun His and Her Matching Projects like His PJs and Her PJs or His ugly Sweater and Her Ugly Sweater.
