You will never want to take off these fun and unique earrings. These light-up earrings are perfect for everyday wear, or a night out on the town with your girls!!! Making them is so easy; you only need some basic materials listed below. With that in mind, it’s time to get started crafting these beauties with me today!!!
Let’s Gather your materials
- Felt
- Ribbon
- Thread
- Conductive thread
- Earring Hook (X2)
- Chain (X4)
- LilyPad Button Bsttery Board (X2)
- LED (X2)
- Resistor (X2)
- Button Battery (X2)
- Pilers
- Scissors
Designing the Ribbon Flower Light-up Earrings
II always loved the ribbons that are made into flowers, so for this project, I decided to create these earrings with a felt leaf base and ribbon flower on top. I added an LED in the center of the flower too! These cute light-up earrings make me feel like it’s summer all year round – the perfect accessory for both formal and informal occasions alike.
Creating the Ribbon Flower Light-up Earrings

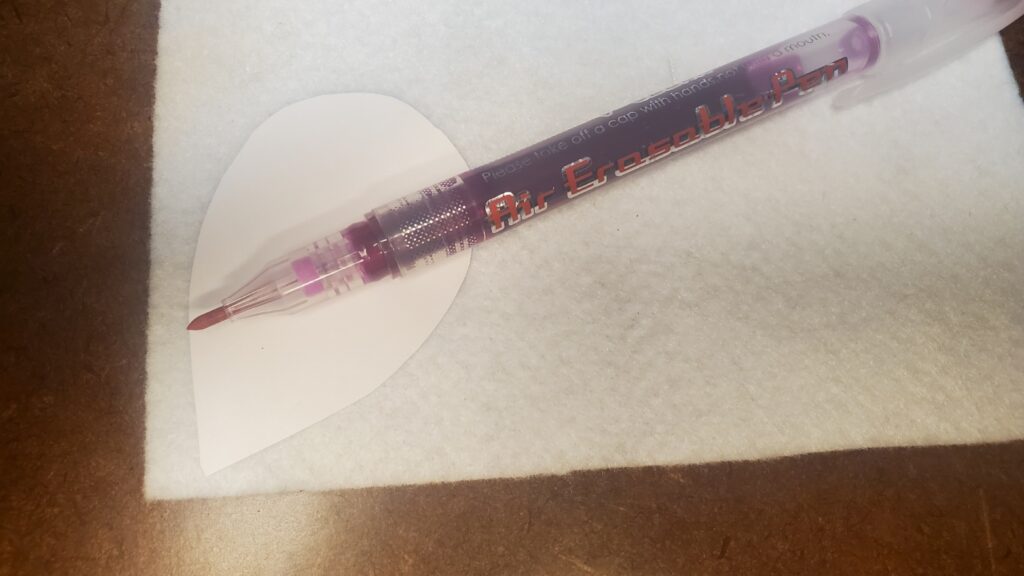
Begin by cutting the leaf pattern out of felt. Next, cut 8 lengths of ribbon. I cut my ribbon into 7-inch lengths.
Now it is time to create the flower out of the ribbon strips. Begin by laying them out in a star-shaped pattern with all the centers overlapping. Next, thread your needle and stitch together the centers providing an excellent anchor.
Feed the needle partway through and then start feeding the ends of each ribbon onto the needle. Workaround the entire circle to create the flower. Once all the ribbon ends are on the needle, sew through all layers to create a secure flower.
Before you cut the thread I recommend that you anchor the flower to the leaf. This way the base is secure and ready for the electrical components.
Swirl the leads of the LEDs and the resistors into a fun shape. I always like to do a swirl.
Time to add the electrical components!!! I begin with the button battery board and the negative port. Sew at least three times around the part to get a solid connection with the conductive thread. Sew to where the negative lead from the LED is located. Always double-check the positive and negative so you don’t have to redo later. Make sure to sew around the LED lead at least three times to get a solid connection.
Next, sew from the positive side of the LED lead and transfer the conductive thread to the back of the earring and connect to the resistor. The resistors can be set in either way there is no right direction. Tie off the thread and move to the other side of the resistor and then connect back to the positive side of the button battery board port. This will complete the circuit.
Test the circuit to ensure the led lights up!!!
Add two chains to the top along with an earring hook. Repeat all these steps for the other earring and then you are ready to show off your fun new design!!!
Final Look

Love these earrings check out some of the other light up earring I have. Such as the felt flower light-up earrings. Get some inspiration and create some for yourself. Then post a picture below!!! I would love to see what you create!!!

