It’s time to take your PDF sewing pattern game to the next level! With just a few simple tools, you can project your amazing patterns onto any surface with a precision that’ll make even the most experienced seamstress proud. So let’s dive into the Sewing Projector tools you need to project your sewing patterns!!!
Sewing Projector tools
- Projector
- Computer
- HDMI Cord
- PDF sewing pattern
- Cutting Mat
- Tracing Paper or chalk
- Tracing Wheel
- Rotary cutter
- Ruler
- Scissors
- Fabric
With the right tools, you can transform your sewing dreams into reality! Get ready to take on projects of all shapes and sizes.
Projector
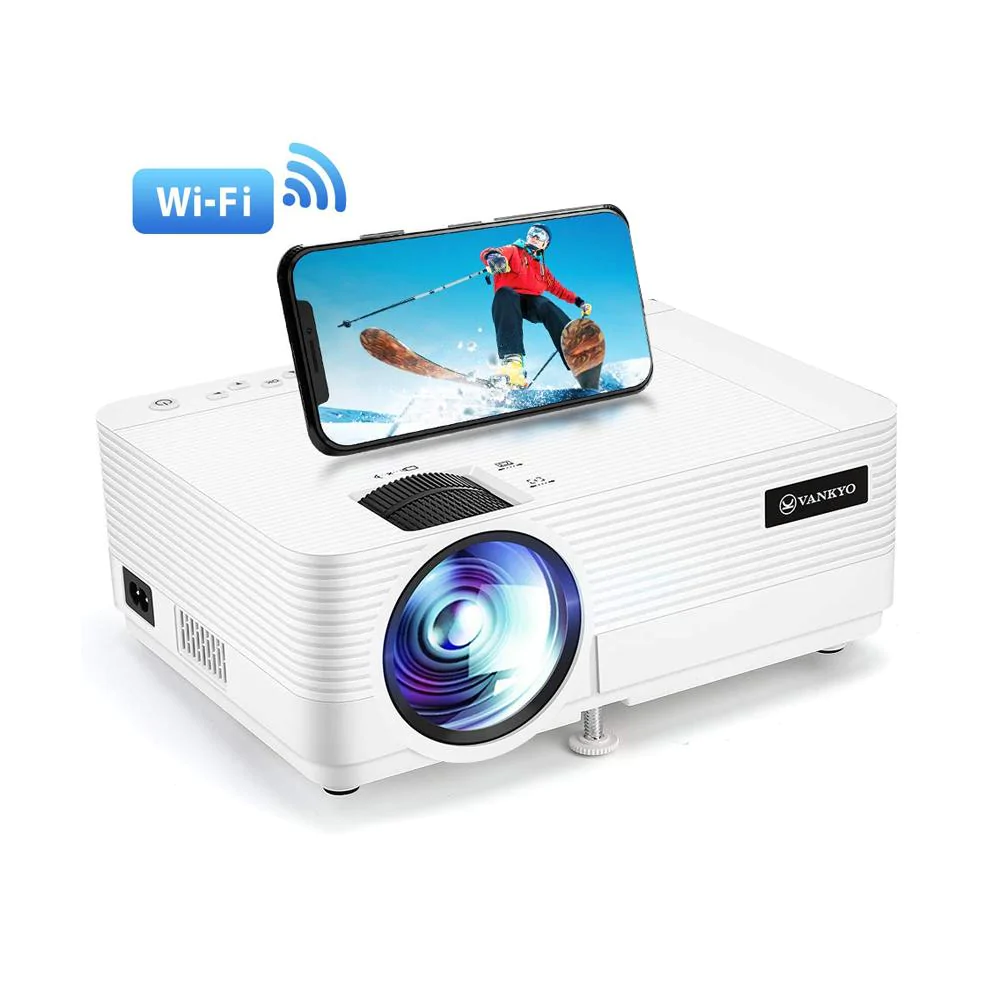
To actually be able to project sewing patterns, you will need a projector. There are many different projects out there that you can use, and even a brand new one called ditto.
I use the VANKYO Leisure 470 Pro and would highly recommend it as a basic projector. You can find my full review of this projector here.
The Vankyo Leisure 470 Pro projector is an excellent tool for sewing enthusiasts who want to use PDF sewing patterns. With its high resolution and brightness, the projector can display detailed sewing patterns clearly and accurately on a large screen. The projector’s connectivity options also make it easy to display patterns and instructions from a computer or laptop. You can zoom in or out, adjust the keystone correction, and focus the image to ensure that the pattern is displayed accurately. Additionally, the Vankyo Leisure 470 Pro projector is portable and lightweight, which means you can easily move it around your workspace or even take it to sewing classes or workshops. Overall, the Vankyo Leisure 470 Pro projector is an excellent investment for anyone who wants to improve their sewing experience with clear and accurate display of PDF sewing patterns.
Computer / Laptop
A computer is also an essential tool for using a projector. Without a computer, you won’t be able to access the pdf sewing pattern to project. A computer allows you to access and display different types to project the sewing pattern. It also allows you to customize your display settings and make adjustments as necessary, such as minutely zooming in and out to ensure that your pattern size is correct. Overall, a computer is a crucial tool for using a projector; having one can greatly enhance your overall projection experience.
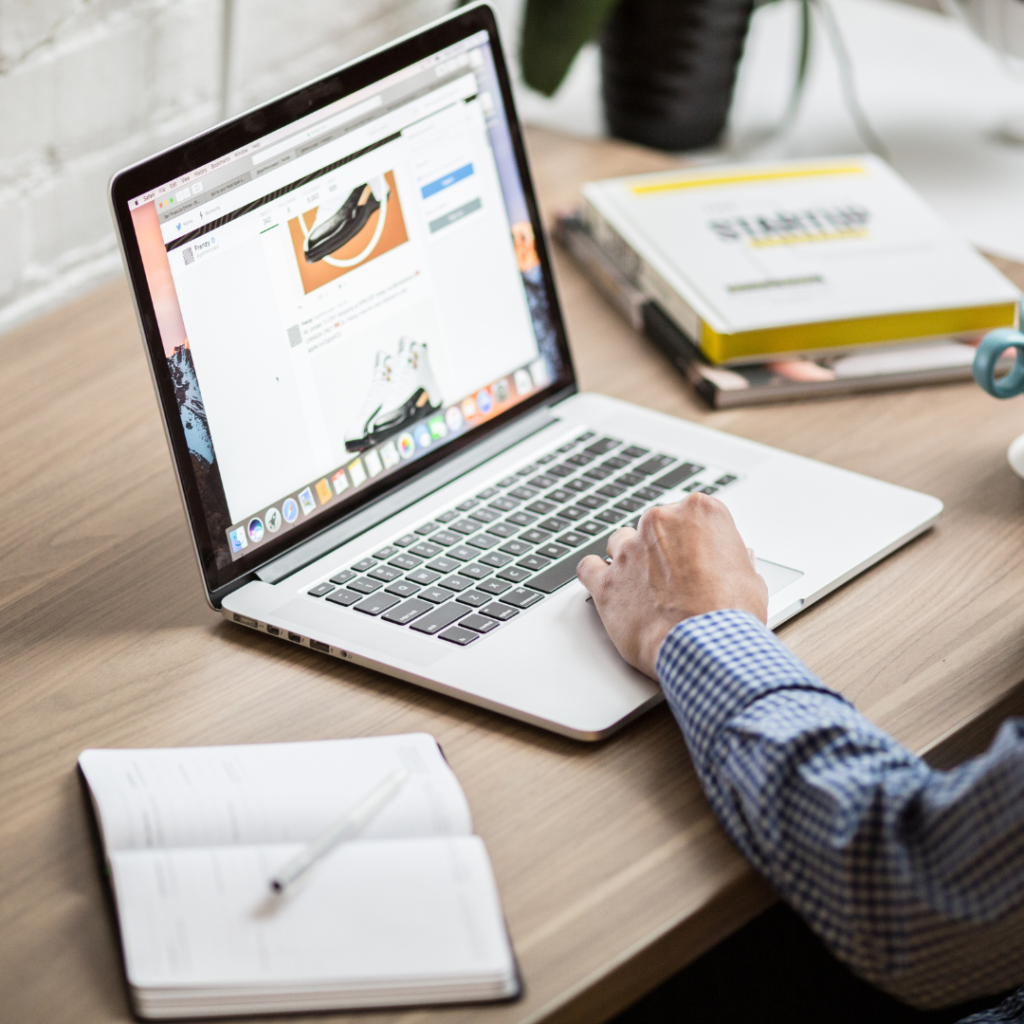
Pro tip makes sure to change your screen saver setting to time out for a longer period of time while you are cutting. That way the screen does not go black halfway through the process.
Cables
To ensure the best projection experience, selecting cables must consider both type and length. HDMI, VGA or USB are common cable types.
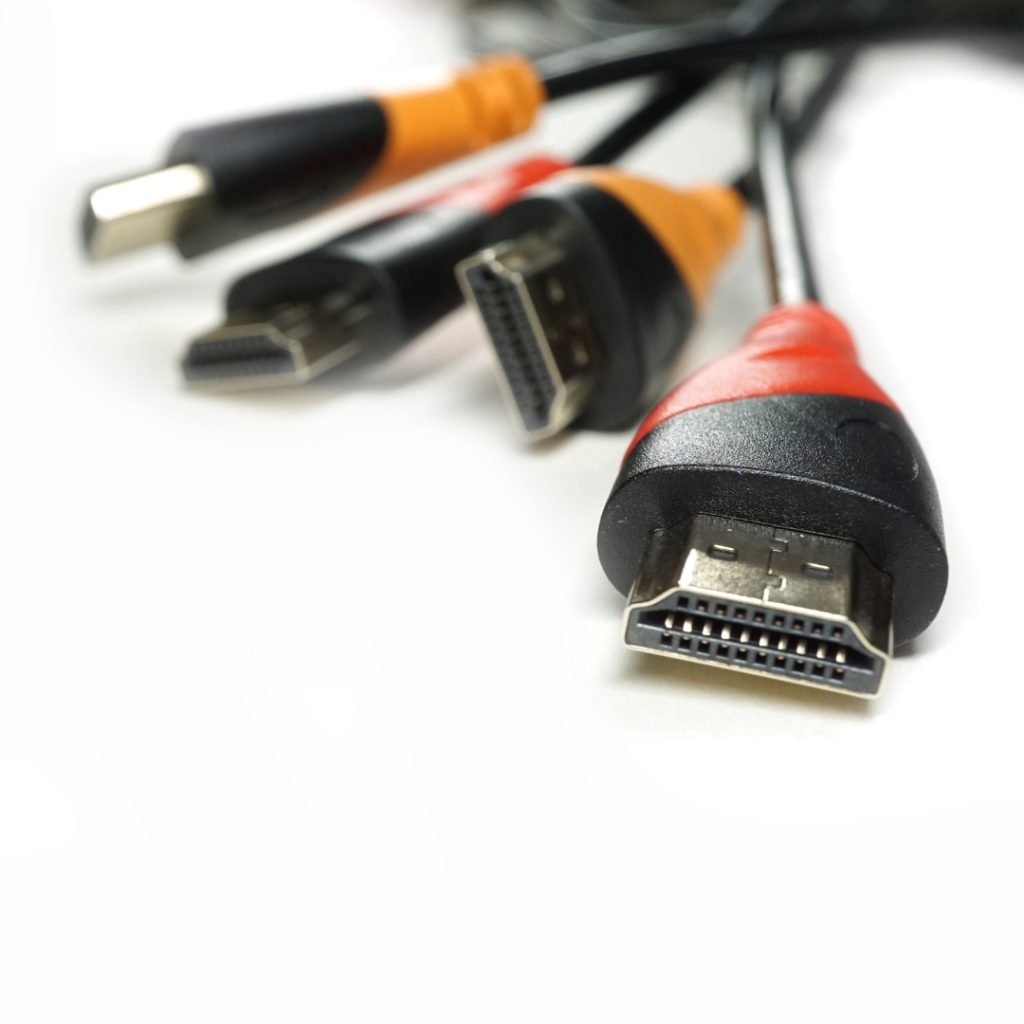
Double-check that the cables fit on the projector you will be using. If your projector requires attachment to a ceiling, be sure you have chosen an appropriately long cable as well! Before determining length, make sure to consider that the cord cannot go directly down but will have to go off to the side so the computer dose does not interfere with the projection!
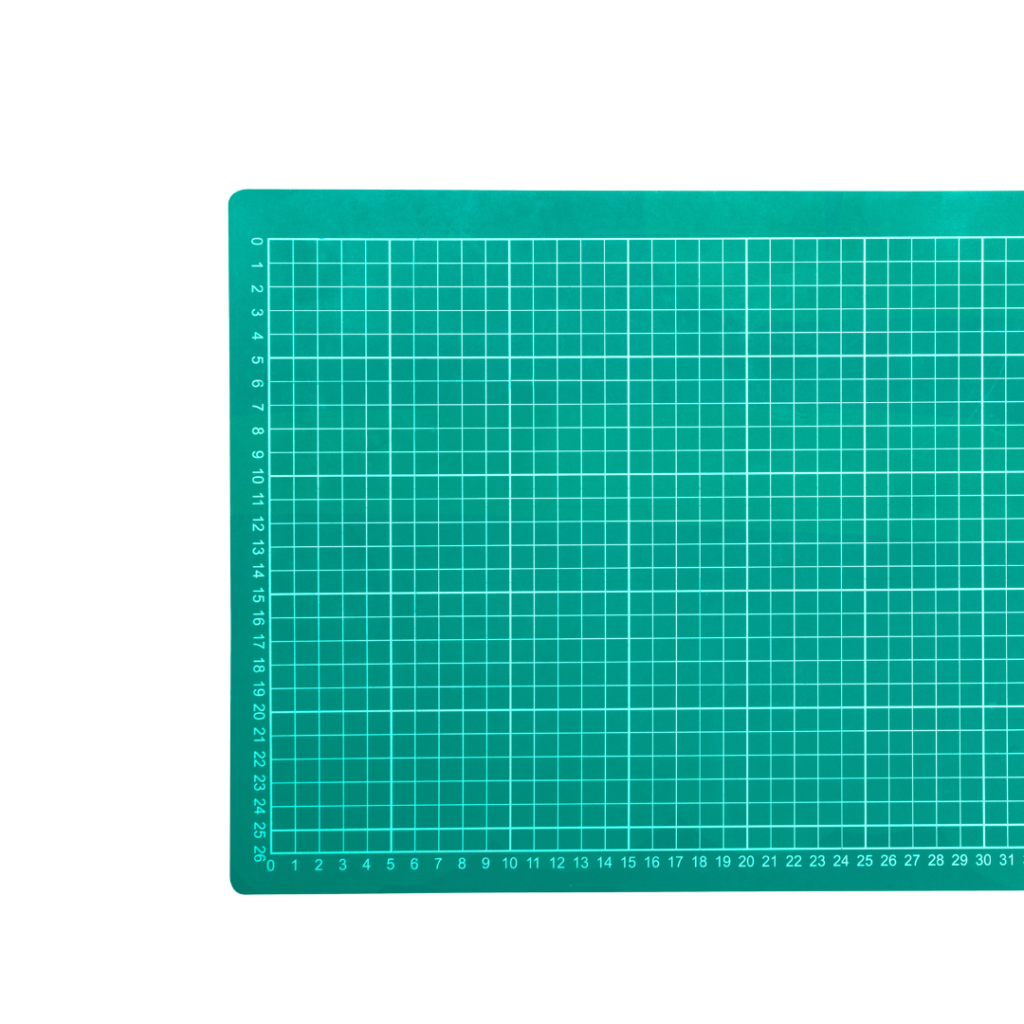
Cutting Mat
A self-healing cutting mat provides a surface to cut your fabric on without damaging your table or other surfaces. The mat is designed to “heal” after each cut, so it won’t show marks or grooves from your cuts. They are used with rotary cutters which we will talk about in a little bit.
Since I work in inches, I ensure that the mat is measured in inches, making it easier to line up your fabric on the correct grain and cut it accurately. Using the squares to line up and size the projected pattern is the fastest way to dial in the projector.
Check out this video on how to dial in a Projector
Tracing Paper or Chalk
Once you have cut out your pattern pieces, you’ll need to transfer any markings onto your fabric to help you match up pieces and sew accurately. Two common tools for doing this are tracing paper and chalk. Tracing paper is used with a tracing wheel, making it easy to place over your fabric and trace the pattern markings onto your fabric. Simply place the tracing paper over the fabric with the waxed or chalked side facing down, then use a tracing wheel to transfer the markings onto the fabric.
Alternatively, you can use chalk to mark the fabric directly. Chalk is particularly useful for marking notches and other small details. Simply rub the chalk along the edge of the pattern piece or use a chalk pencil to mark the notches. When using chalk, make sure to choose a color that contrasts with your fabric so that the markings are easy to see. Once you’ve transferred all your markings, you’ll be ready to sew your pieces together confidently and accurately.
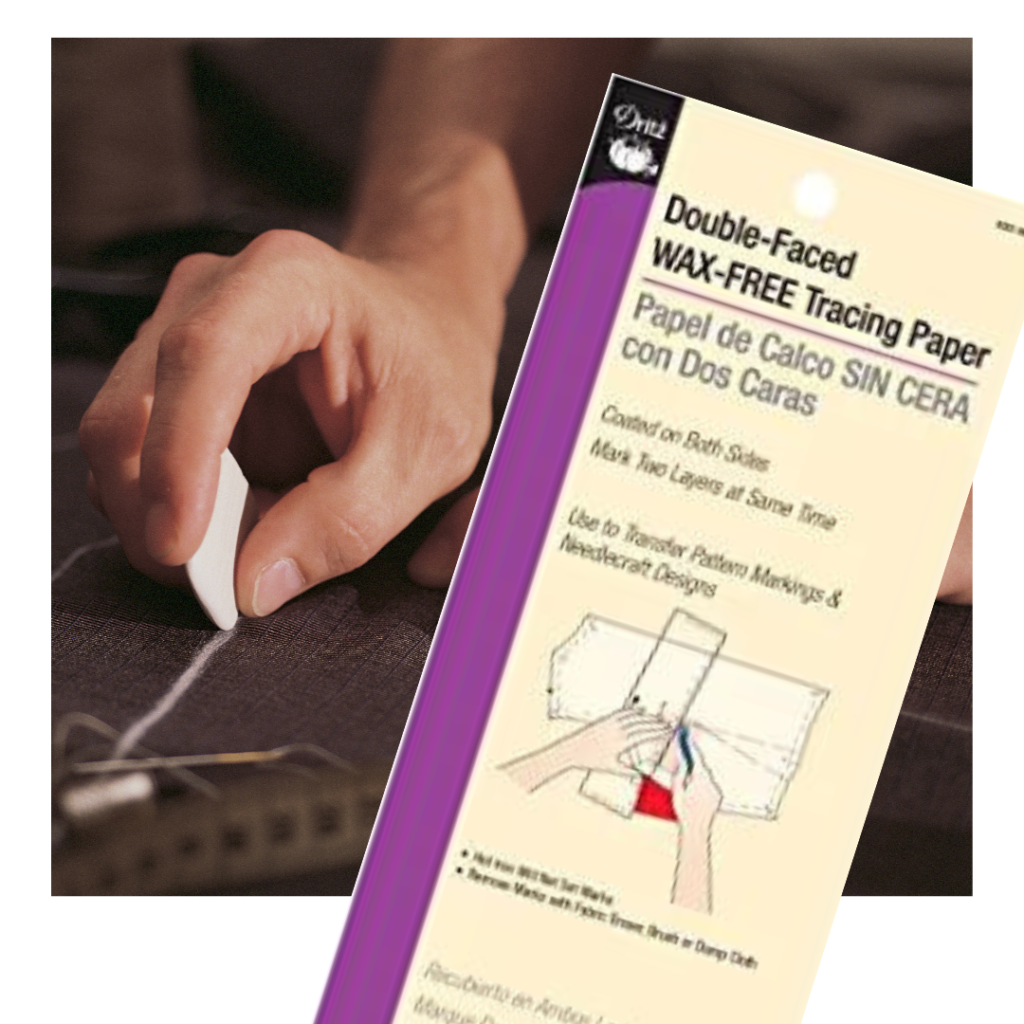
Either way you choose to use it is always a good idea to do a test piece and see how it reacts with the fabric.
Or get my favorite Tracing Paper from Richard the Thread!!!
Tracing Wheel
A tracing wheel is ideal for achieving accurate and precise markings while transferring patterns onto fabric using tracing paper. It’s a small, handheld device with a serrated edge that you run along your pattern lines to create perforations in the tracing paper. Tracing wheels come in different sizes and styles, some even offering interchangeable wheels with varying degrees of serration depending on what type of fabric you’re marking up! If accuracy matters to your sewing projects, investing in one could ensure those seams line up perfectly every time.
Rotary Cutter

Rotary cutters are another essential tool for using sewing patterns.
These small, handheld blades allow you to cut fabric precisely, making achieving clean lines and sharp angles easier. When using a rotary cutter, it’s also important to use a self-healing cutting mat. When using a rotary cutter and self-healing mat, always be sure to follow proper safety precautions, such as keeping your fingers clear of the blade and storing the cutter securely when not in use. With these tools, you can cut your fabric quickly and accurately, making your sewing projects even more enjoyable.
Scissors
Scissors are another essential tool for using sewing patterns. While rotary cutters are great for cutting long, straight lines, scissors are better for cutting tight curves, smaller pieces, and precise inverted corners. When choosing scissors for sewing, looking for a pair with sharp blades and comfortable handles is important. It’s also important to choose scissors that are appropriate for the type of fabric you’re working with – for example, sharp dressmaker’s scissors are great for cutting lightweight fabrics like cotton or silk, while heavier-duty shears may be needed for thicker fabrics like denim or canvas.
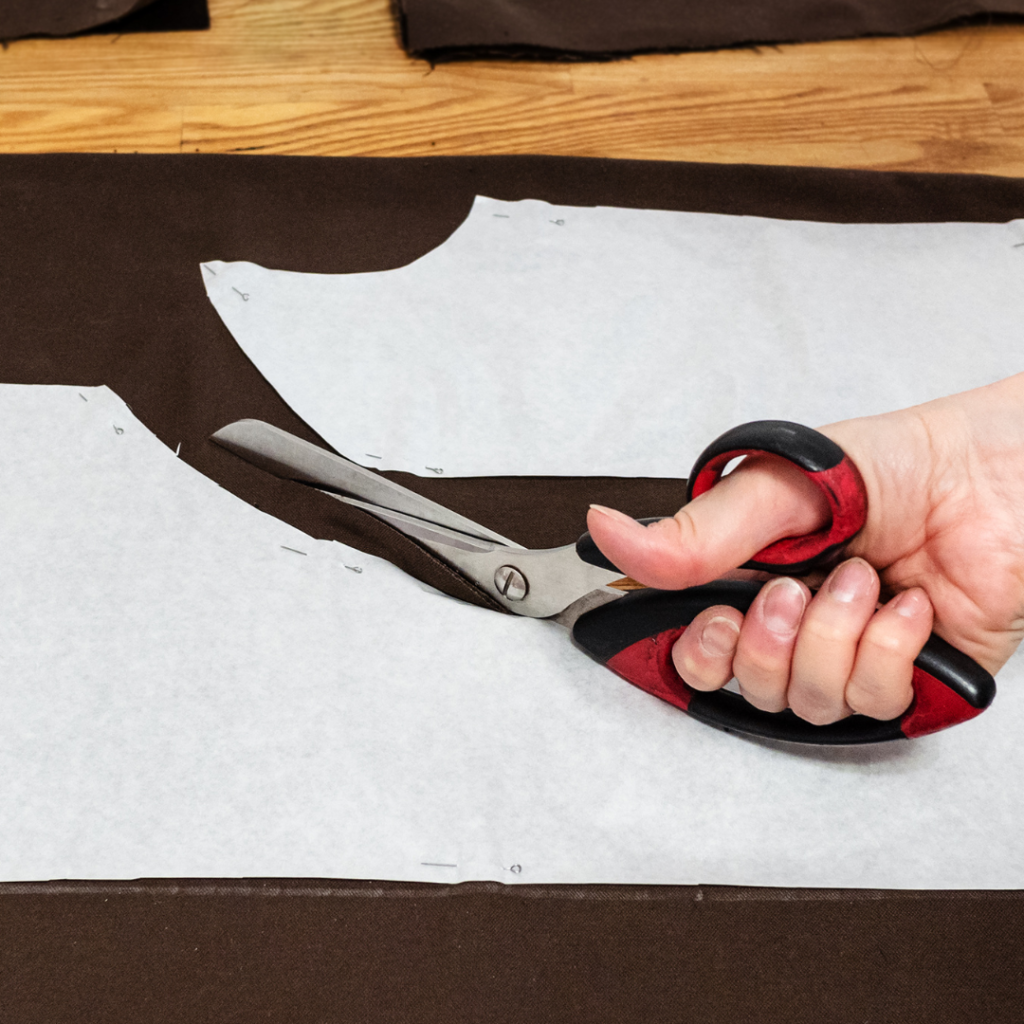
With a good pair of scissors, you can cut your fabric easily and accurately.
Ruler
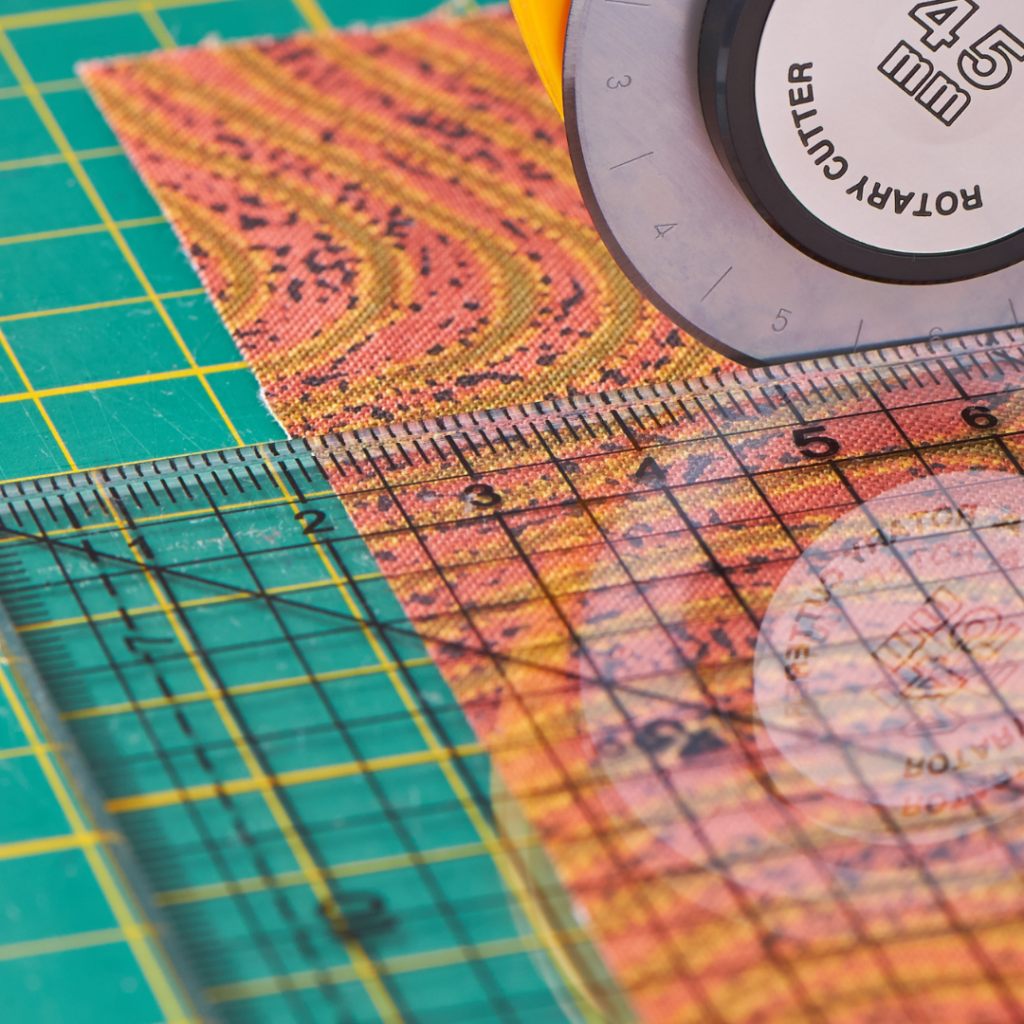
A long ruler has a straight edge that allows you to make straight cuts in your fabric.
This is important for cutting pattern pieces and ensuring your seams are straight. A quilter’s ruler is especially useful because it has clear, easy-to-read markings and is often designed to work with the inch-by-inch squares on a cutting mat. A quilters plastic ruler is durable and can withstand regular use without getting damaged. It’s also easy to clean and maintain, which makes it a great investment for your sewing kit.
PDF Sewing Pattern
The most important part of projecting a sewing pattern… the pdf sewing pattern. If you’re using a projector to help you sew, you’ll need a digital copy of the sewing pattern you want to project. Fortunately, there are many resources online for finding PDF sewing patterns, including pattern shops, blogs, and sewing communities. You can also create your own PDF pattern in adobe illustrator. Check out a few of the patterns I have created. If you want to start learning how to pattern in adobe illustrator, then check out my free mini course showing you how to set up the artboard for digital pattern making.
Once you have your PDF pattern, you can open it on your computer and project it onto your fabric using your projector. Just be sure to adjust the size and orientation of the pattern as needed to match the size of your projector screen.
Fabric
Once you set up your pattern with the projector, the next step is to lay out fabric for your sewing project. When choosing fabric, consider the type of garment or item you’re making and the drape and weight of the fabric. Many fabric stores offer various options, including cotton, silks, linens, wool, and more. You can also order fabric online, although it’s important to remember that the colors and textures may look different on a computer screen than in person. Before purchasing your fabric, be sure to know how much fabric you’ll need. This will help you avoid running out of fabric partway through your project. With your fabric and pattern in hand, you’ll be ready to start sewing your project with the help of your projector.

Although this is not specifically a Sewing Projector tools it is important for starting and completing a project.
Conclusion
You can now gather the essential Sewing Projector tools and get started. Using a projector and sewing patterns can be a game-changer for sewists of all levels. By projecting your pattern onto your fabric, you can eliminate the long process of taping many pieces of 8.5 X 11 pages together. You can take your sewing projects to the next level with the essential tools we’ve discussed, including a projector, computer, self-healing cutting mat, rotary cutter, plastic ruler, and scissors. And by finding or creating a PDF sewing pattern, and choosing the right fabric for your project, you’ll be well on your way to creating beautiful, professional-quality garments and accessories. So why not try it and see how using a projector can help elevate your sewing game?