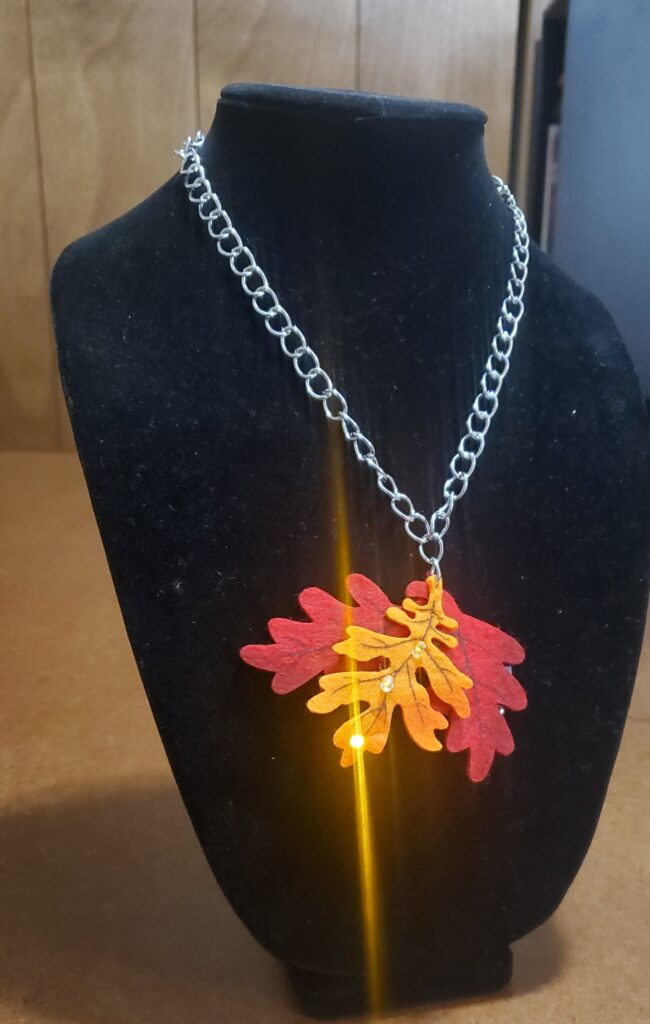
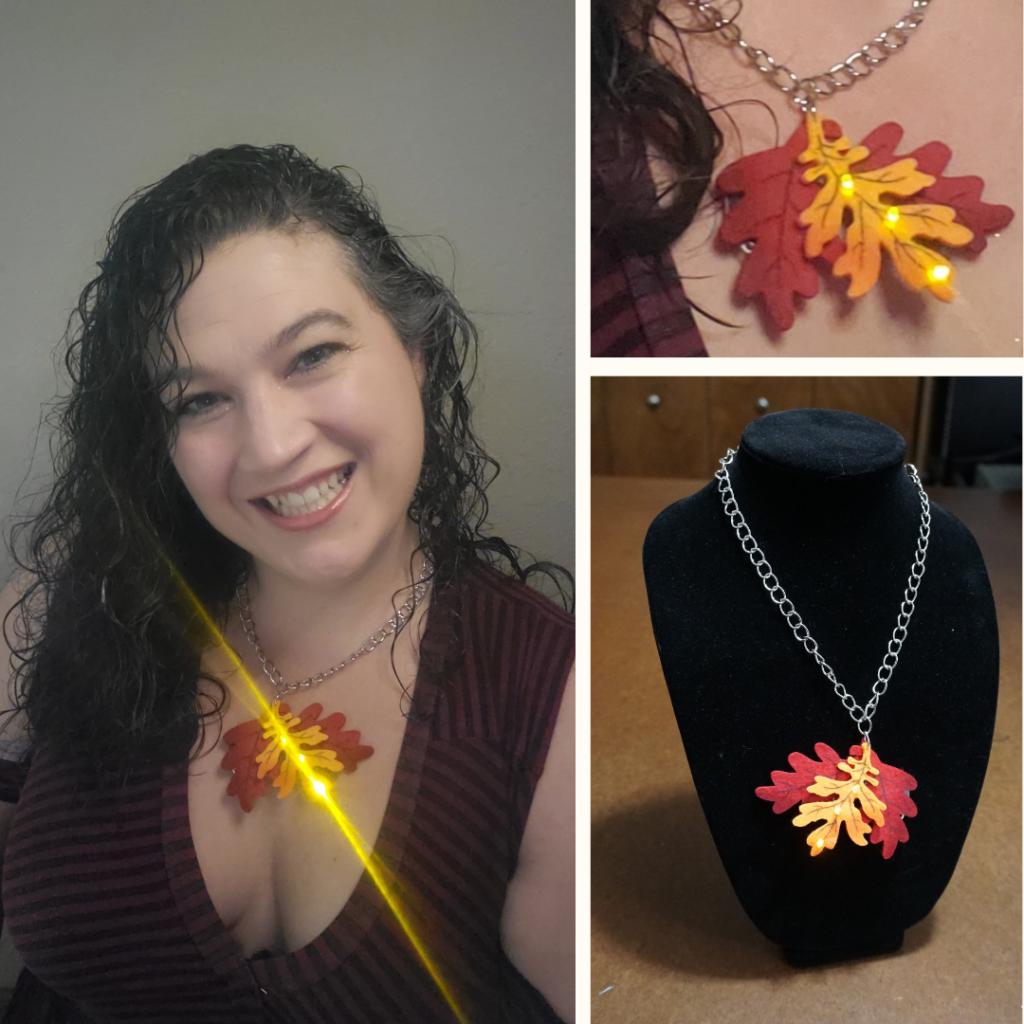
I am so excited to show you how easy it is to make your own Light-up Leaf necklace. All we need are some LEDs, a LilyPad Coin Battery board, and felt pieces for the leaves! It’s perfect if like me you’re looking to add an electric touch of color into this Thanksgiving celebration with friends or family members!!!
Gather your Materials
- LilyPad Coin Battery Board
- Sewable LED
- Conductive Thread
- Hand Needle
- Scissors
- Felt
- Necklace Chain and clasp
Design the Light-up Leaf necklace

First, you will need to design the final look of the leaf necklace. I decided to have three LEDs on the top leaf and the battery pack behind one of the back leaves. Trying a few different layouts will help determine what the final colors will be used for the final look. I ended up using two red leaves and one yellow/orange.
Create the Light-up Leaf necklace
Placement of the LED
Begin by deciding on the placement of the LED’s. Since the felt is so thick I found I needed to pre-poke some holes. Using a seam ripper and turning it in a circular motion. This will help create a small hole for the two leads to poke through. Poke the three LED leads through the hole created. Next, bend the leads at a 90º angle and then twist the ends into a swirl. This will help to secure the circuit together. I recommend starting with the LED furthest from the stem because then you are not fighting the leads from each LED. Then I poked all the LED through and then bent them and had some issues catching the other leads. So I would suggest doing one LED at a time and it will make your life easier!!!
Sewing the Leaves together to create the necklace base
Next, sew the leaf stems together so that the base of the necklace is stabilized together. Now that the three leaves are acting as one it is time to sew the circuit.
Sew the Circuit
Double checking that all the positive leads are on one side and the negatives are on the other makes not have to redo the circuit later. Start with the farthest LED lead away from where the battery board will be placed. Ensure to sew five times around the swirl of the positive lead to anchor the LED. Using a running stitch that does not show on the front of the Leaf travel to the next positive lead. Stitch around the swirl at least five-time and move to the third positive LED. Finally travel to where the Battery board is located and whip stitch around the positive port. Repeat with the negative leads. Finally, sew the other two ports down to the felt so that the battery board is secured. Insert a battery and test your circuit.
Adding the Necklace chain
Time to add the chain. Begin by determining the length of chain you want and then separate the length. Use the link that you opened to attach the leaf to the center of the necklace chain. Poke a hole in the top of the leaf stem using the awl. I had to do it a few times to get the hole large enough to get the chain link through. Insert the chain link through the leaf and through the center link of the necklace chain. This way the leaf will always hang at the center. Open up one of the extra circular links provided and attach the claw to one of the two ends completing the necklace.
Final Look
Put on your new necklace and show it off! You’ve been waiting a long time to find the perfect piece, and now you can state you created it!!!

Want to begin your own adventure into Wearable electronics? Grab my free mini-course to start learning the basics!!!
Love this pin check out some of the other light-up projects I have. Such as the felt flower light-up earrings or these other fun Light Up Flower Earrings. Get some inspiration and create some for yourself.

