Adding the small detail of a light-up wedding comb can be the unique touch you are looking for. I made a Light-up Wedding hairpin for my bridesmaids so that they could match my light-up veil. Adding LEDs into everything is something that I love to do. My personality shines through in the clothes and the jewelry pieces I wear with their unique light-up property. I wanted to make sure that on my wedding day, I was still showing my personality.
Gather your materials
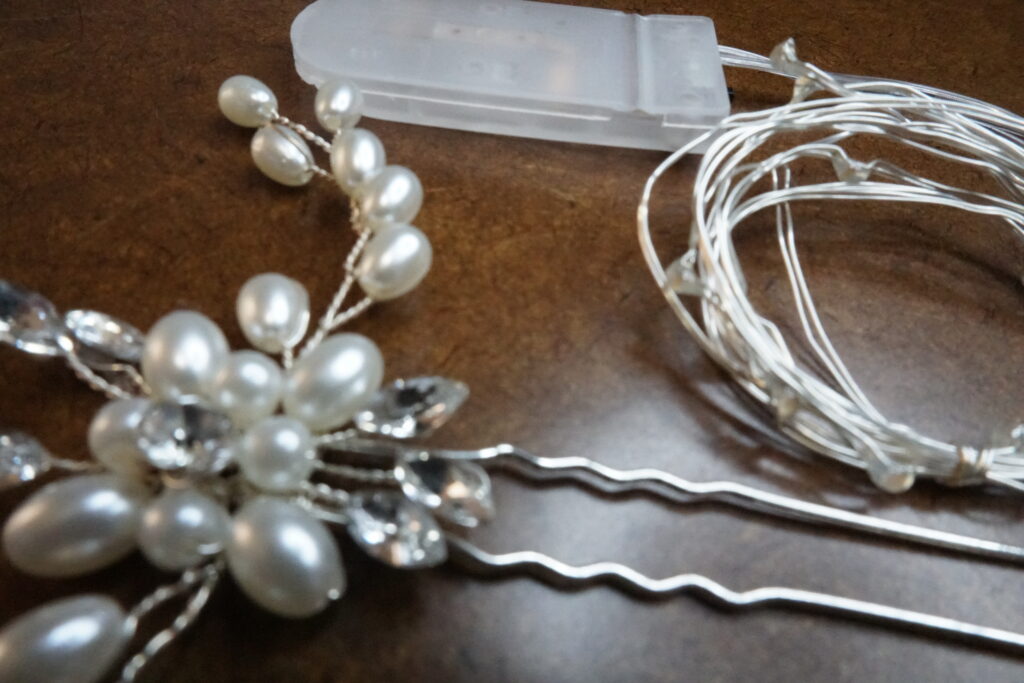
- Bridal hairpins
- String of LED
- Extra battery cases
- Horsehair
- Glue
- Batteries
- Solder kit
Design the Light-up Wedding hairpin
Knowing the desired outcome of the hairpin is very important. How many LEDs do you want to add to the Hairpin? Are the LEDs going to be tight to the details or stick off the pin like a small floating light? I have completed designs both ways. For this particular hairpin, I decided to keep the LEDs close to the pearls and rhinestones. I also knew that the battery pack will be inserted into the twist of the bun to conceal it. Adding the horsehair to the battery pack makes this easier to achieve, and know that the battery pack will not be falling out halfway through your day!
Making the Light-up Wedding hairpin
I designed each hairpin to have five LEDs.

Since this is shorter than any fairy LED strand you can find, I will have to cut down and solder five LEDs to a new battery pack. Always double-check which wire is positive and negative before you solder and then again before you heat shrink the wire together. Undoing takes time and sometimes makes the wire short than first desired.
Now that I have the strands set to five LEDs each, I can begin to intertwine the LED strand with the hairpiece. You can either work from the first or last LED and slowly wrap the wire around the pearls and rhinestones.
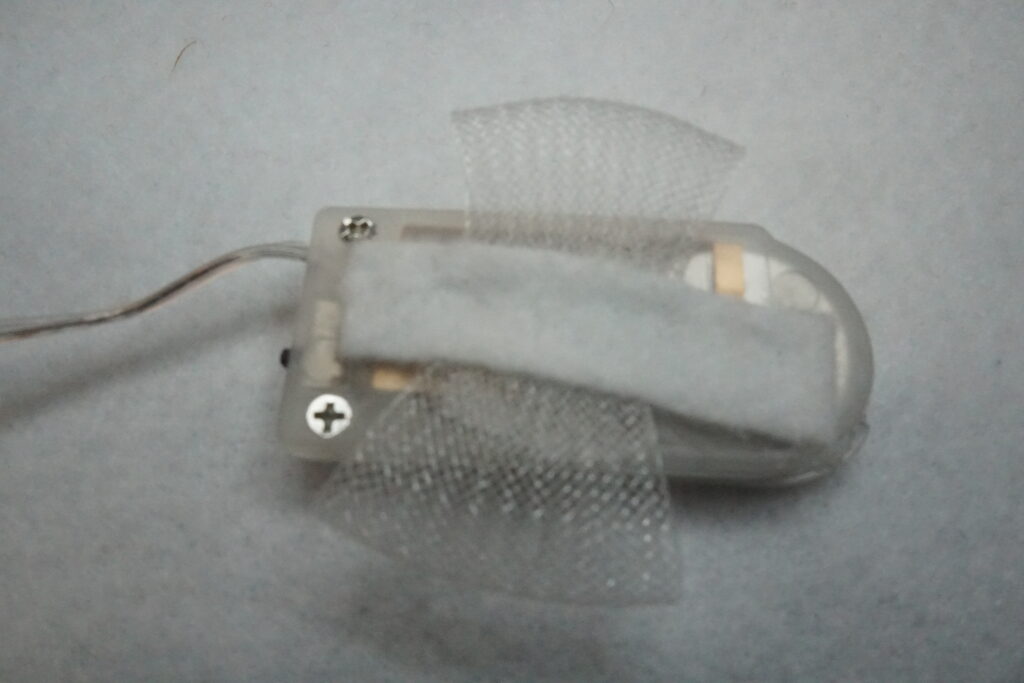
The last thing that needs to be done is to add the horsehair to the battery pack. That way, you know that it will not be moving or flying around. I added the horsehair to the battery pack with a small dab of e6000 glue. Don’t add too much glue but ensure that it is secured on the back! I also always cover the ends of the horsehair and glue them with a piece of felt. This will keep the ends from catching the hair!!!
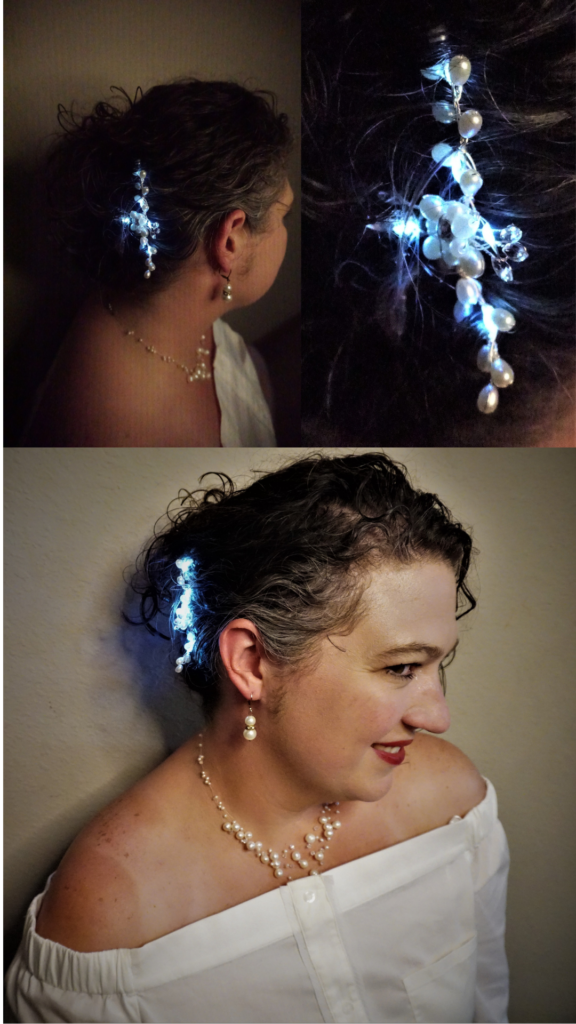
Final Pictures of the Light-up Bridal Hair Pin
Want to learn how to create your own light-up projects? Grab my free mini-course to start learning the basics!!!
Make sure to check out some of my other light-up projects, such as my light-up flower earrings or St Pattys Day earrings, and hopefully inspire an amazing project of your own!!!
One Reply to “How to Make a Light-up Wedding hairpin”
Comments are closed.